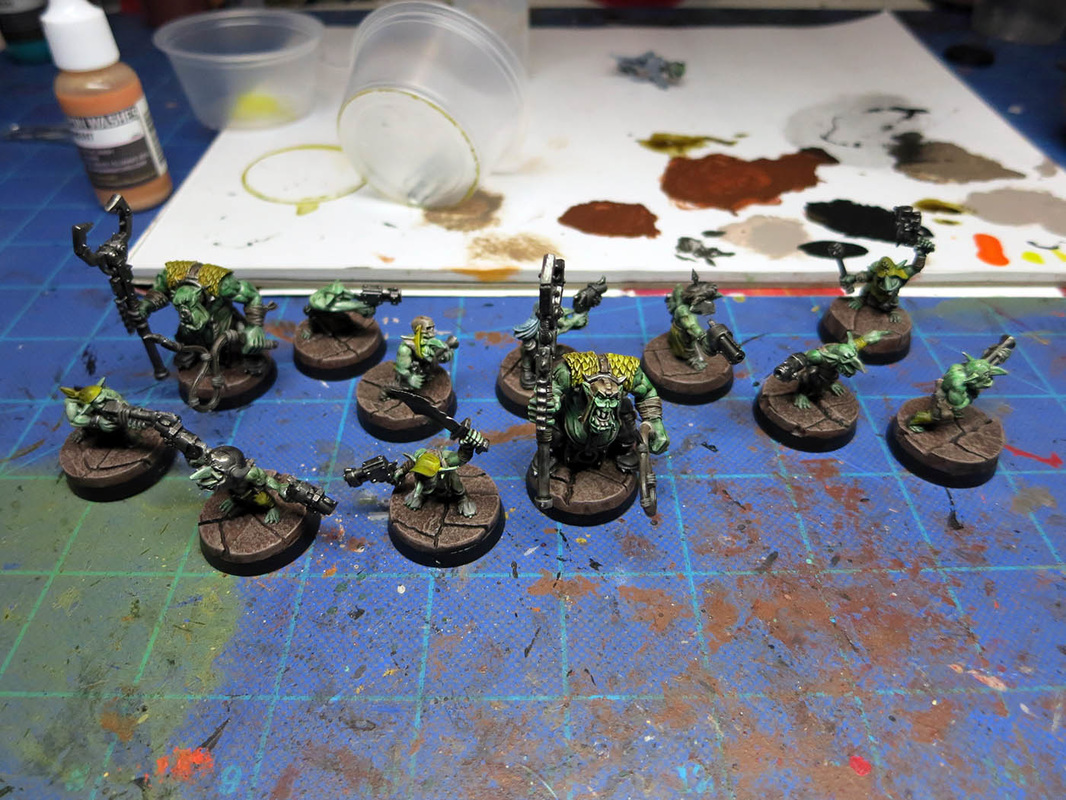
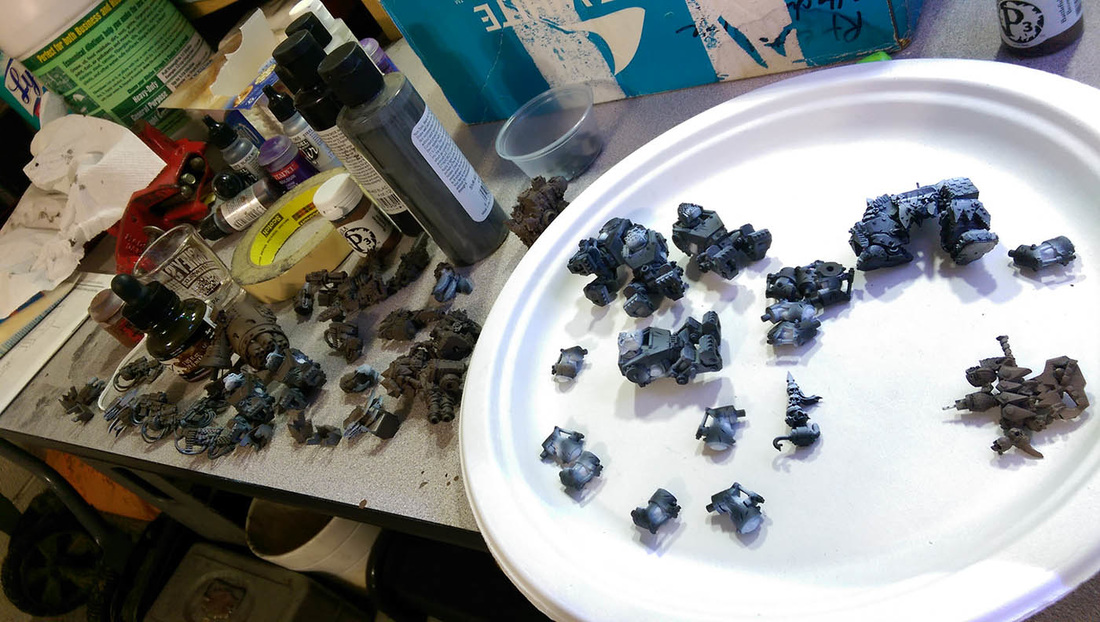
Hey Guys! Finally got around to getting the gretchin photos up so those who aren't video happy can take a look at the process. I am pretty pleased at the result of the video though, got a ton of feedback, and lots of views. Definitely going to do a "how to use powders wrong" video next and see how everyone likes that one :)
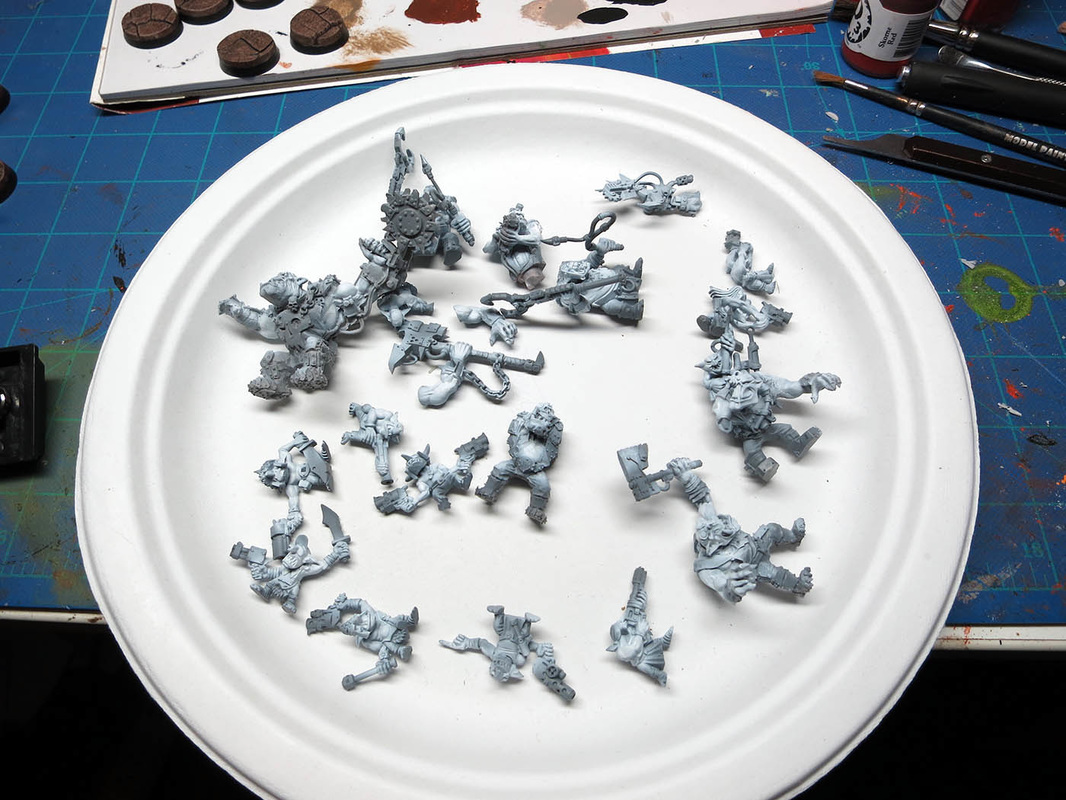
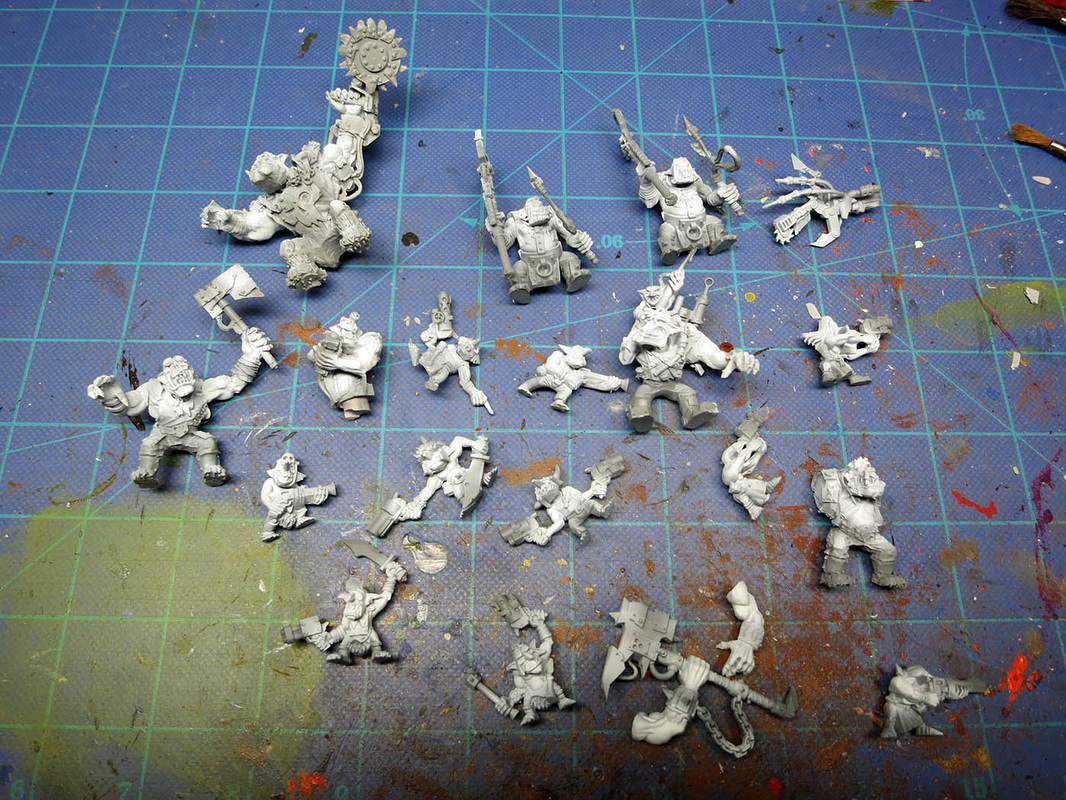
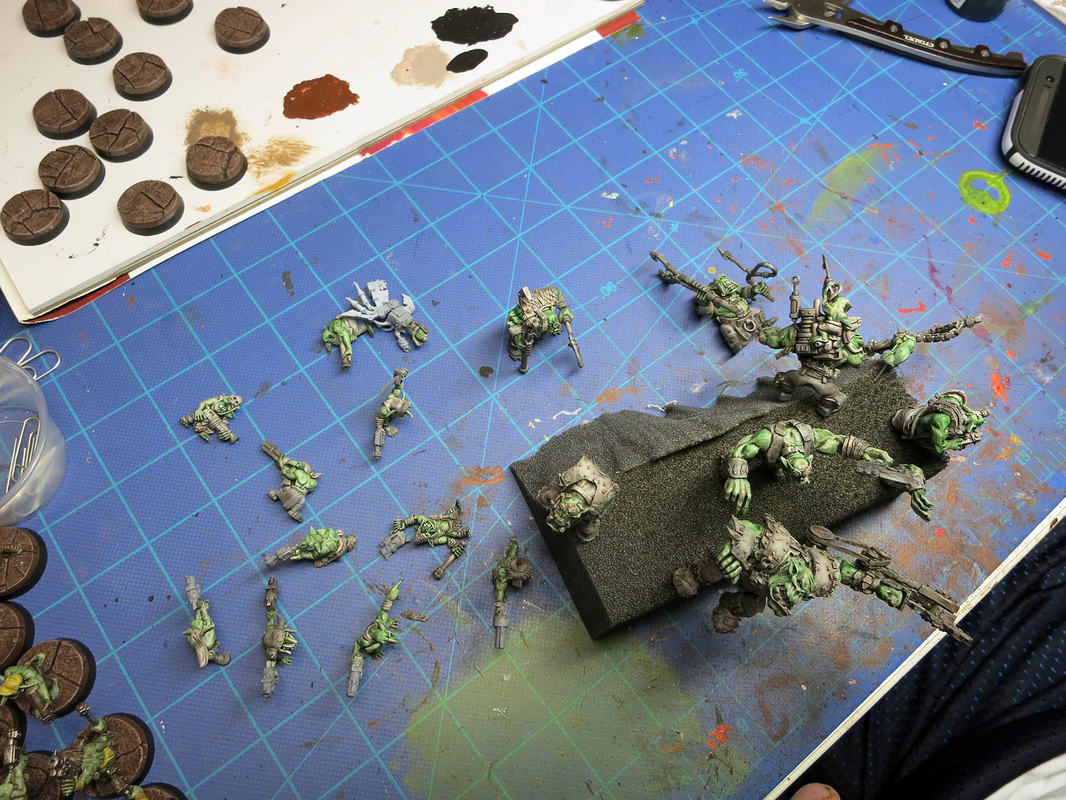
So we started off on these guys by cleaning up all the excess sprue, cleaning mould lines, and doing a two part airbrush primer. Part one was a grey primer, part two was a white primer. The white primer was used from above sparingly, and on all skin surfaces. The primer I'm using for this is Badgers Stynylrez black/grey/white, as recommended by Zab. You can sometimes get away with not thinning it, unless you're a grot and fishhooked your airbrush needle...then you have to thin it a little.
Note: When I talk about washes/glazes, I an interchanging the terms. A wash is generally used to shade, and a glaze is used to tint. I use them both for similar purposes. (I'll wash and glaze at the same time)
Note: When I talk about washes/glazes, I an interchanging the terms. A wash is generally used to shade, and a glaze is used to tint. I use them both for similar purposes. (I'll wash and glaze at the same time)
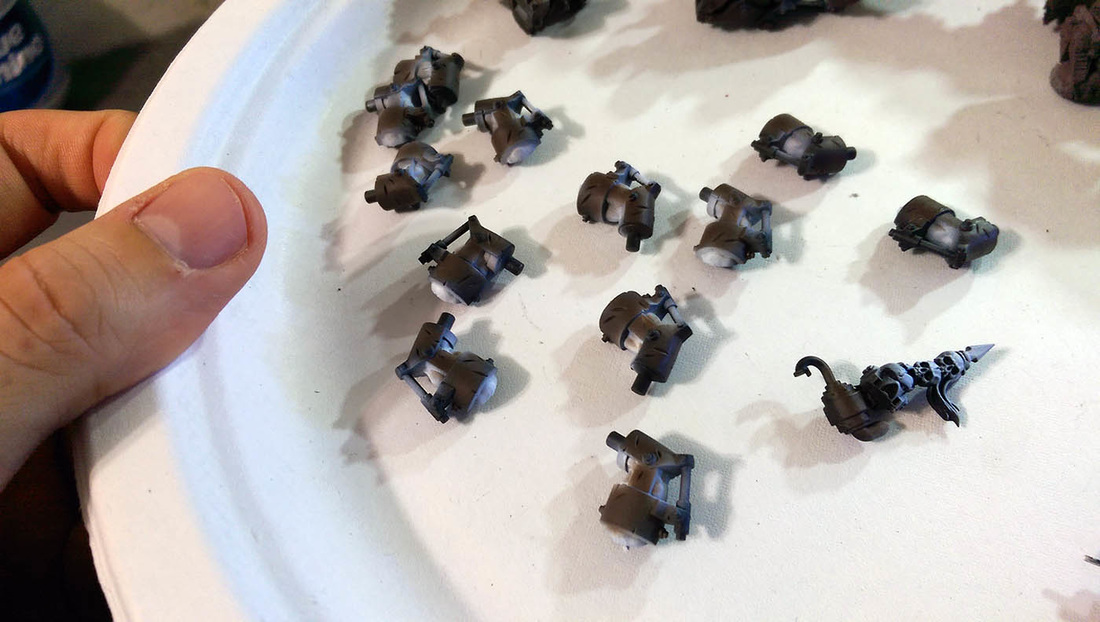
The grey/white primer helps give a bit of depth to the model, and changes how the washes effect each section. Washes are transparent and take on the characteristics of the underlying layer. Because our layers are monotone, the wash will be tinting the color and adding saturation to it, while simultaneously shading the model.
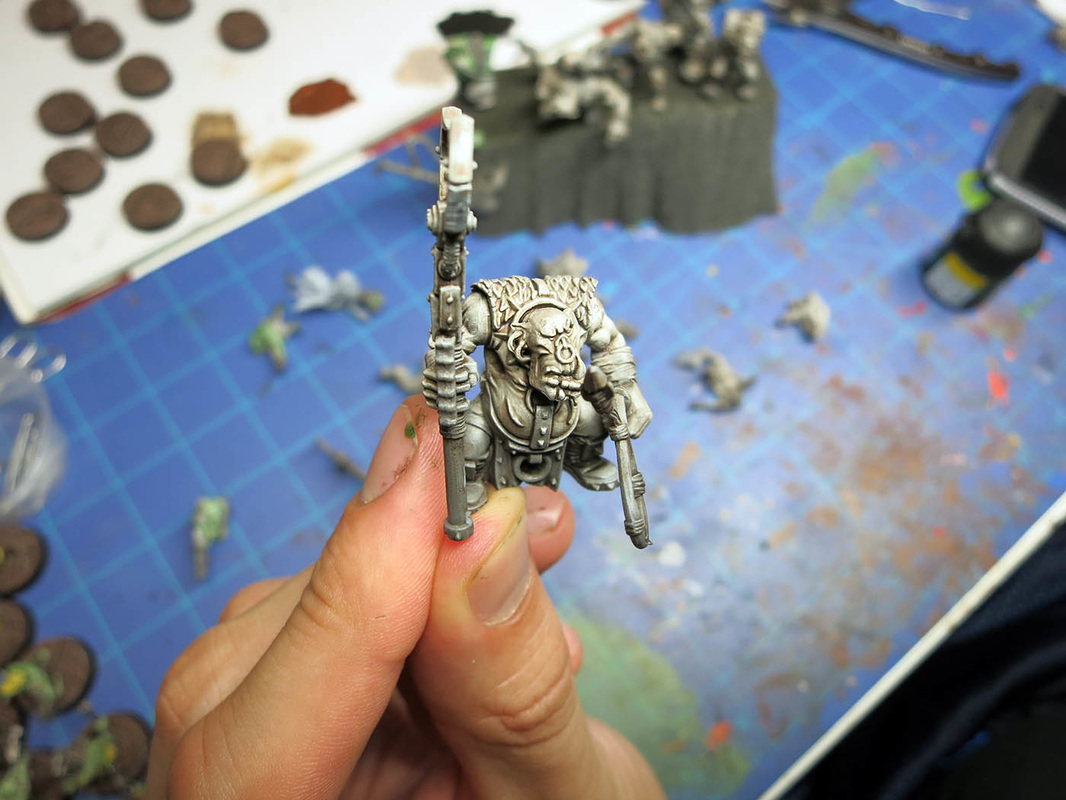
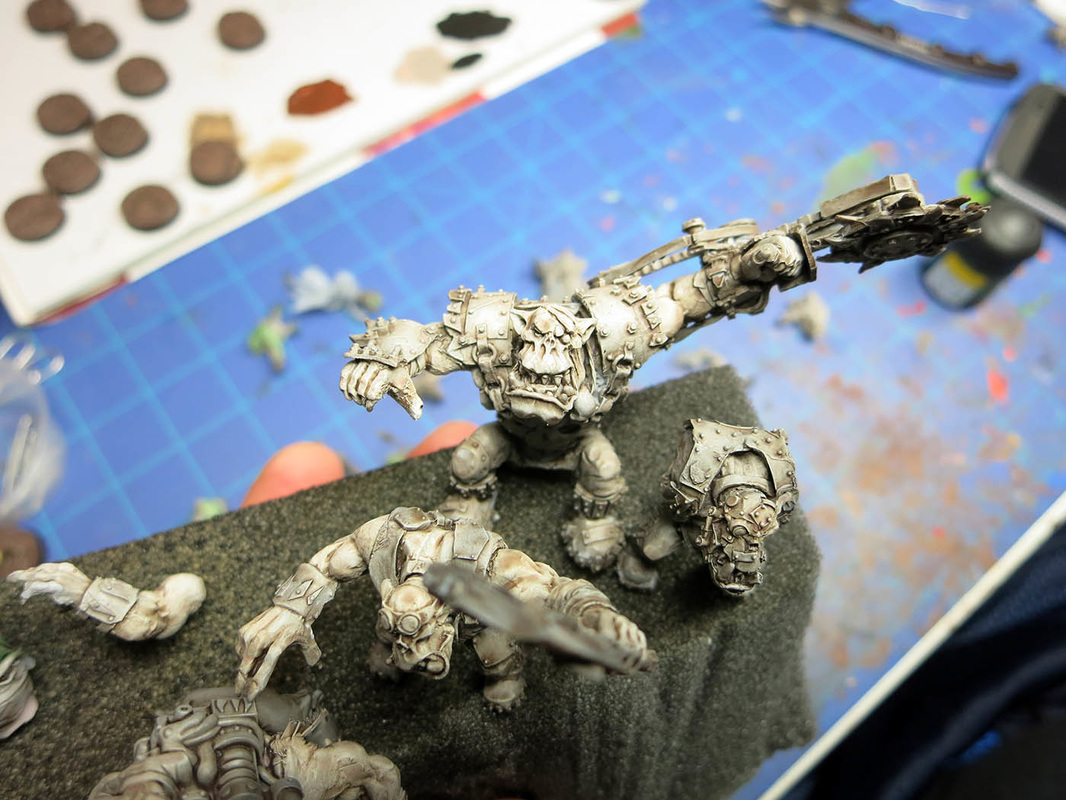
The next step is to add a devlan mud (or agrax earthshade) wash to the entire model. While doing this, have a second brush ready with some water and paper towel to dab up excesses. I find holding both brushes in one hand (similar to some blending techniques), allows you to do this quickly and prevent any pooling of the wash. This step brings a bit of definition to the model that allow the tinting glazes to really shine through. It's best to work in a batch when doing this, as it takes a good 30-40 minutes for the wash to completely dry. By working on a few models at once, by the time you finish the last one, the first one is dry and ready for the next step.
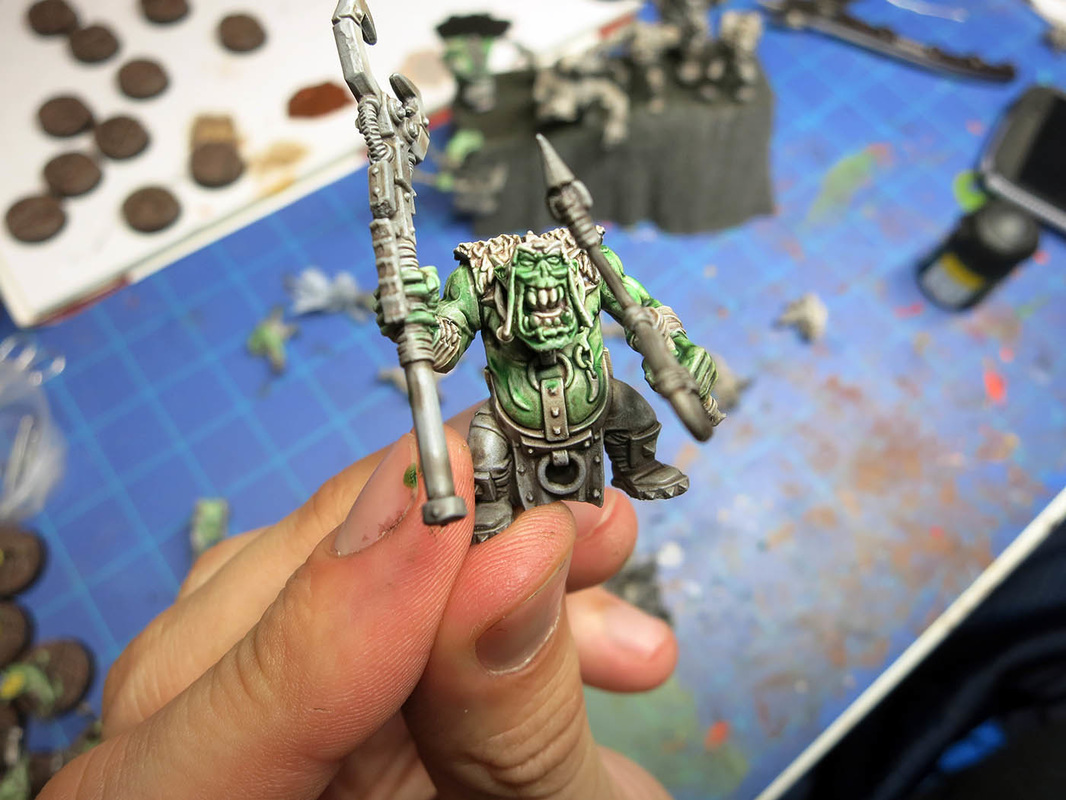

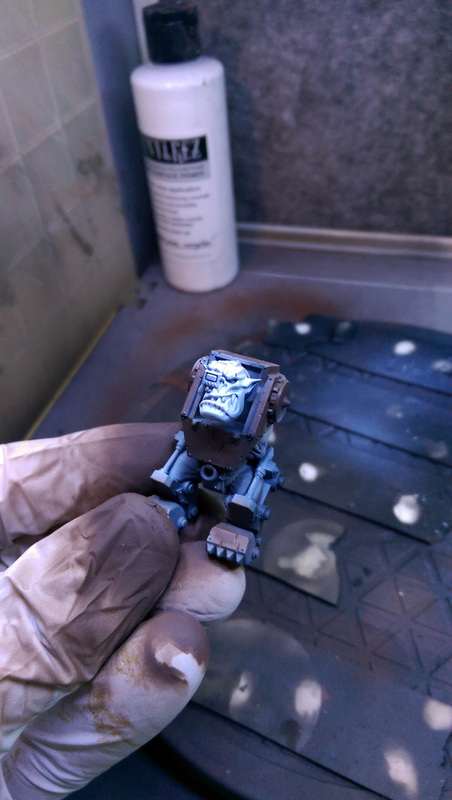
The next step is the most fun (in my opinion). Apply a coat of thrakka green to the skin of the gretchin and orks. Work carefully so that the green only goes on the skin sections. (though it's ok if it gets on a metallic section). The orks suddenly pop to life, and already look good enough for the table. Once again, keep a second brush ready to sop up any excess, so that you have some control over how much wash is getting into the creases. Because we are doing multiple layers, you need to pay heed of this.
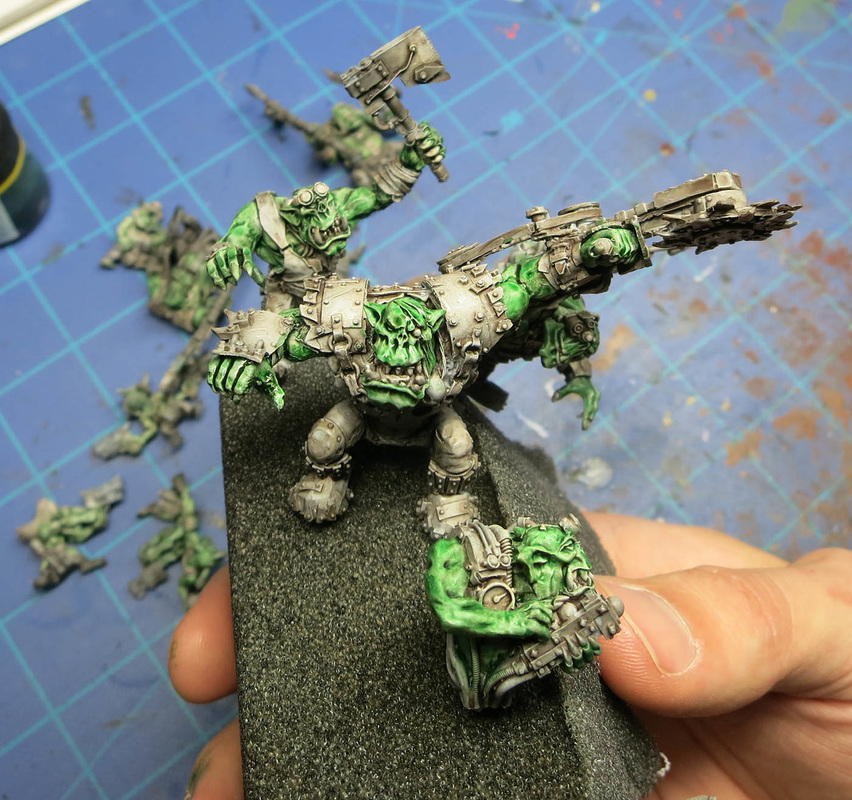
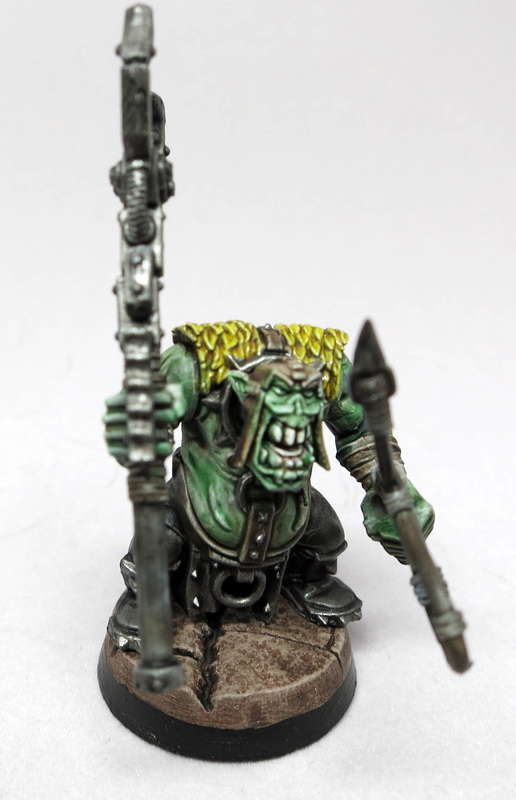
On the gretchin, I only apply a single coat of thrakka green. On the orks, I usually do two. And on the characters, I sometimes do three. With each layer of thrakka green, the saturation will increase, giving you a deeper green done. Here you see the second (or third) coat on the characters. You can really see how the green starts popping when you put on a few extra layers.
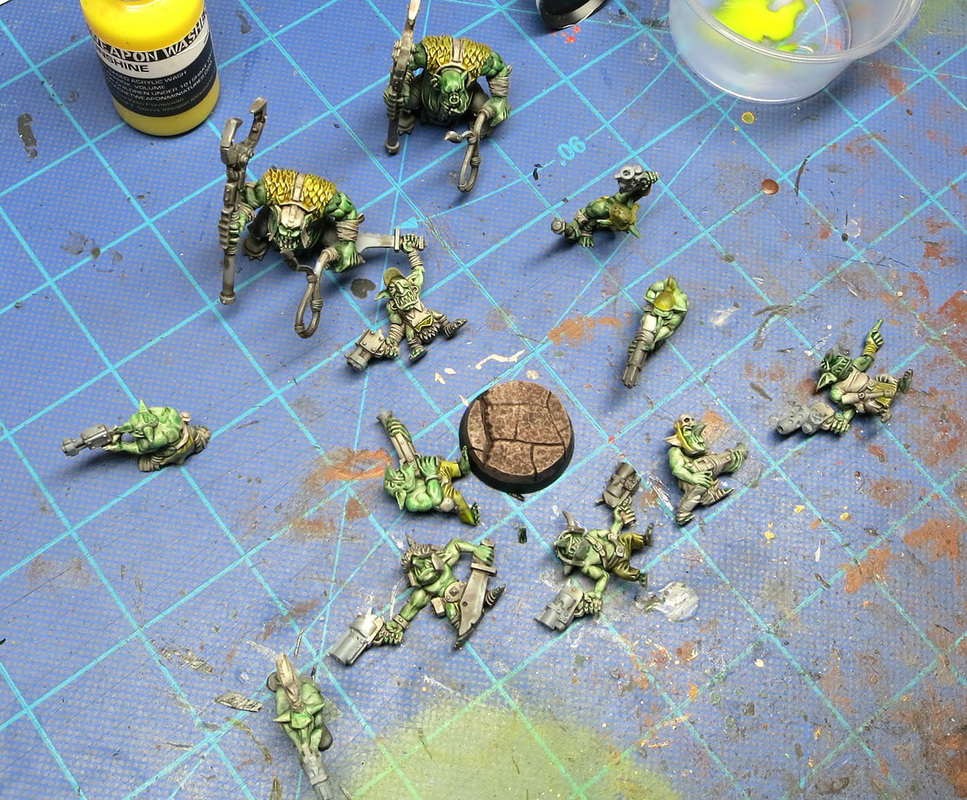
Next we add the yellow (for bad moons), with lamenters yellow. Because we are putting the yellow on a muddy brown/white, it will take multiple coats. I think I used an average of three, but would apply more if needed to a particular model. IT gives you a very grimey looking yellow. If you want a brighter style yellow, you'll need to keep the yellow sections whiter and use far less devlan mud on them. This was the look I was going for. This photo is also a good example of 1 coat vs 2 coats of thrakka green. (runtherders have 2, grots have 1).
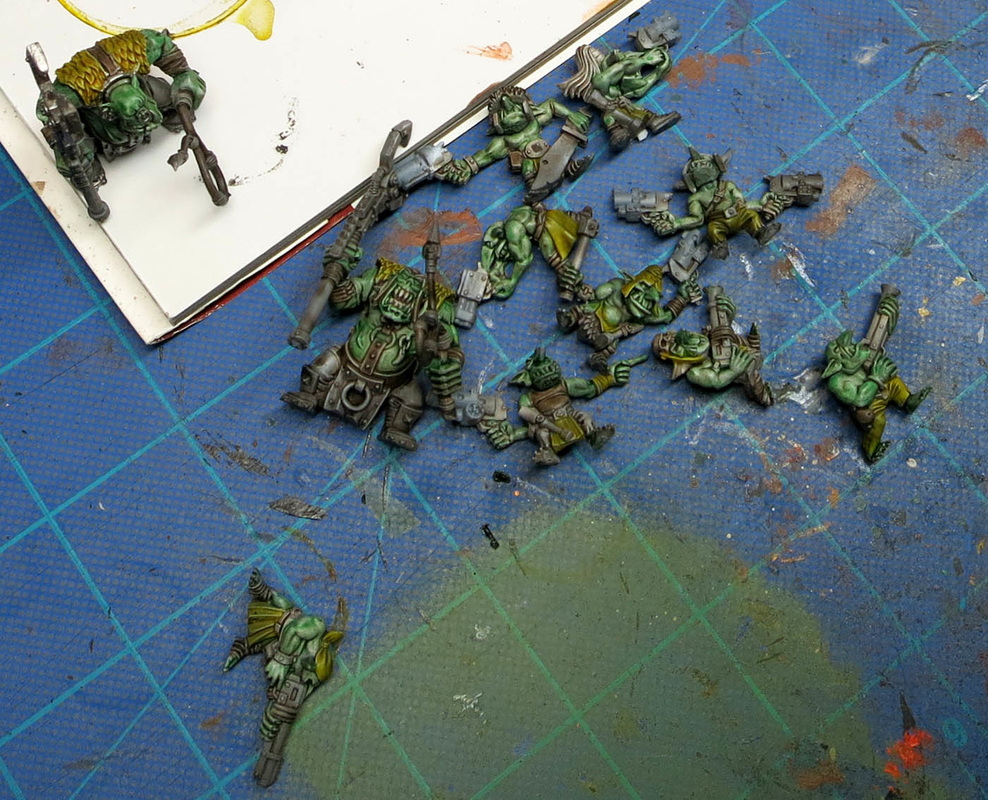
Next up is all the leather bits. This one requires a fine brush. You will be taking a small brush, and adding devlan mud in 1-3 layers over the parts you'd like to show up as leather, concentrating on the center sections . The wash will settle naturally, and give you a nice deep brown in the center which fades to a lighter brown on the edges, mimicking wear.

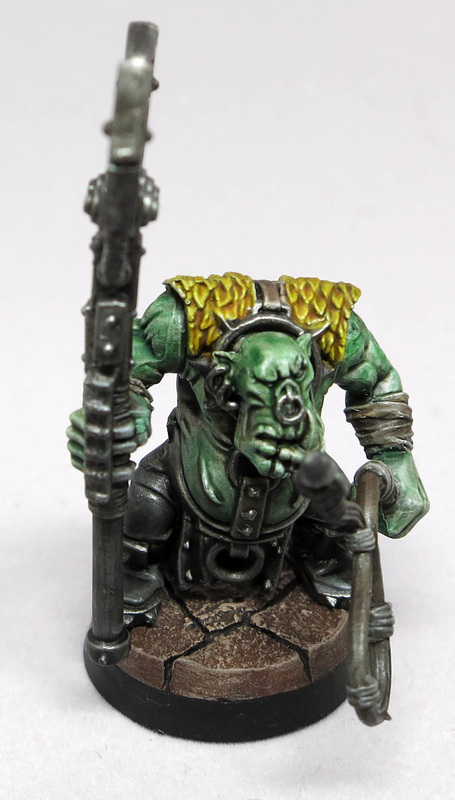
The final stage is the most difficult by far. The metallics. This is really the only hard part of this entire paint job. You absolutely have to be extra careful when painting the metallics on the model. Unlike other techniques, where you can just use the previous layer or color to cover up your mistakes, you can't here due to the layering process. The metallic covers everything. You can be ready with another brush to try and sop up your mistakes, but you will have to be quick, and it will still leave some metallic flakes.
After painting the metallics, just use badab black on them, and badab black (nuln oil) on the pants. And you are done.!
Optional: As with any technique, you can then go back and dry brush the washed metallics to give them a bit of pop, and add details such as eyes, tongues, etc. All up to the individual artist, and the quality you want out of your paint job.


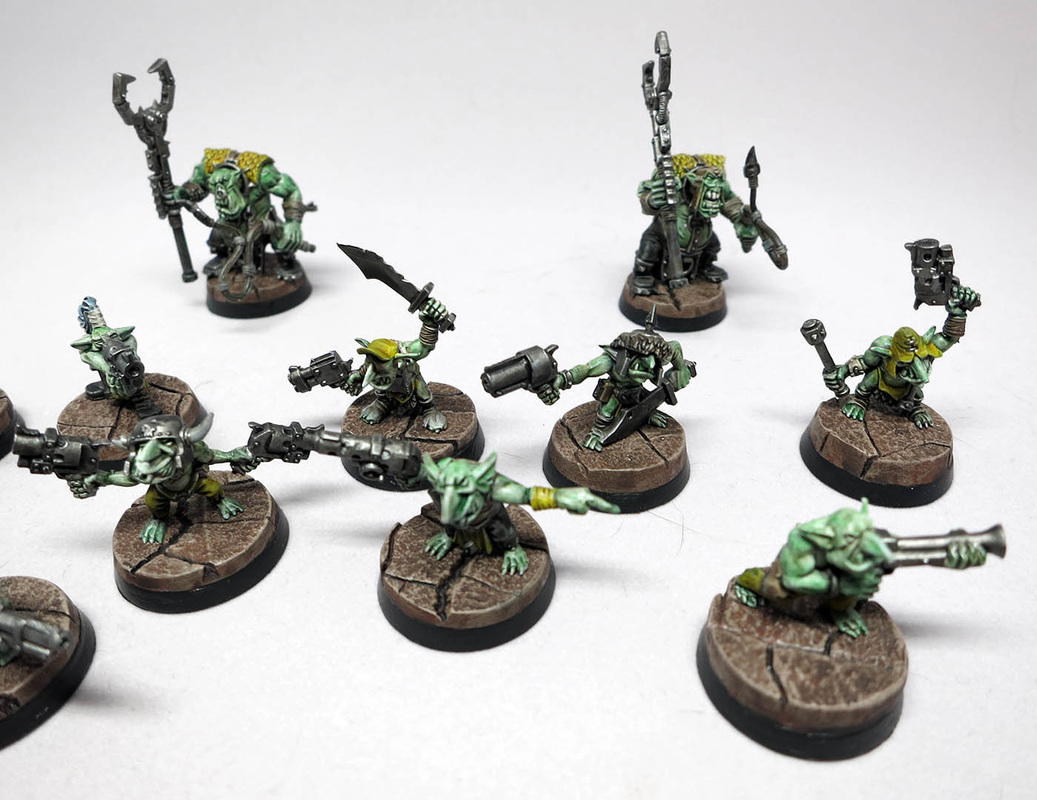
You end up with a really nicely painted squad (tabletop, not competition!) which looks great, and required little skill to obtain (just a bit of patience)

What always amazes me is just how great things like the leather and the black pants come out. You'd think I was actually trying!
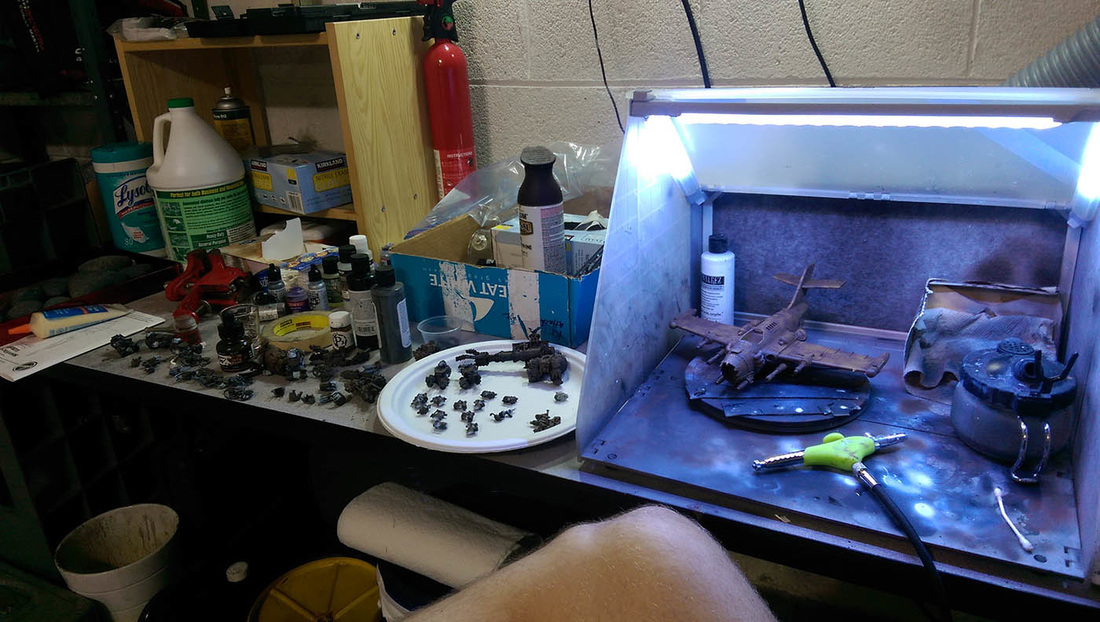

In hobby land, I am in full massive production mode. I've been building, cleaning, and assembling models, and getting everything to the exact same state. The addition of needing a second 1k army for trios really threw me off my game. The walker list doesn't use up enough points in the 1k ally list, so I basically had to come up with something from scratch. I've also been rearming (literary) the walkers, with three new big shoota killa kan arms, two skorcha's and a supa skorcha for the mega dread, and double big shootas for one of the deff dreads.
I'm pretty exhausted!
I'm pretty exhausted!
I am also finally using the airbrush for the first time. Starting to do complex fine brushing with it. Painting browns around whites, etc etc. This production line has really given me a lot of practice...especially those !@#&!)(&$!@ mega nob arms. That is what I've been up to guys! Hope you are all having an awesome hobby time! Thanks for stopping by and all your comments which boost me up and keep me trukkin!


 RSS Feed