Night Scythe and Necron Lord
Macathu gave me another training session to keep my lazy butt in line so I'm painting another group of necrons for him (as payment).
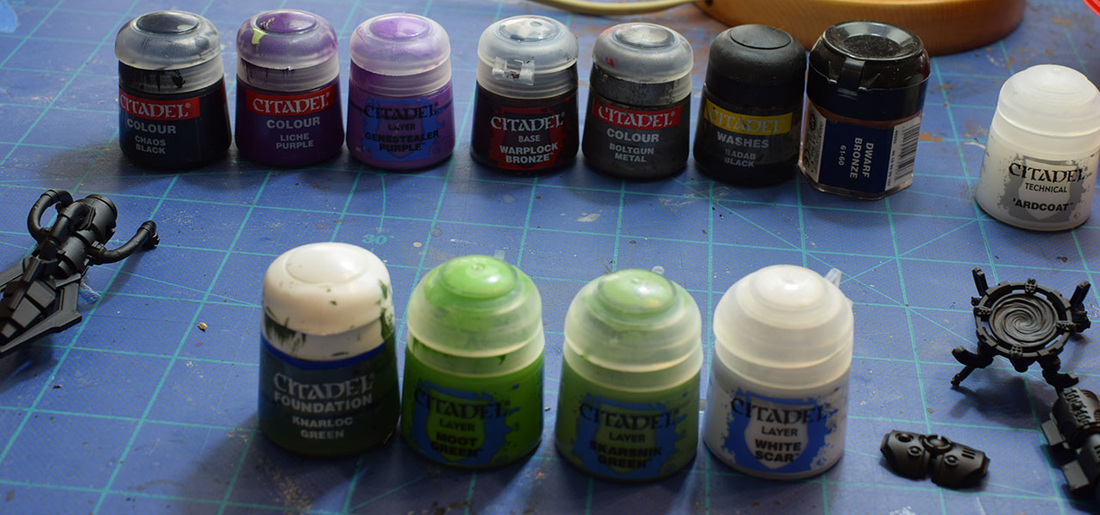
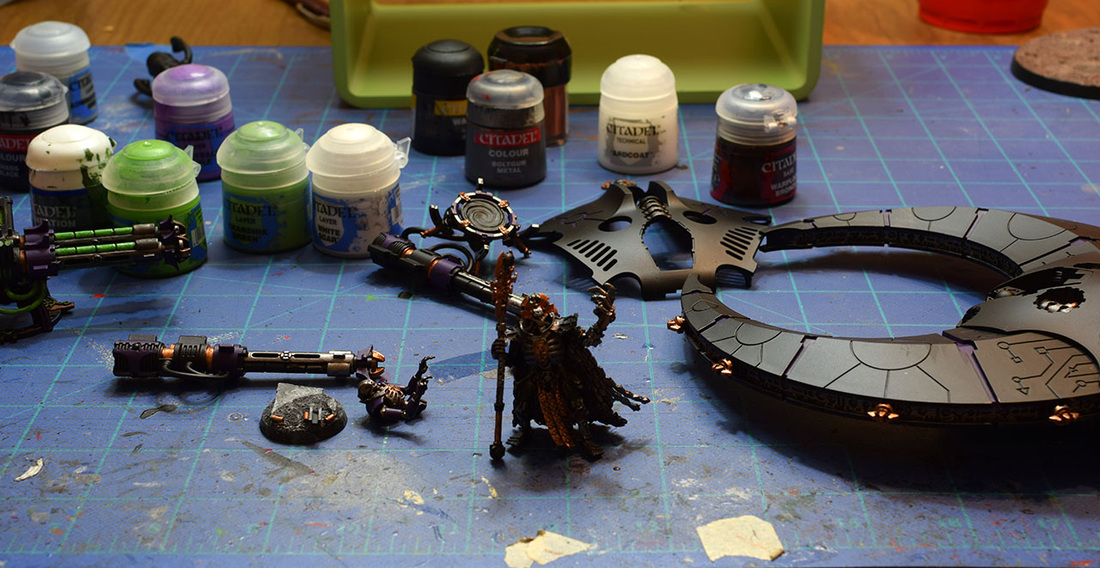
I'm going to be painting a night scythe and the stormlord. I've attached a photo of all the paints I'll be using (minus black primer and glaze medium).
To start with, I magnetized the flyer so he could swap it back and forth between a transport and death laser of doom! I was originally going to post photos of this, but the flyer is practically made for magnets, and it took very little work to get everything to line up and snap into place.
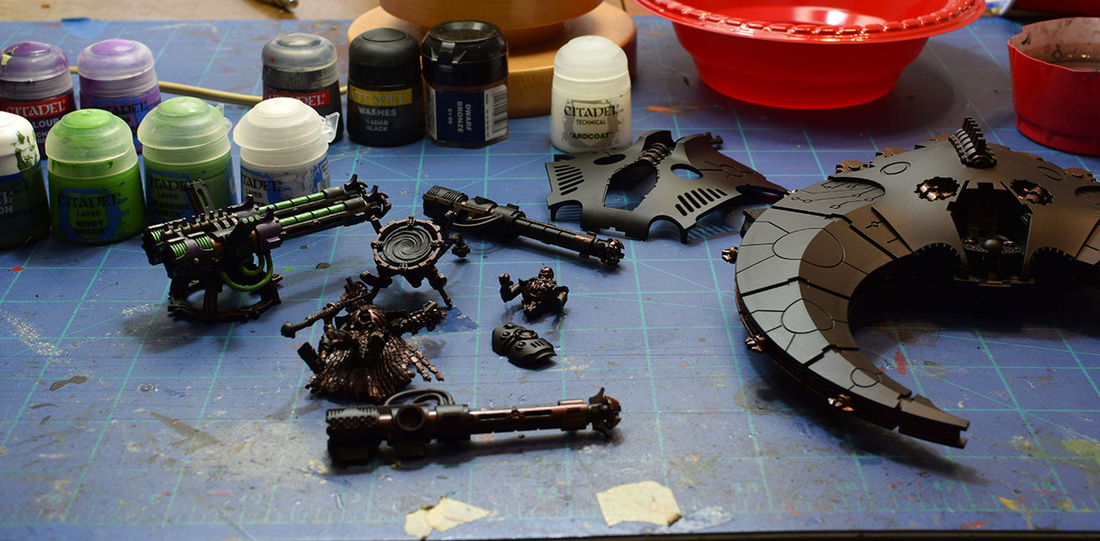
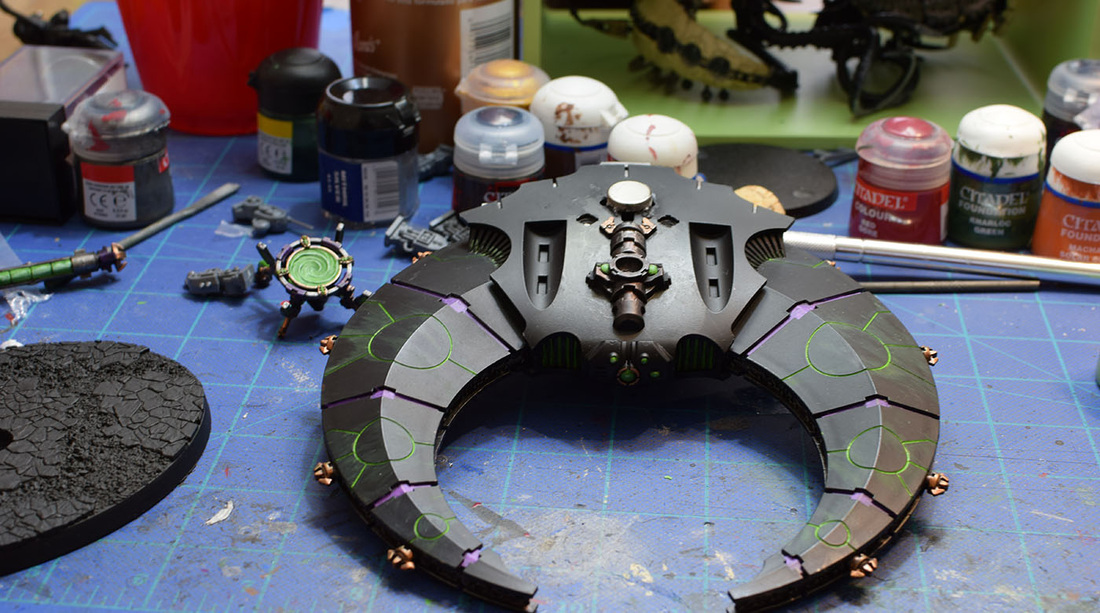
To start with, I use GW black primer to prime (as a base coat). Then I hit the majority metallic sections with tin bitz. Macathu likes his necrons a much more dull color instead of the shiny metal that is standard. I find by starting with tin bitz, then dry brushing boltgun over top of it,it adds a bit of variety and helps tone it down.
The TL Tesla Destructor is from the barge I did for him. I'm using it as a reference to make sure I'm getting the shading and colors right so the whole army meshes well together.
The TL Tesla Destructor is from the barge I did for him. I'm using it as a reference to make sure I'm getting the shading and colors right so the whole army meshes well together.
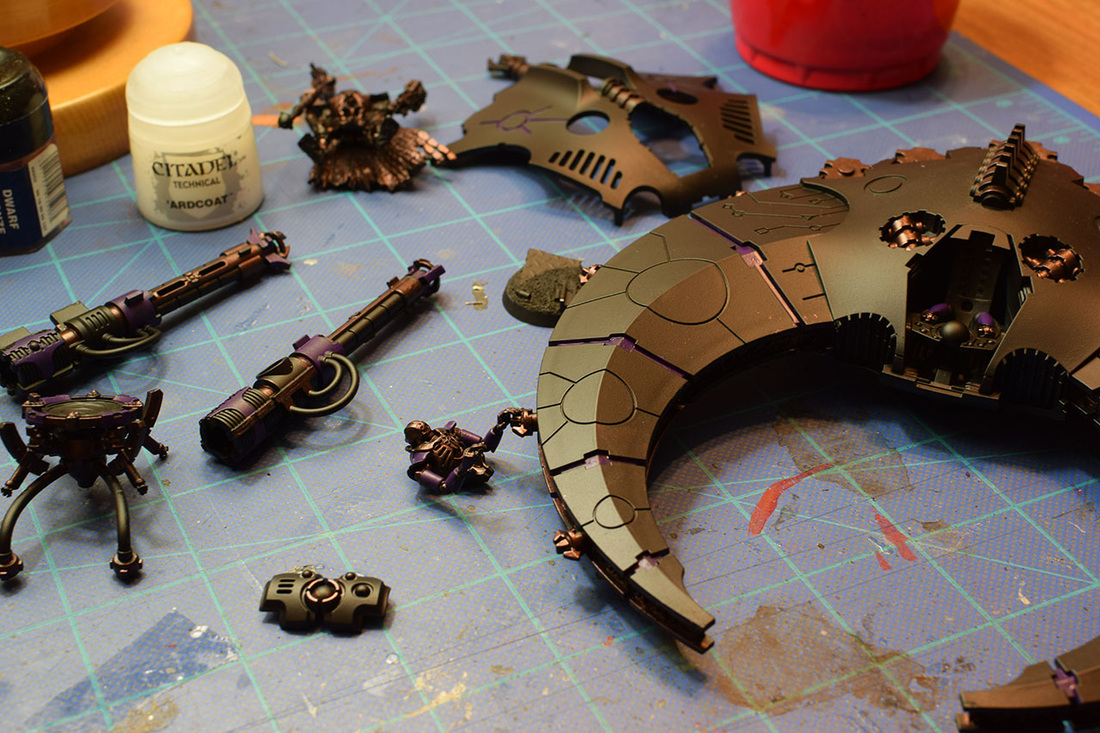
Did some warlock purple bits so it looks like I was accomplishing something. Sometimes I feel painting is more about seeing changes in your work that actually getting work done. I sometimes have a huge trouble batch painting because its so repetitive. I want to see the model come alive!
Started with some boltgun dry brushing. So much necron metal. I also started with hitting some parts with dwarf bronze. All the metals will get 1-2 coats of badab black to really darken them up.
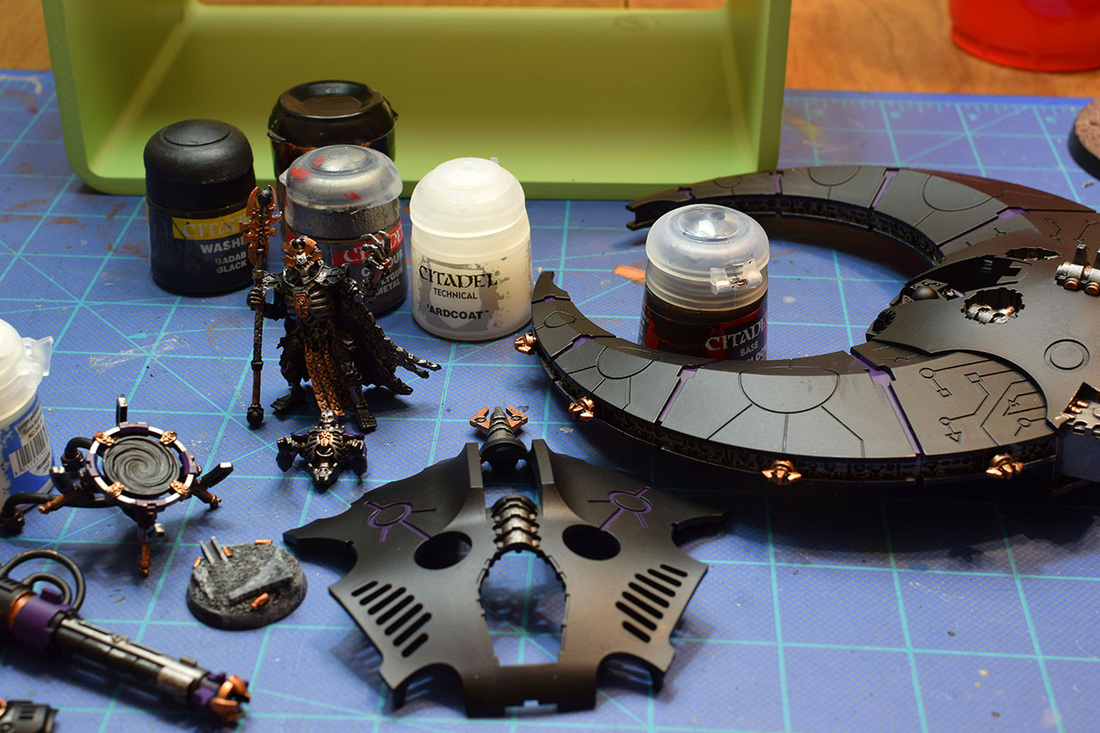
A better shot with a bit more light. Everything looks REALLY bright right now. It'll tone back. Don't worry!
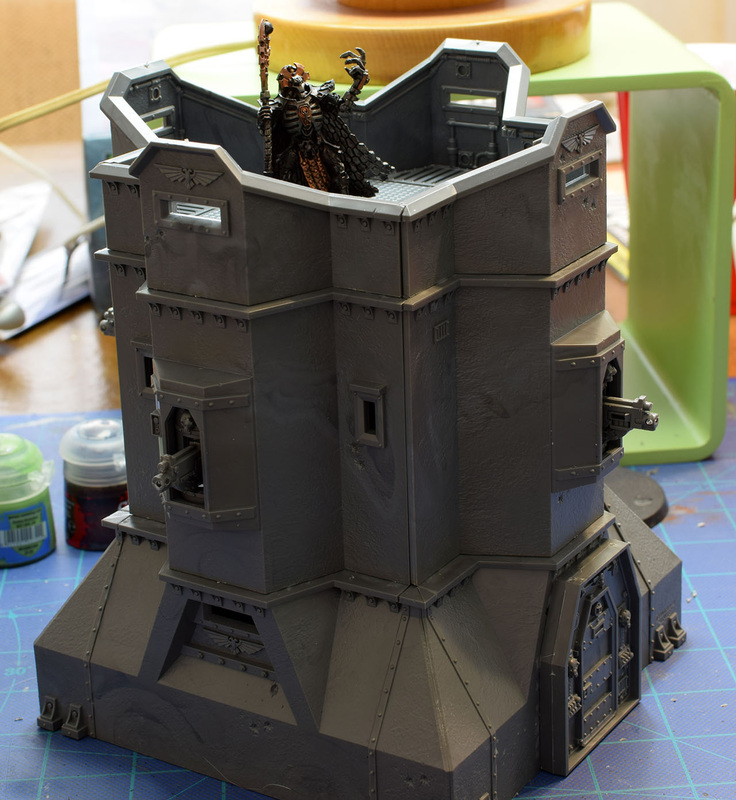
What? What's this? Oh that's right, I got a bastion this past week. Just finished putting it together. I'm hoping to recreate some awesome terrain that I saw at a GW store involving bastions and towers to create a massive building centerpiece on the board. Should be fun!

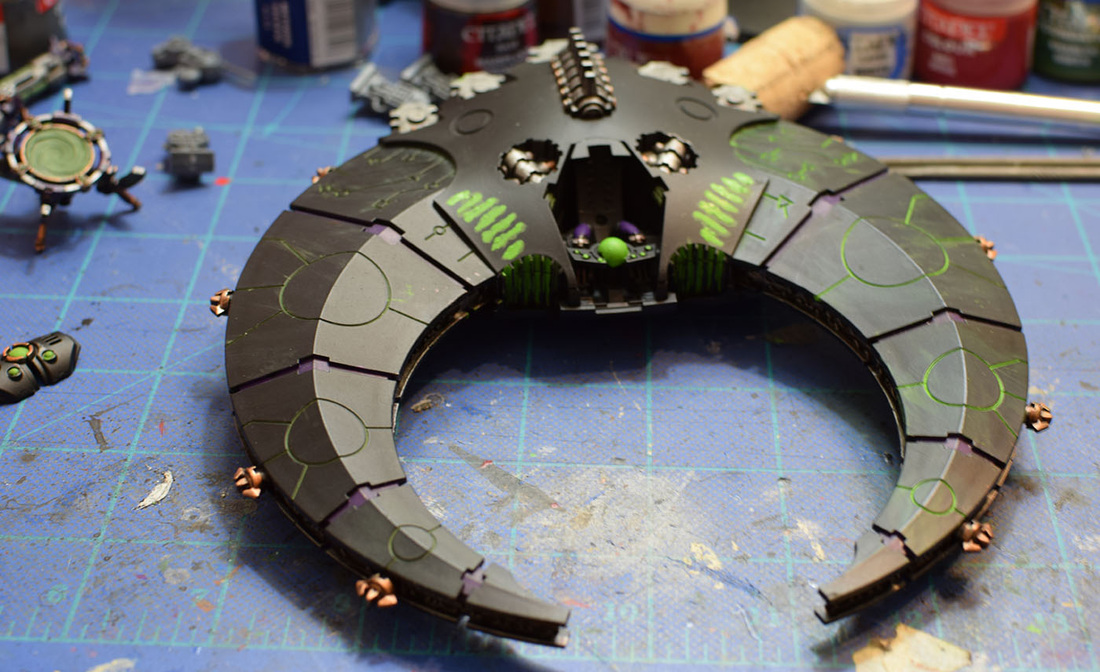
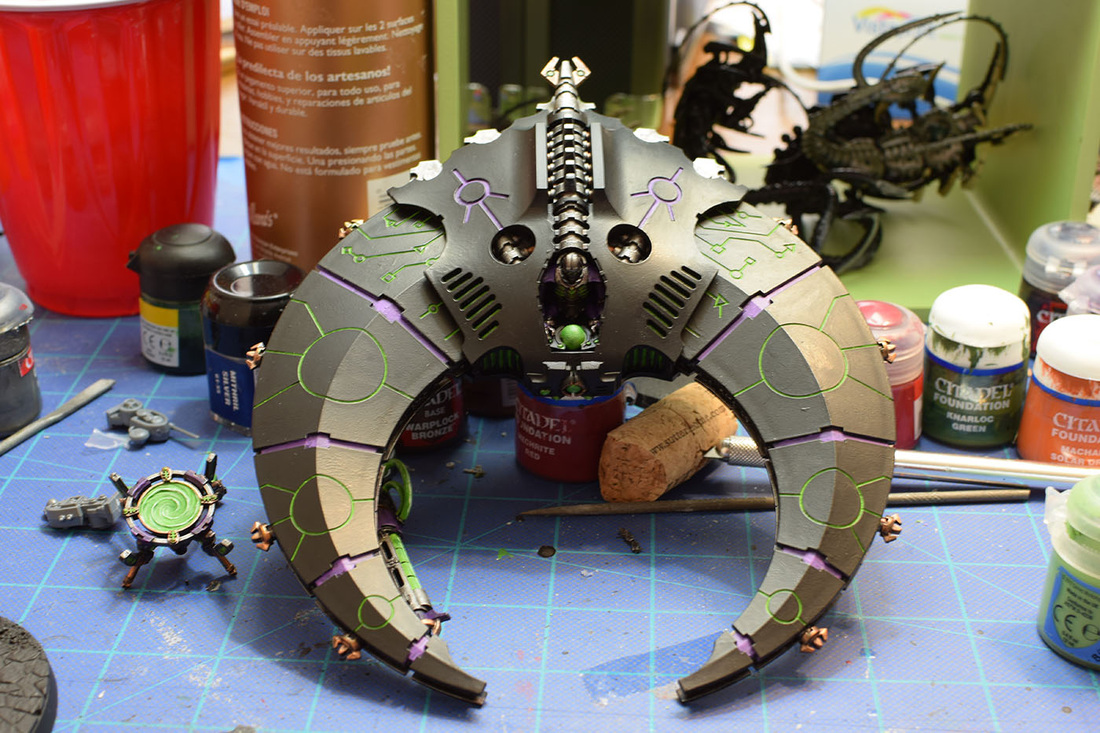
Forgot to take a photo of the flyer after the badab black. So this is badab black + the base coat of green. The paint scheme really starts to show up at this stage, and I get really excited.
Things look a bit messy at this stage, but that's ok. I usually use some chaos black to cover up the excess green and clean up the model at the end. I used to worry about messy painting all the time, and then I realized I could just fix that at the last stage. Saves sooo much time!
Things look a bit messy at this stage, but that's ok. I usually use some chaos black to cover up the excess green and clean up the model at the end. I used to worry about messy painting all the time, and then I realized I could just fix that at the last stage. Saves sooo much time!
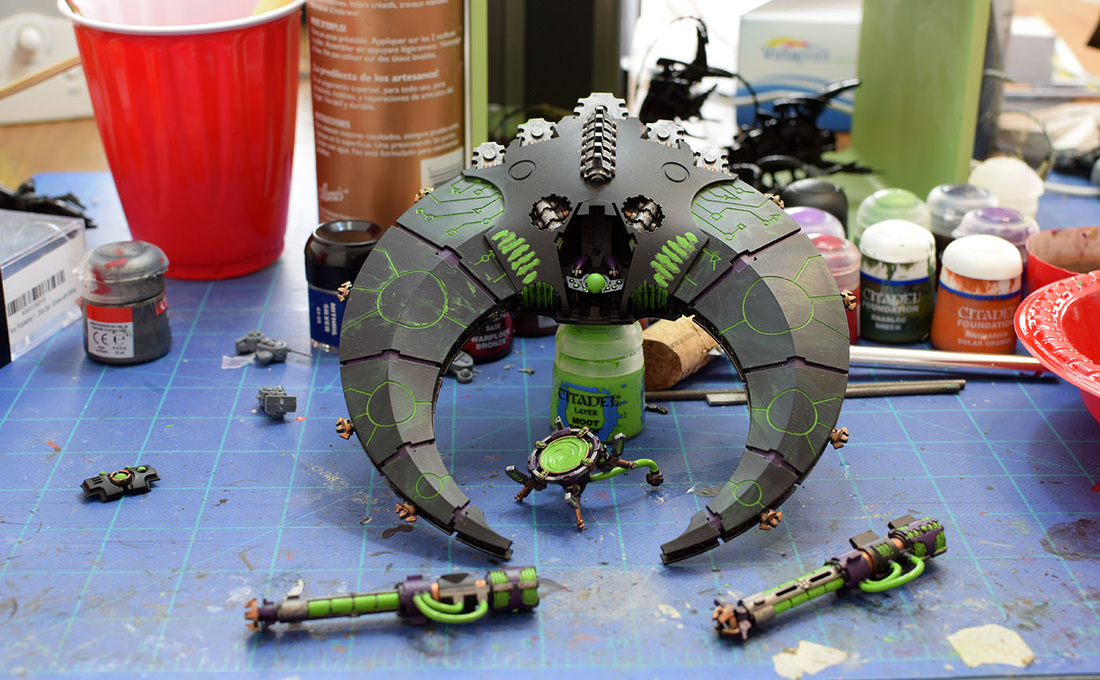
Continuing on the flyer. Finally getting to the good part...the actual layers of highlights. Here I start hitting the right side with the bright green highlight (moot green). I mix it with medium and some water and let it flow over the previous layer in the cracks on the model. Pretty much anything that is green gets hit with this. (3/4 ish on the other color if it's a gun or orb).
Doing the other side now. Guns almost done. The change in vibrancy is incredible.
I take a break from all the green, and start hitting the purple with a brighter highlight. (genestealer purple). I just do the centers to help pop the purple out a bit more and add some contrast.
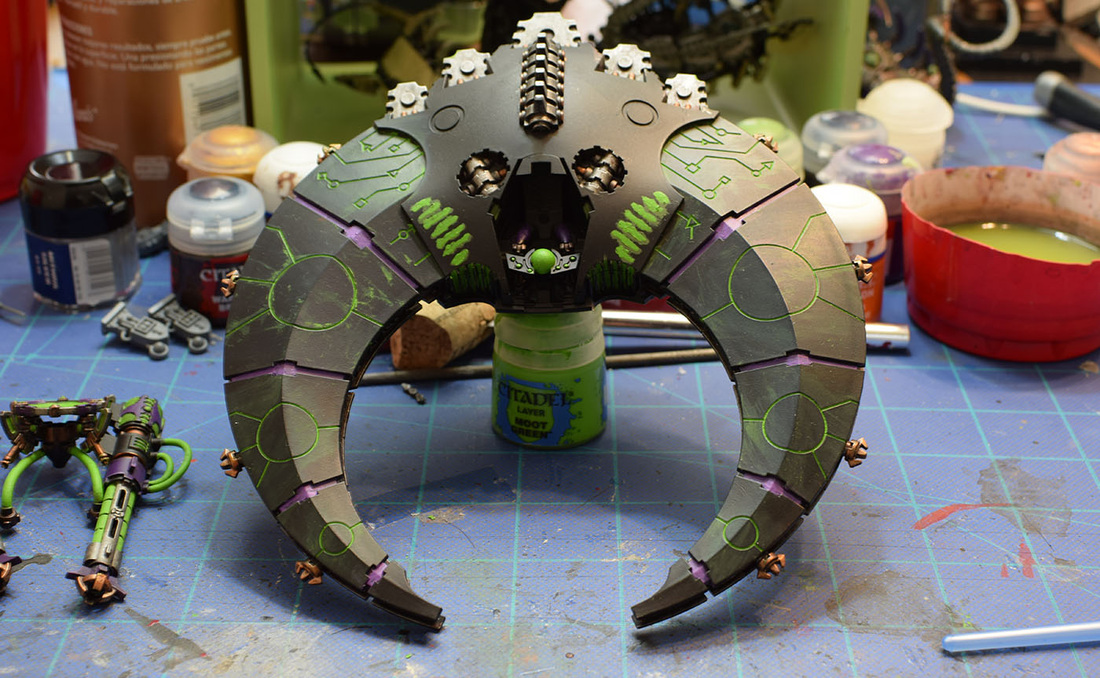
The tedious part arrives. No matter how careful I am with the green highlights, I always make a mess on the models surface. So I go back over it extremely carefully with a chaos black coat, sharpening the lines. On the right side of the model I've finished this process, and I still have to do the left.
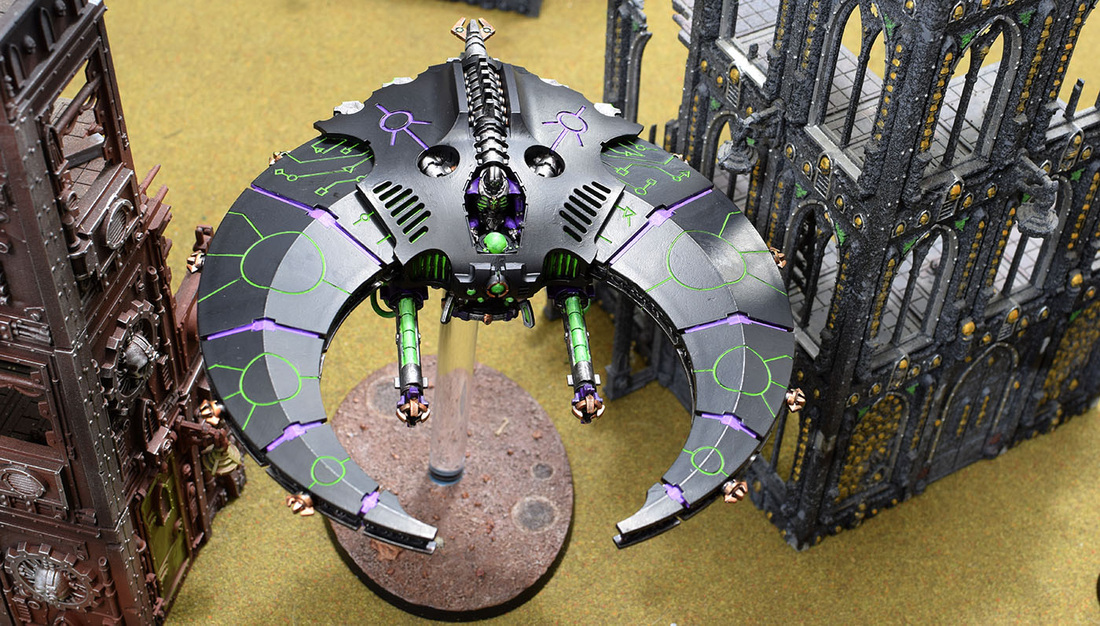
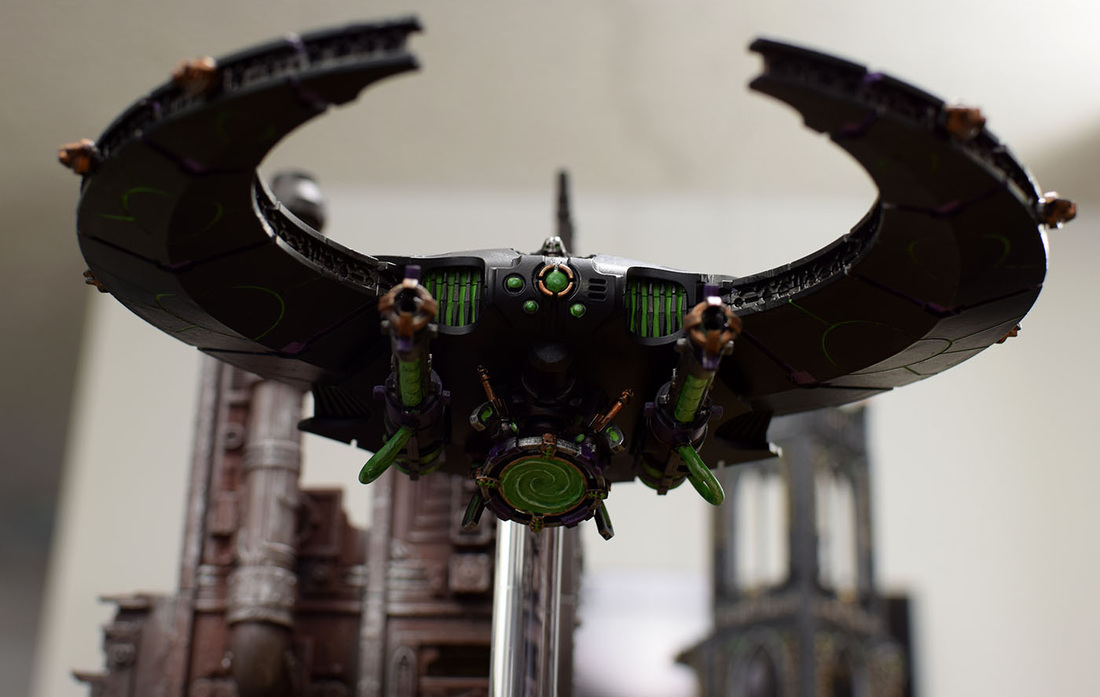
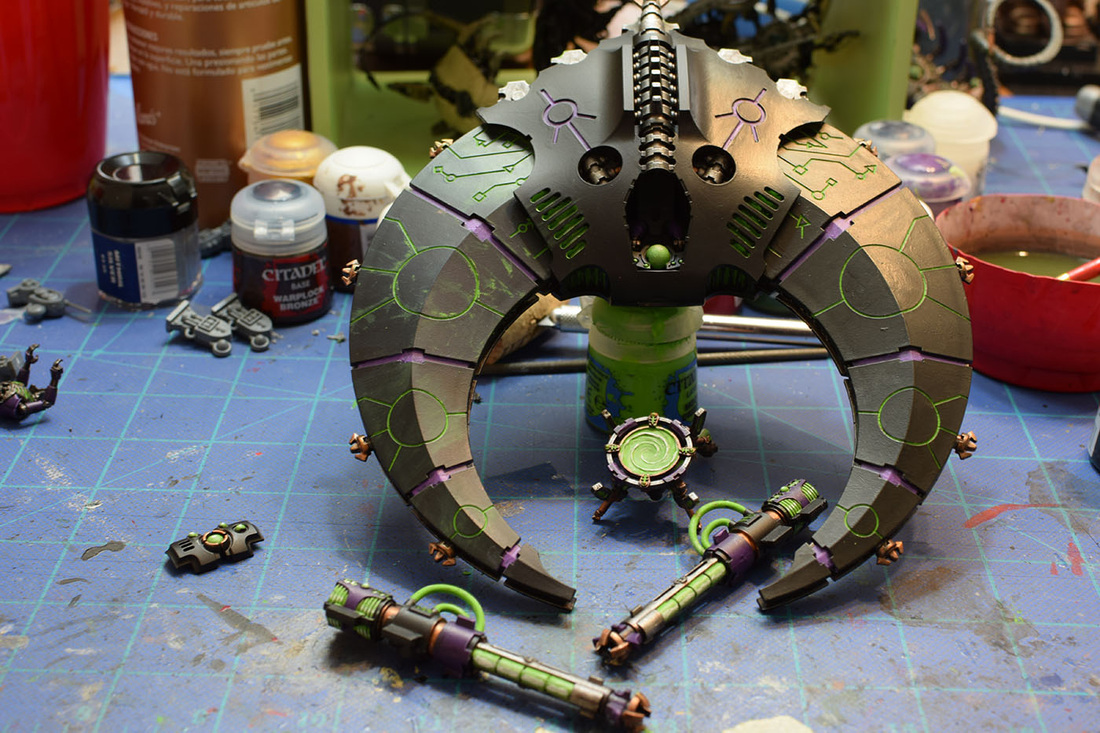
Both sides are done now. I also clean up the vents, and add two more layers of highlight to the other greens. Skaksnit, white, and thrakka green wash. As the model gets cleaned up, the colors really pop. I really love this color scheme. It's very striking.
Oops, almost forgot to do the bottom! Here you can also see the massive magnet which makes the model extremely stable on the table top. (It's a 1/2 x 1/8 magnet) After this point I clean up the green, and it's finally done!