Tyranids and Space Marines vs Necrons
Hey everyone! It's time for another battle report! This time it's a 2v1. We routinely end up having an odd number of players, so sometimes we play a 2v1. Our house rules for this is as follows. We give the person running 2000 points, an ally FOC addition.
So the 2000 point army gets
2-3 HQ
3-7 Troops
0-4 Fast
0-4 Elite
0-4 Heavy
We found this gives the 2000 point player a bit more balance when facing two different armies at once. We tried doing 1k + 1k (two different armies) vs 1k +1k (same army), and the result was devastating. Being able to field 5-6 heavies on one side just wrecks the opposing army in 1-2 turns. This is also the first time playing new nids, and quite possibly the second time I've ever played nids at all.
Now to the armies!
Proxy WARNING!: This game uses proxies. Some of the models in these armies weren't available originally, so conversions were done, or new replacements have not yet been purchased. If this offends you, please skip this battle report. I will point out which models represent their actual game equivalents.
Note: I'm an idiot. I made some massive rule mistakes for nids this game. I thought MC's only ignored armor during "smash attacks." So every time I'm in CC with a MC, I'm halving their attacks to smash...oops!
Mission: BAO Tourney Scenario 6
Primary: Big Guns Never Tire (4 pts)
Secondary: The Relic (3 pts)
Tertiary: First Blood, Linebreaker, Slay Warlord
Deployment: Hammer and Anvil
Night Fighting: Yes
First Turn: Necrons
Tyranids (1000 Points)
HQ:
Hive Tyrant Wingless Tyrant Model
(Wings, 2x TL Devour with Brain Leech, Catalyst, Dominon)
Warlord Trait: FNP Near Objective
Elite:
Zoanthrope (Horror, Warpblast)
Zoanthrope (Paroxysm, Warpblast)
Troops:
3x Warrior (Stranglethorne Cannon)
3x Warrior (Stranglethorne Cannon)
3x Warrior (Stranglethorne Cannon)
Heavy:
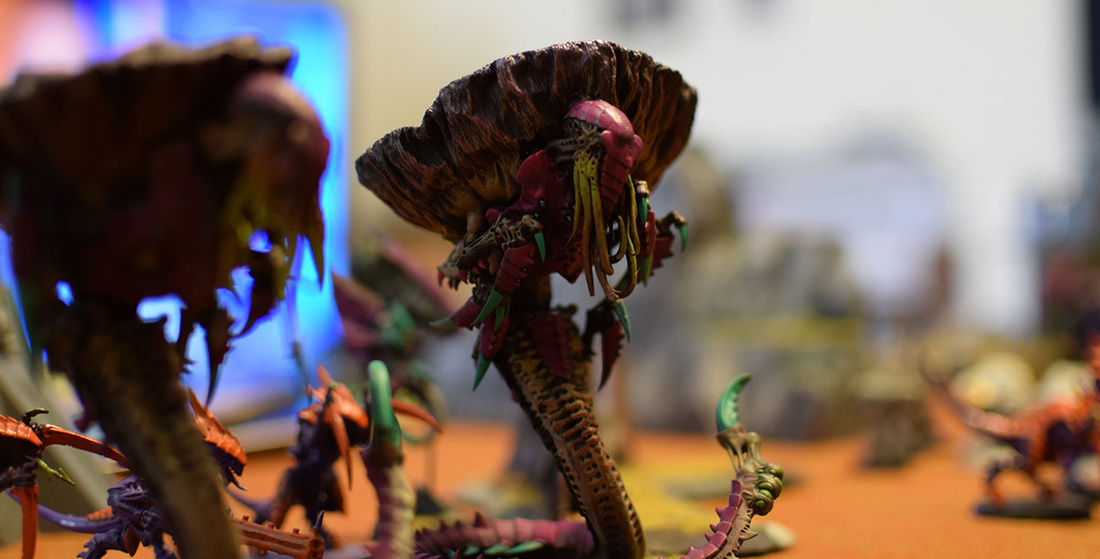
Tyrannofex (Acid Spray, Electroshock Beetles) Malenthrope Model
Tyrannofex (Acid Spray, Electroshock Beetles) Malenthrope Model
Space Marines (1000 Points)
Ultramarine Chapter Tactics
HQ:
Chief Librarian Tigurius (Forwarning, Objuration Mechanicum, Psychic Shriek)
Warlord Trait: Storm of Fire
Elites
6x Assault Terminators (3 Lighting Claws, 3 Thunderhammer/SS) in a LRR
Troops
10x Tactical Squad with Flamer/Sarg Drop Pod (combat squad)
10x Tactical Squad, Flamer, Missile Launcher, Sarg
Dedicated Transports:
Drop Pod (Combat Squaded Tactical Squad) energy drink sorry!!!
Land Raider Redeemer (Assault Terminators)
Necrons (2000 Points)
HQ:
Destroyer Lord (Mindshackle, Warscythe, Res Orb, Sempiternal Weave) Metal Lord, Egg Carton
Lord in Command Barge (Mindshackle, Warscythe, Phase Shifter; Sempiternal Weave)
Warlord Trait (Scoring))
Royal Court Cryptek (Veil of Darkness; Abyssal Staff)
Elite:
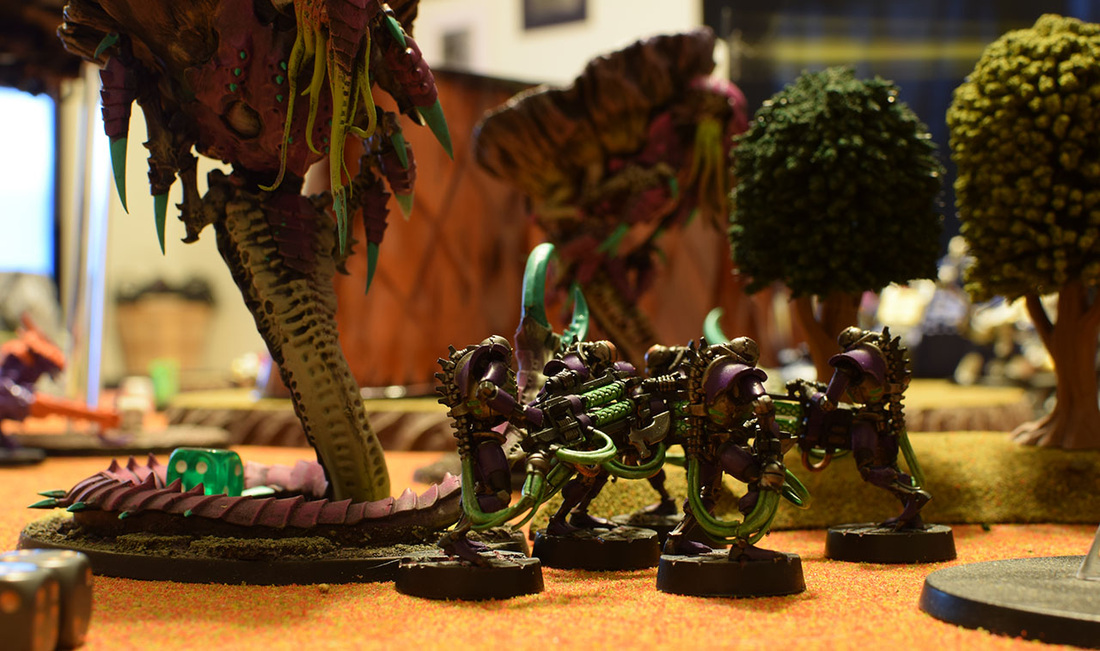
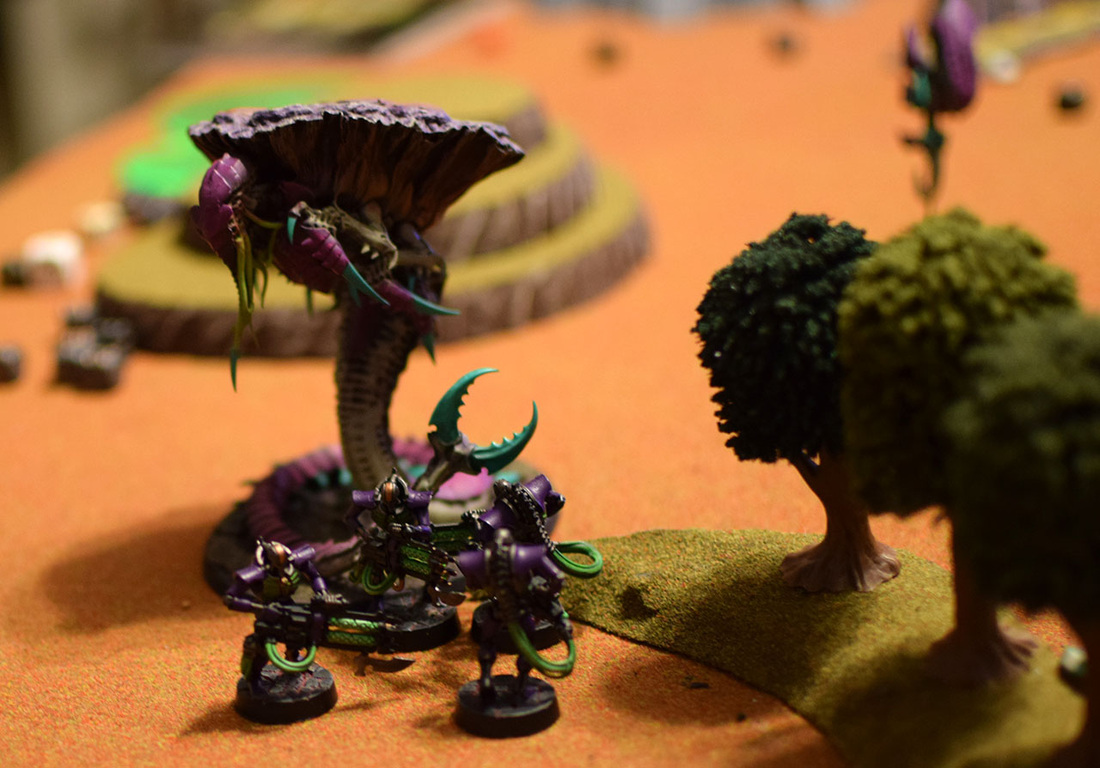
5x Canoptek Wraiths (x2 Whip Coils) Destroyer Models
6x Canoptek Wraiths (x3 Whip Coils) Destroyer Models
Troops:
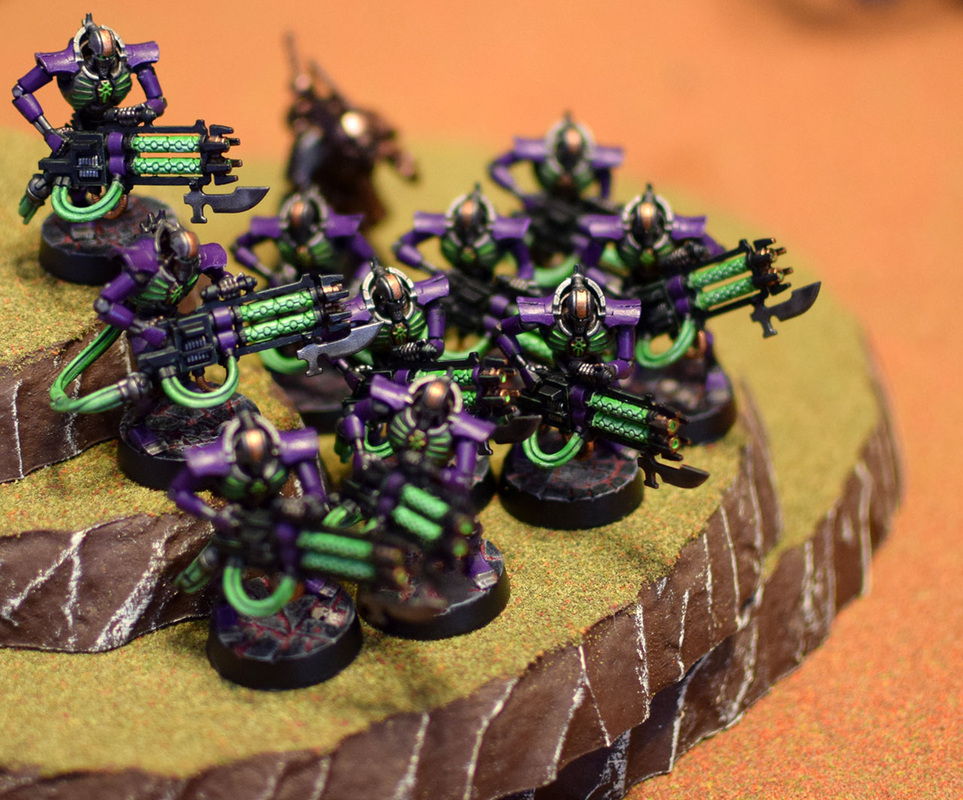
10x Immortals (Gauss) with Cryptek (tau stealth suit)
10x Immortals (Gauss) Warriors
10x Immortals in Night Scythe Warriors
10x Immortals in Night Scythe Warriors
Heavy:
Annihilation Barge (Tesla) Alien Figure
Annihilation Barge (Tesla) Predator Figure
Dedicated Transports:
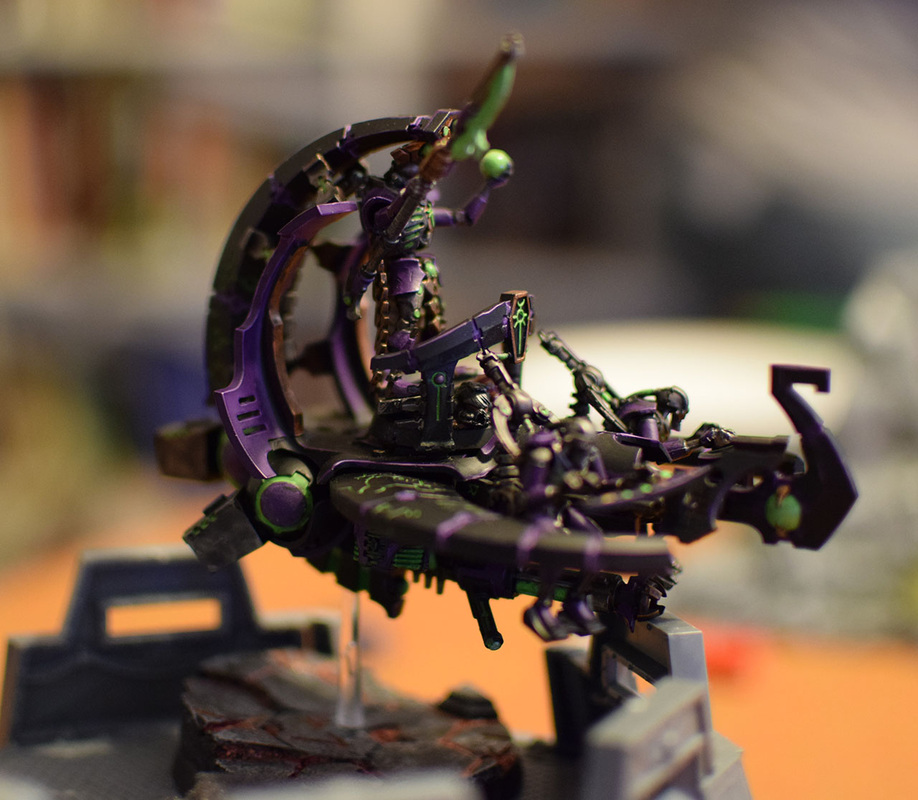
Catacomb Command Barge (with Lord)
Night Scythe with 10 Immortals
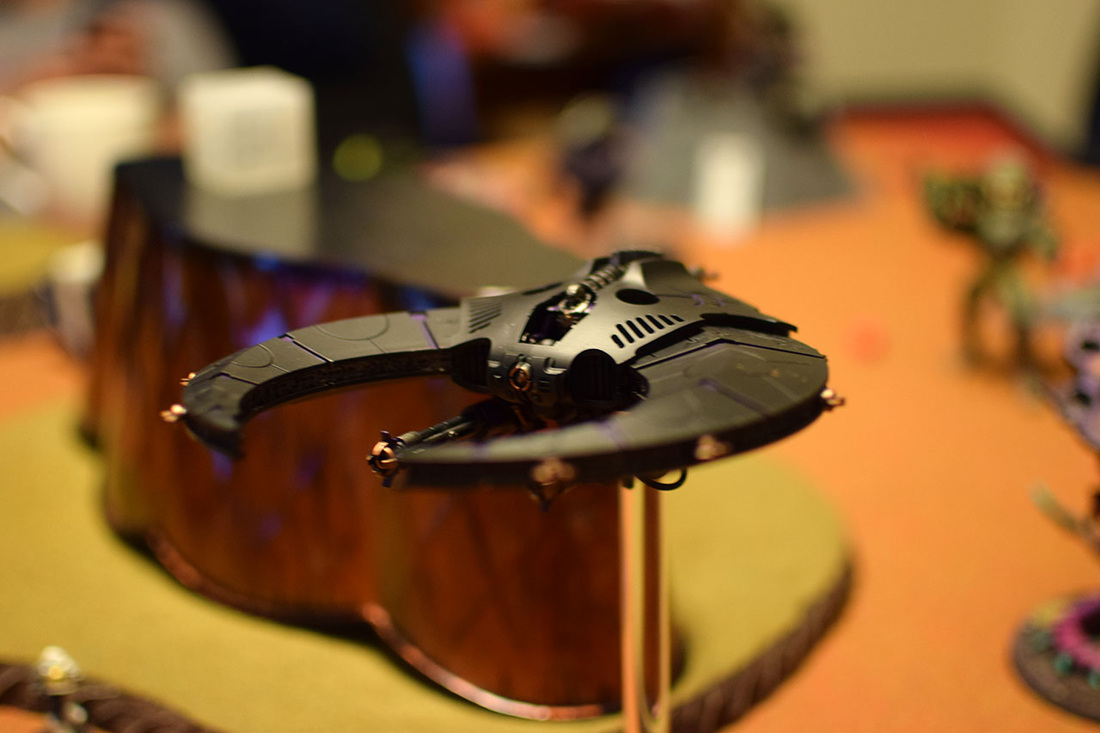
Night Scythe with 10 Immortals (Dark Eldar Flyer)
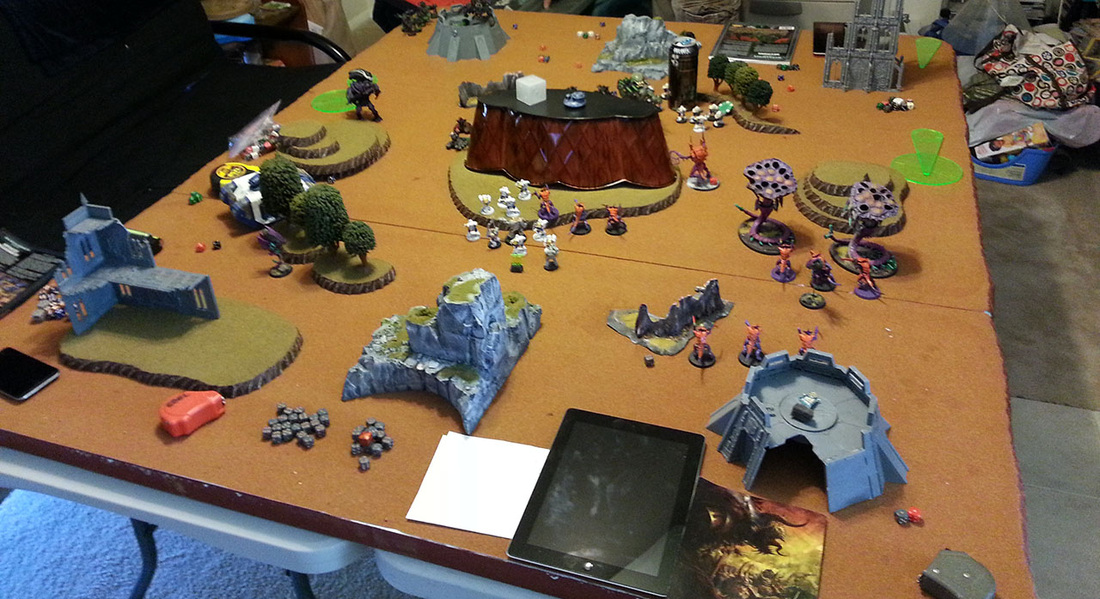
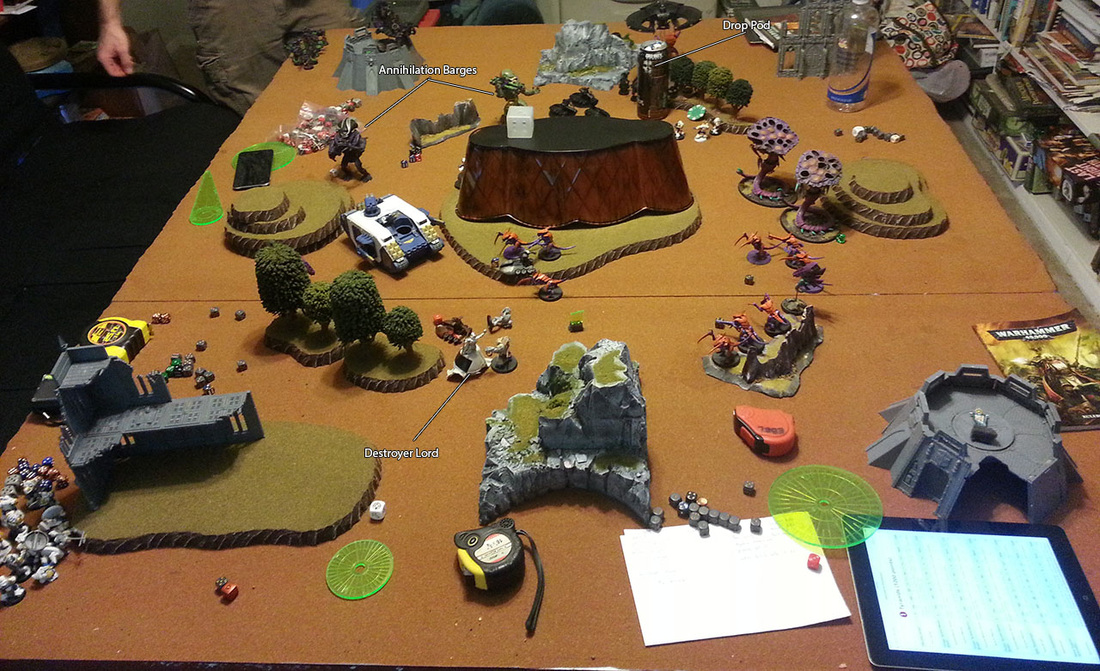
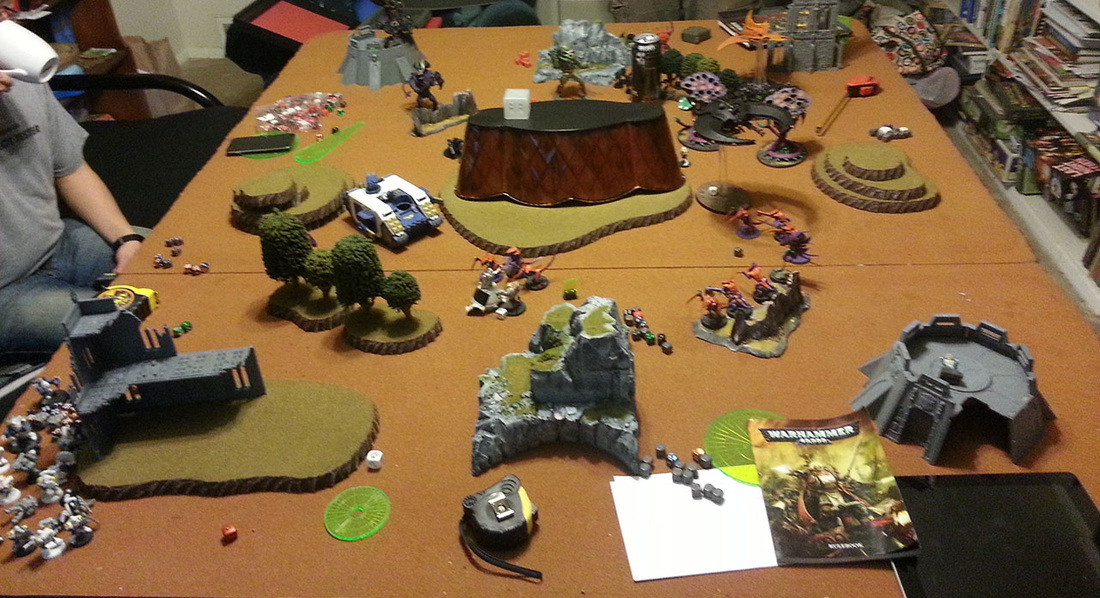
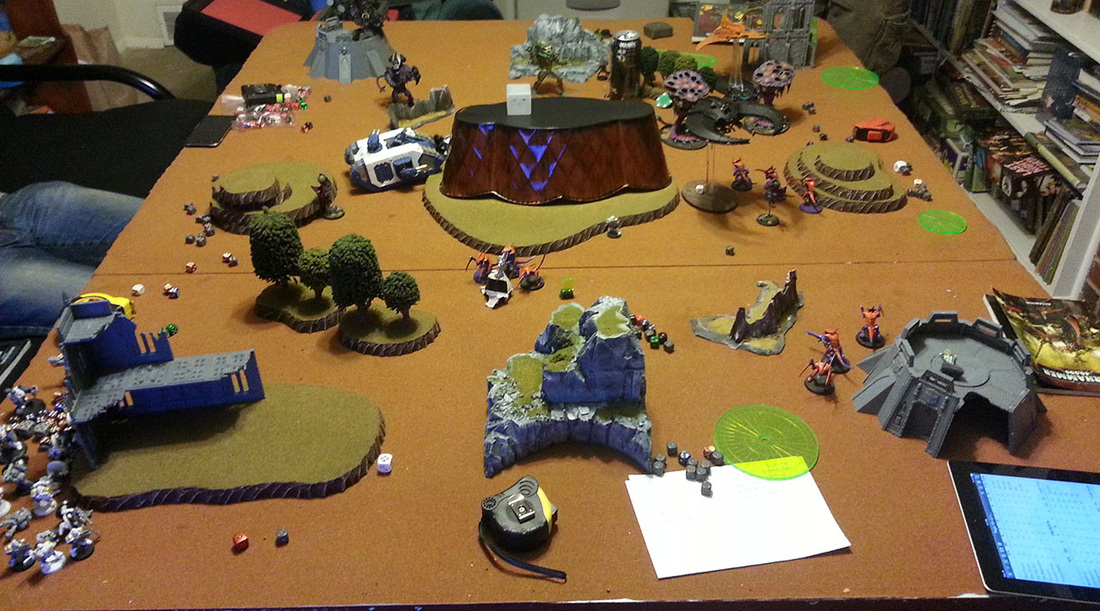
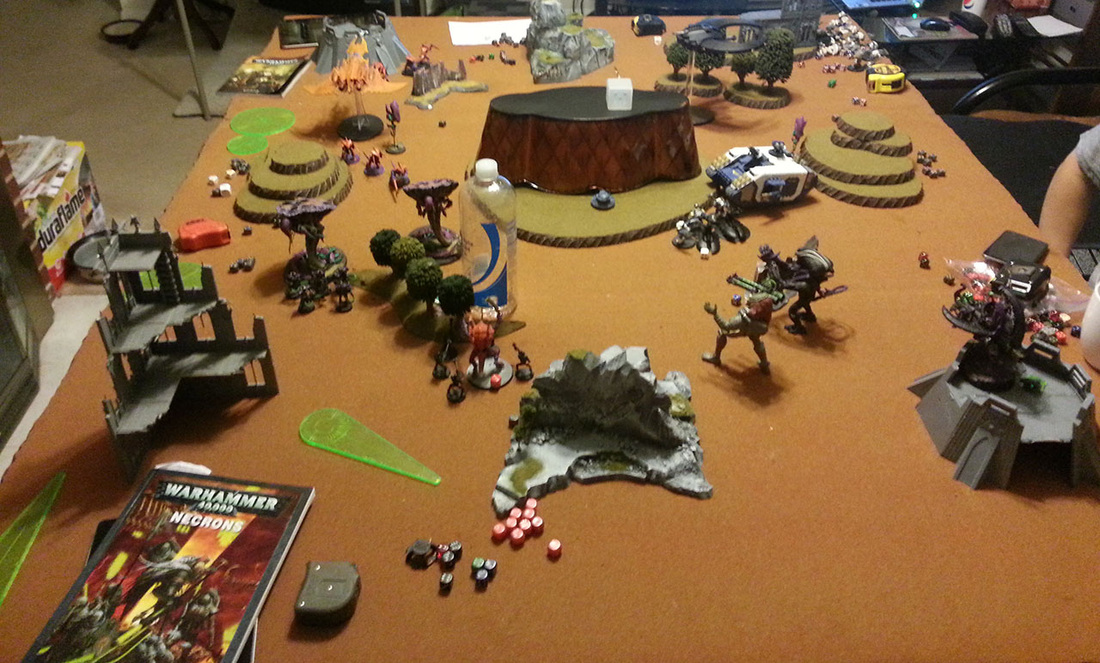
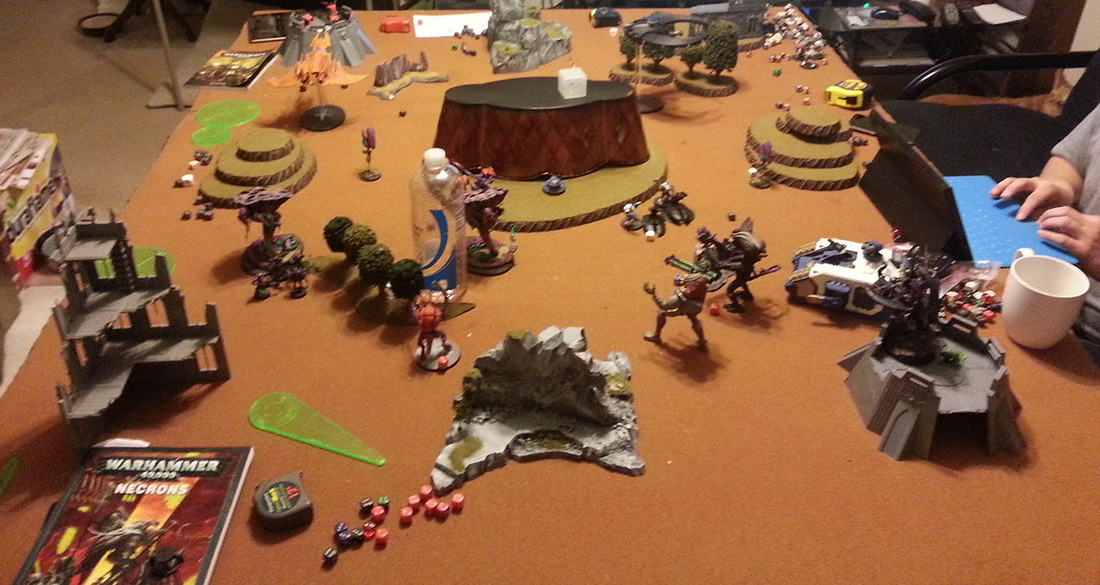
Deployment Marines/Nids
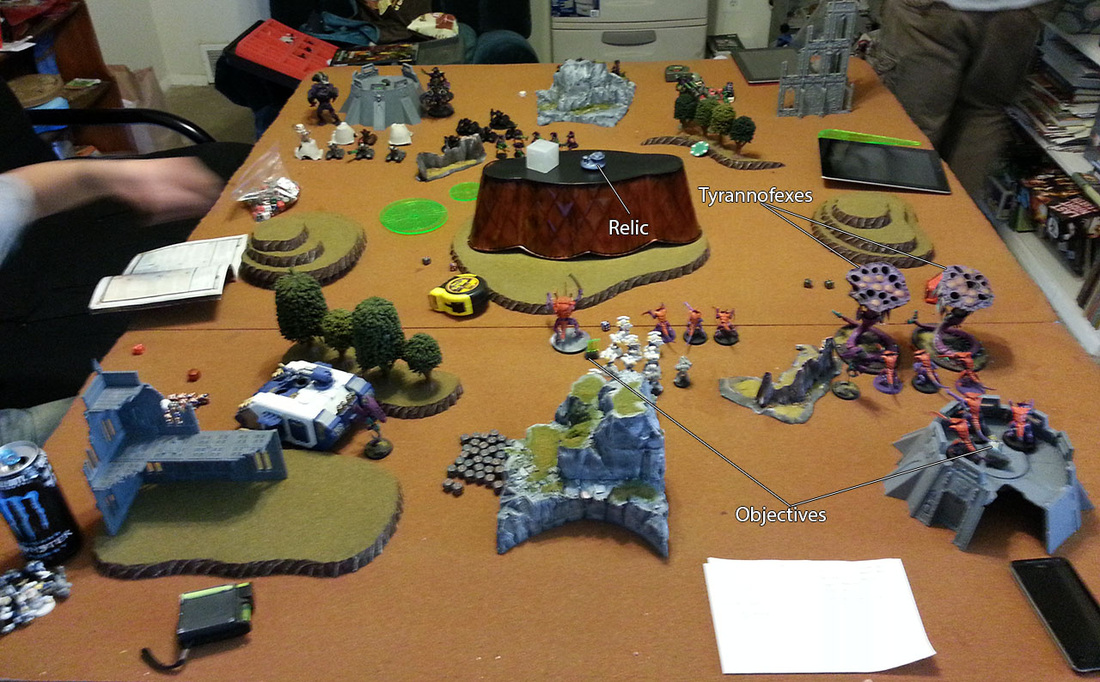
Necrons were going first. I have never played tyranids before, so have no idea about their durability. I do know that flying daemon princes can be knocked out of the air pretty easily, so I try to hide the tyrant behind the big line of sight blocker.
Reserves:
Drop pod with 10 Tacticals
In BAO rules, you place one objective in your opponents deployment, then they place one in yours, then you place one in yours, and they place one in theirs. Because of this I was able to overload the right side with objectives, and put a majority of my force there.
Slantz has a drop pod in reserve and decides to go up the the left flank.
We attempt to seize and fail!
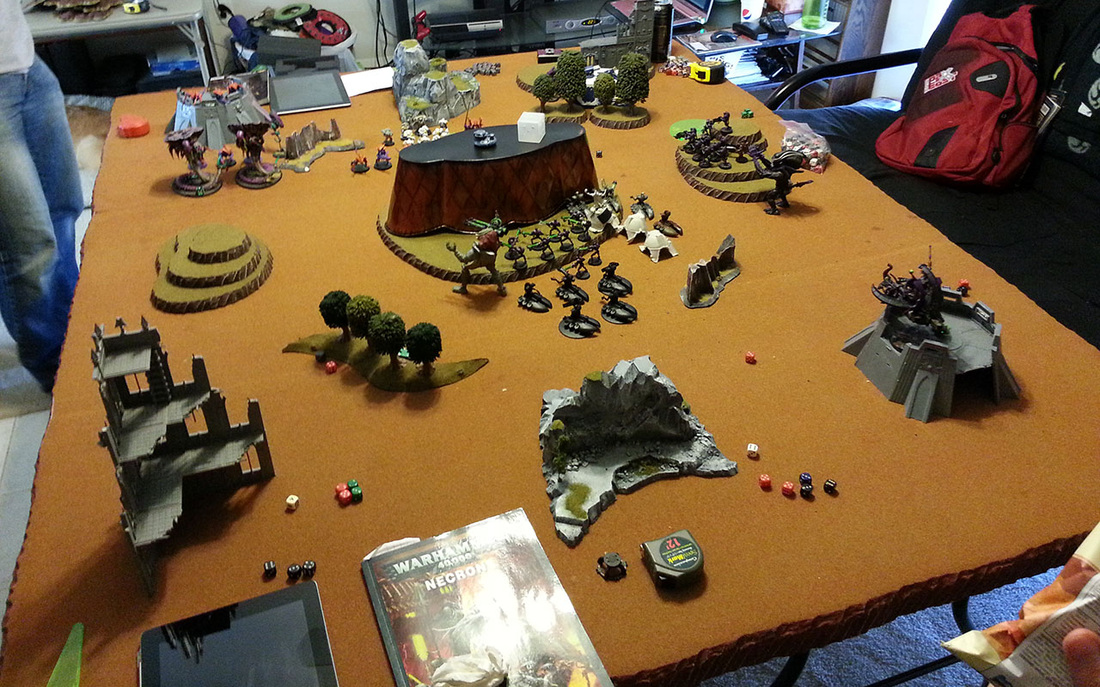
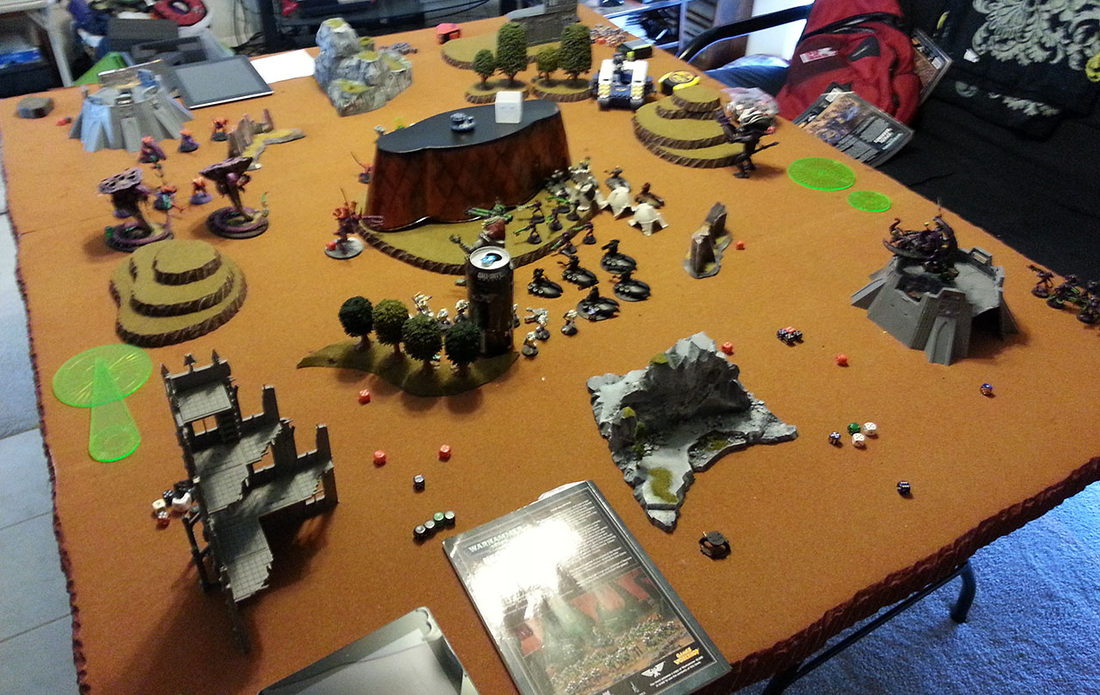
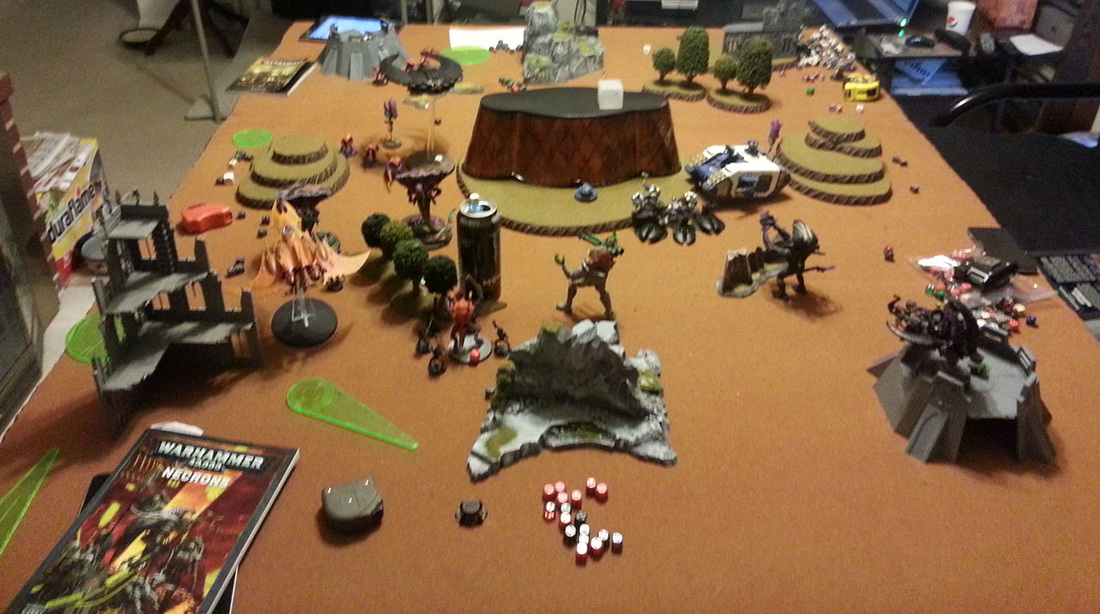
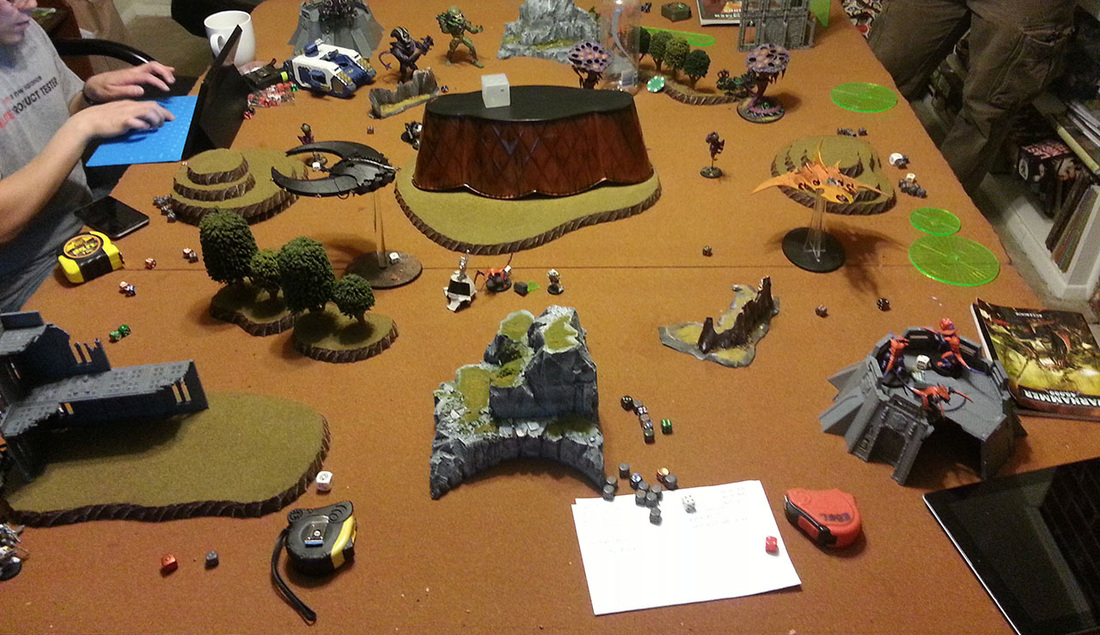
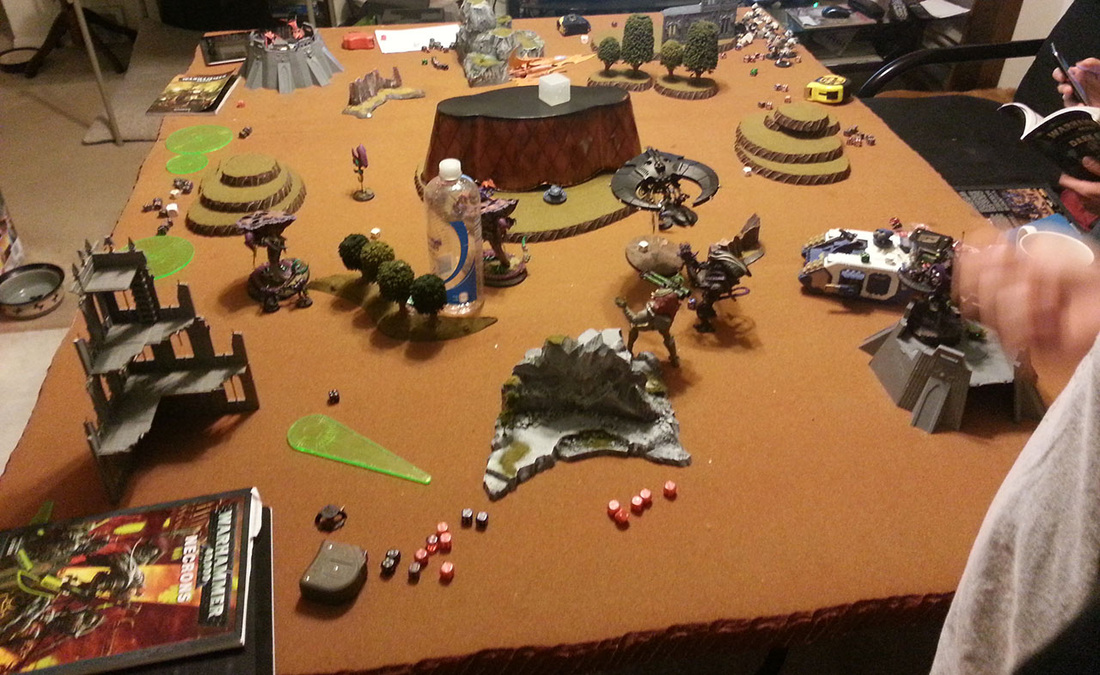
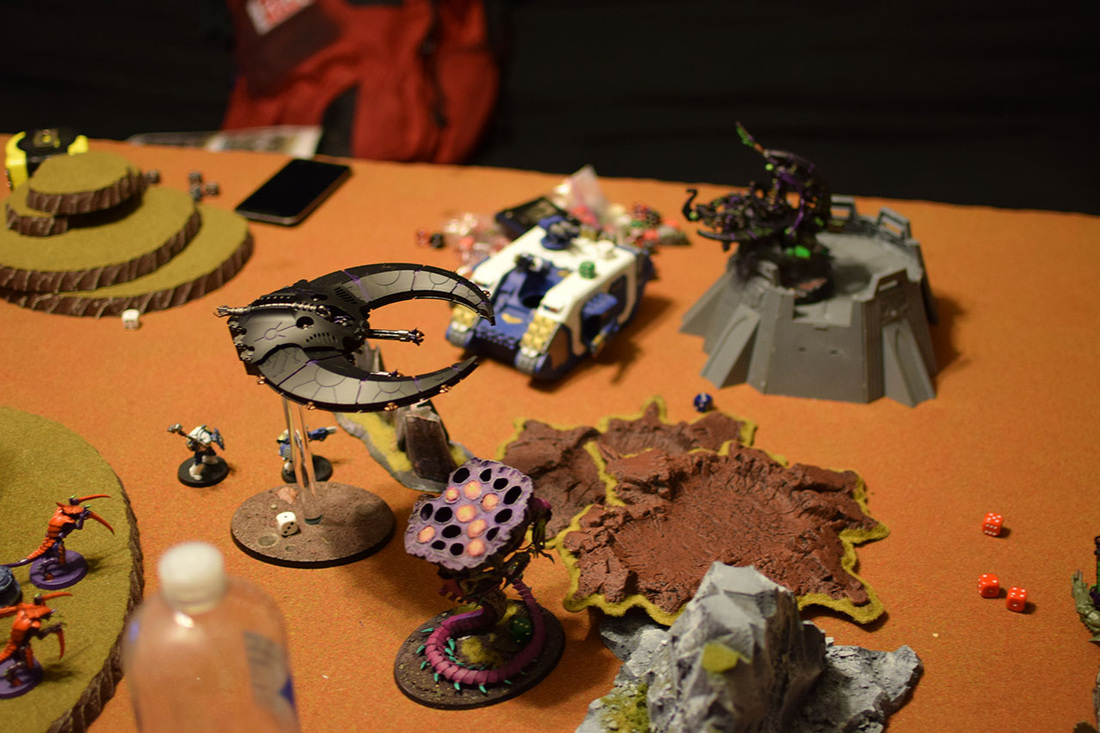
Deployment Necrons

Macuthu takes advantage of his speed to overlord his right flank, as only the land raider and a single zoan stands in his way on that side. He leaves a single barge on the left to discourage the bugs.
Reserves:
Night Scythe with 10 Immortals
Night Scythe with 10 Immortals
Reserves:
Night Scythe with 10 Immortals
Night Scythe with 10 Immortals
Necron Turn 1
Movement:
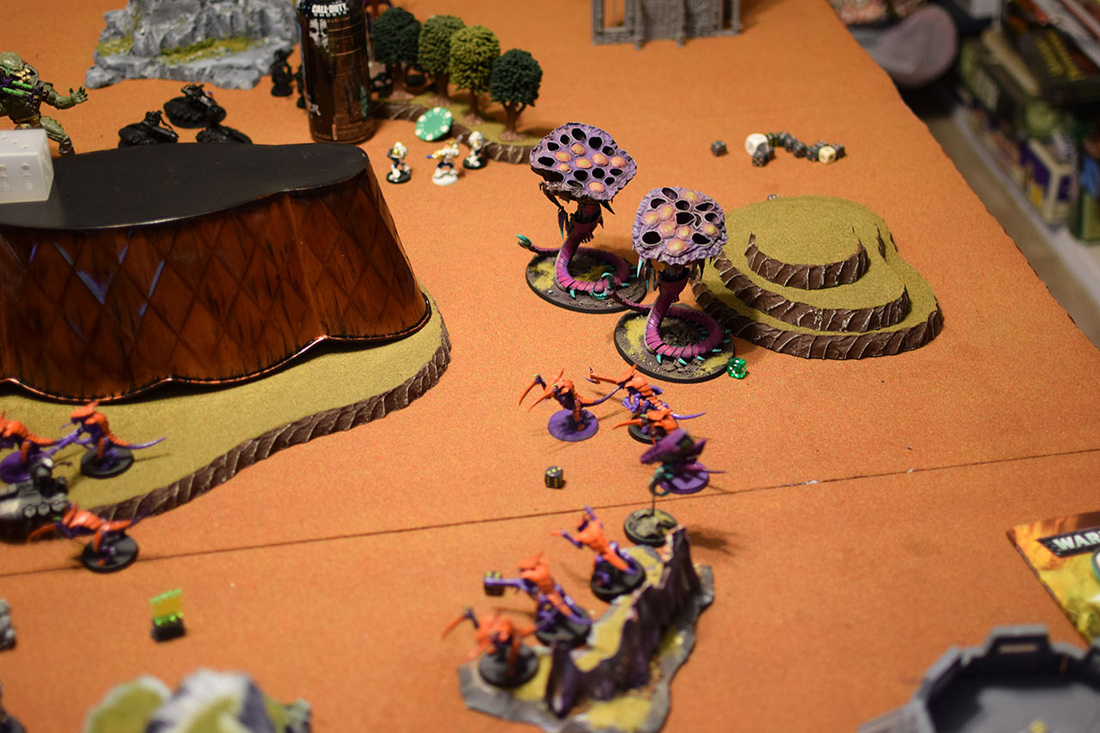
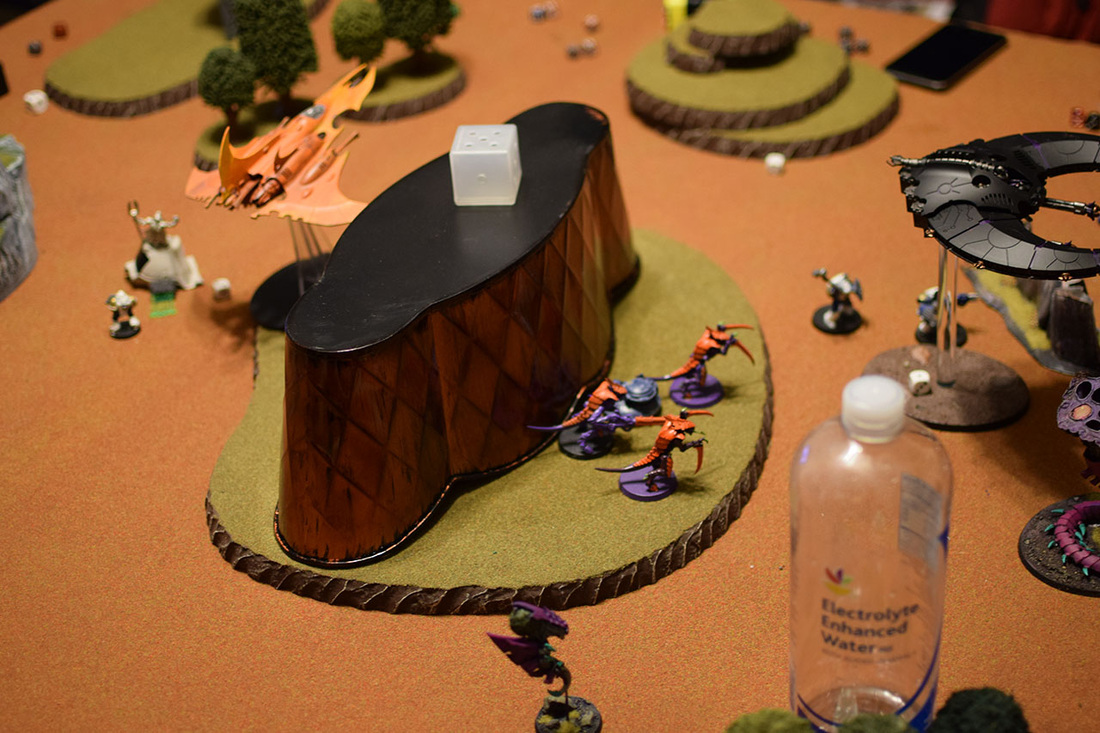
The Necrons start moving up. A unit of immortals heads towards the center to grab the relic (if you touch the big line of sight blocker in the middle, you grab the relic at end of movement), supported by the wraiths.
The command barge jumps on his far right objective, as his warlord is scoring.
The veil cryptek attempts to deep strike a unit of immortals within rapid fire range of the flying hive tyrant. He scatters quite a bit, and ends up on the hill. (no dangerous tests). Barges move up to get shots at bugs.

Shooting:
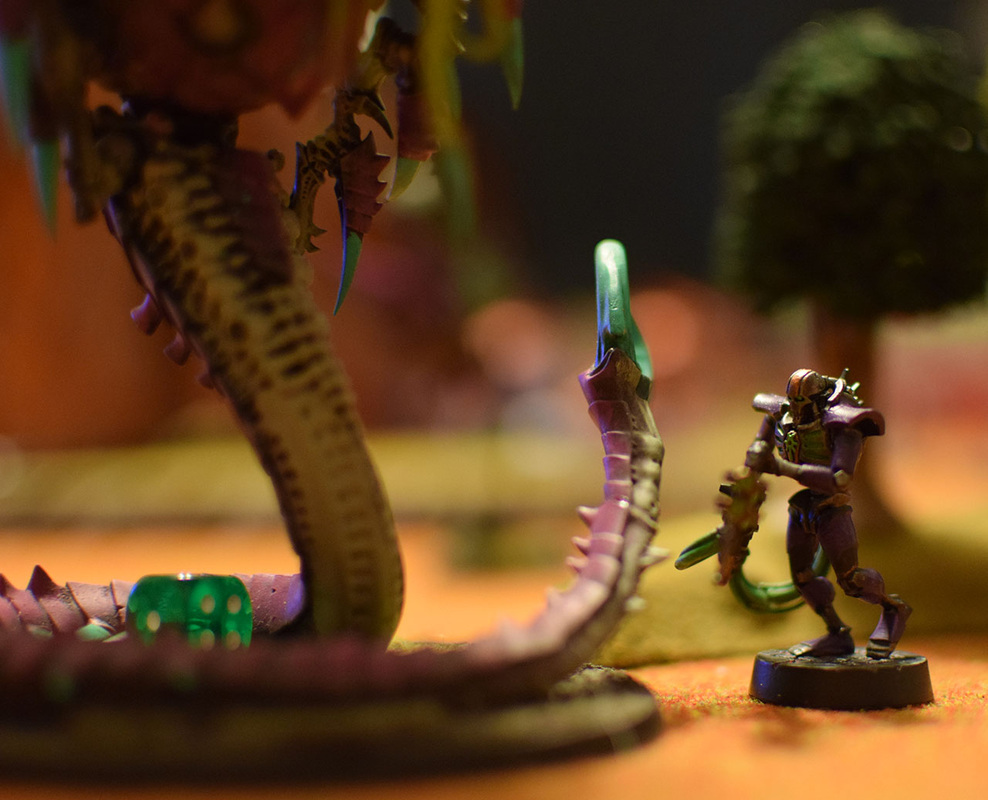
The immortals on the hill open up on the hive tyrant (out of rapid fire range thankfully). They hit but fail to wound him.
The alien model barge also fires at the hive tyrant, and puts TWO wounds on him. (Geez haven't even started yet).
The other barge shoots at the fexes, and doesn't do any wounds.
Assaults:
No assaults.
No assaults.
Space Marine/Nid Turn 1
Movement:
The tyrant immediately takes to the air (I wish I had given him regen), and moves to support the right flank. Warriors hop off the objective, move behind the big guns, and move to engage the immortals.
The drop pod lands on the rear objective (combat squadded), to speed bump the immortals/wraiths there.
Shooting:
(chapter tactics ultramarines tactical used)
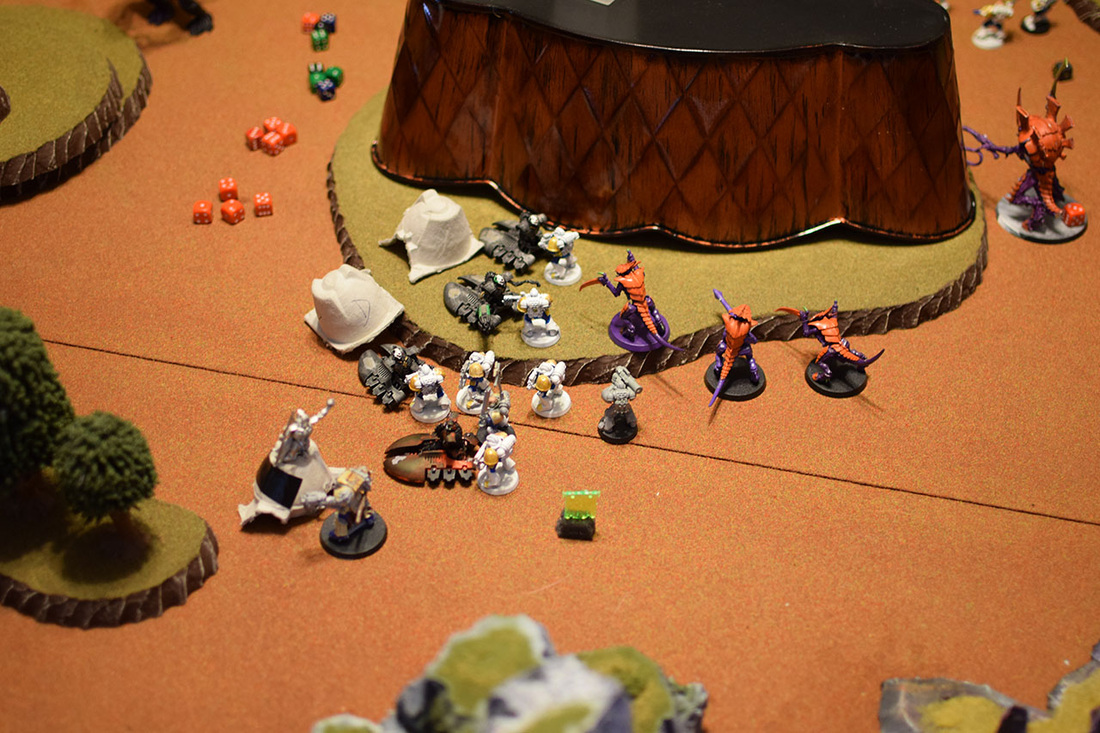
The Land raider redeemer, tacticals, three stranglethrone cannons, and a zoanthrope, all unload on the immortals. The entire squad is knocked down, so can't get back up. It takes all the fire power on that side of the board to take out the immortals. (First Blood)
Tyrant, drop pod tacticals fire at the wraiths. The fexes torrent flame three immortals by the relic. (Torrent flamers have a really long range!)
(chapter tactics ultramarines tactical used)
The Land raider redeemer, tacticals, three stranglethrone cannons, and a zoanthrope, all unload on the immortals. The entire squad is knocked down, so can't get back up. It takes all the fire power on that side of the board to take out the immortals. (First Blood)
Tyrant, drop pod tacticals fire at the wraiths. The fexes torrent flame three immortals by the relic. (Torrent flamers have a really long range!)

Assaults:
No Assaults yet.
No Assaults yet.
Necron Turn 2

Reserves:
One night scythe (with 10 immortals) comes in.
Movement:
The immortals move and pickup the relic. The barges shift around to get shots on the tacticals (right side), and tyrant/fexes (other side).
Destroyer lord and wraiths move to engage tigirus and his squad, while the others move to engage one of the tactical units by the drop pod.
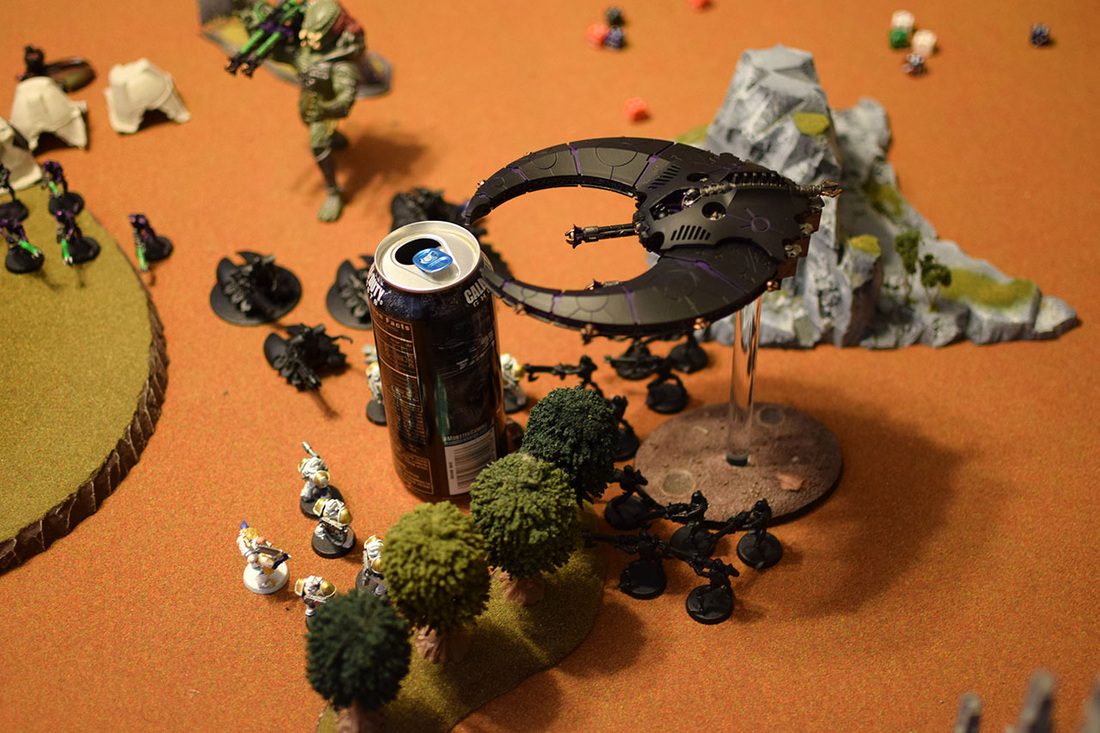
The night scythe moves up, and drops 10 immortals to help wipe out the tactical marines.
One night scythe (with 10 immortals) comes in.
Movement:
The immortals move and pickup the relic. The barges shift around to get shots on the tacticals (right side), and tyrant/fexes (other side).
Destroyer lord and wraiths move to engage tigirus and his squad, while the others move to engage one of the tactical units by the drop pod.
The night scythe moves up, and drops 10 immortals to help wipe out the tactical marines.

Shooting:
One barge shoots at the tactical squad to soften them up (for the wraiths and destroyer lord to charge).
Night scythe fires at the hive tyrant, puts another wound on him (1 left!! Passes grounding check)
Immortals fire at the drop pod, put a hull point on it.
One barge shoots at the tactical squad to soften them up (for the wraiths and destroyer lord to charge).
Night scythe fires at the hive tyrant, puts another wound on him (1 left!! Passes grounding check)
Immortals fire at the drop pod, put a hull point on it.
Assaults:
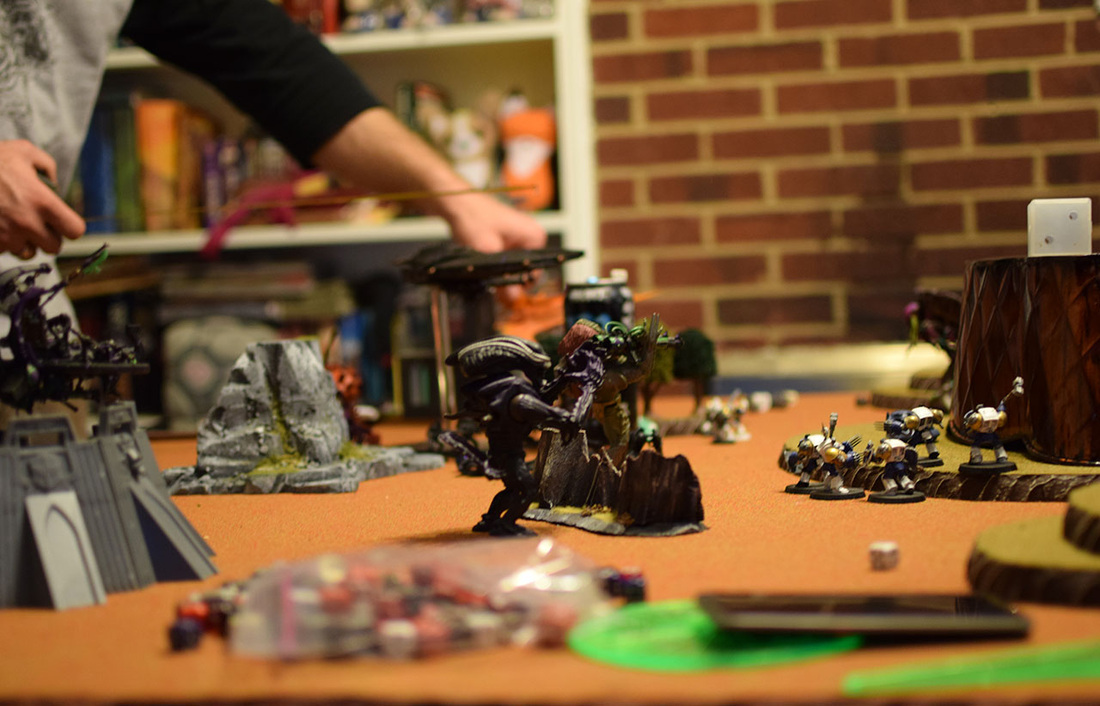
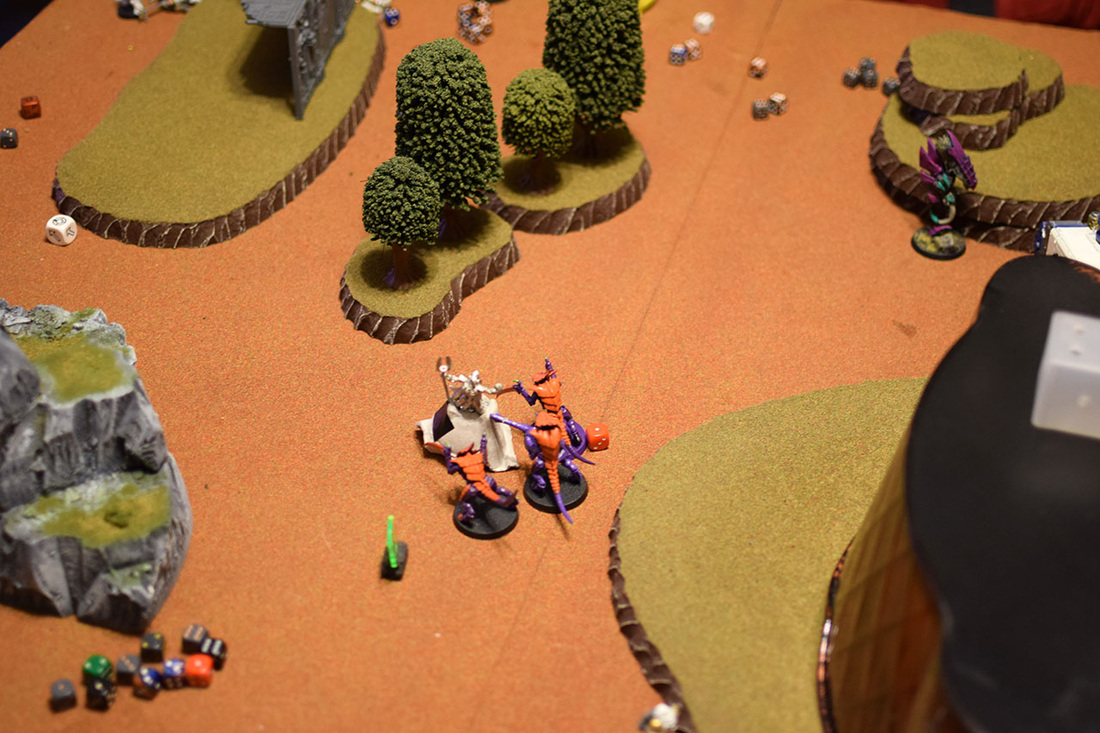
Destroyer lord and wraiths assaults into tactical marines and tigirus. A challenge goes out, tigirus passes his mindshackle, and the two trade blows. Even with 4+ invuln from forewarning, almost the entire tactical squad is wiped out.
The marines fail their leadership, and fall back.
Destroyer lord and wraiths assaults into tactical marines and tigirus. A challenge goes out, tigirus passes his mindshackle, and the two trade blows. Even with 4+ invuln from forewarning, almost the entire tactical squad is wiped out.
The marines fail their leadership, and fall back.
One unit of wraiths (no lord) wipe out the 5 man combat squadded tactical marines.
Space Marine/Nid Turn 2
(Chapter Tactics: Assault Used)
Movement:
The marines auto regroup. The land raider moves and pivots, releasing the terminators, and turns to face the now out of combat wraiths.
The fexes continue moving up to threaten the necron objectives. with warriors providing synapse. The other two groups of warriors, and both zoans move to engage the wraiths with shooting.
The hive tyrant vector strikes the scythe, does nothing to it.
Shooting:
The land raider, two zoans, tigirus, a missile launcher marine, and six warriors fire into the wraiths and destroyer lord, decimating their ranks.
The fexes start torrent flaming all the immortals in range, causing them to drop the relic. (one fex concentrates on immortals by flyer, another by relic)Warriors throw some pinning blasts around, necrons pass their ld checks (ld 10 %$!(*!)
The hive tyrant puts a single hull point on the necron flyer. I decide to ignore it from this point on.
Assaulting:
The assault terminators charge into the unit of immortals who were guarding the relic, and lose one to overwatch...then wipe out the immortals. They consolidate towards the wraiths.
The assault terminators charge into the unit of immortals who were guarding the relic, and lose one to overwatch...then wipe out the immortals. They consolidate towards the wraiths.

Tigirus and his lone marine, along with a unit of three warriors charge the remaining wraiths/destroyer lord.
Tigirus passes mindshackle, but fails to put any wounds on the lord. The lord puts a wound on tigirus. The warriors take a wound, and deal one back in return.
Tigirus passes mindshackle, but fails to put any wounds on the lord. The lord puts a wound on tigirus. The warriors take a wound, and deal one back in return.
Necron Turn 3

Reserves:
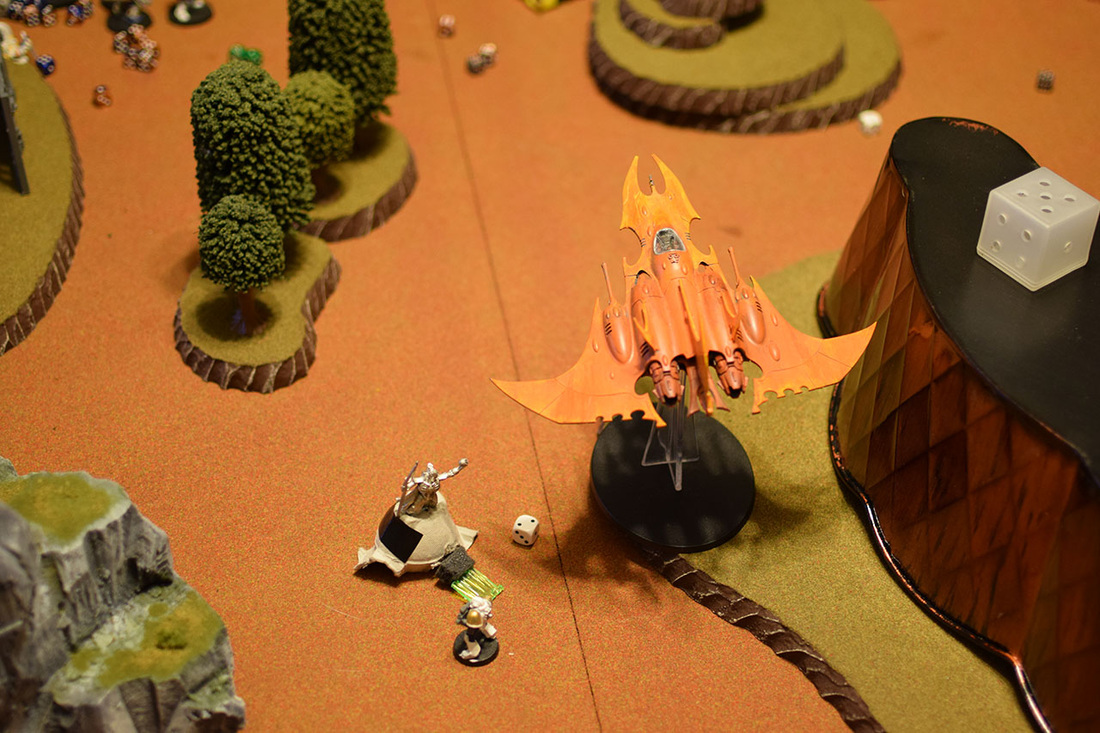
Second Night Scythe and Immortals comes in. (dark eldar flyer)
Movement:
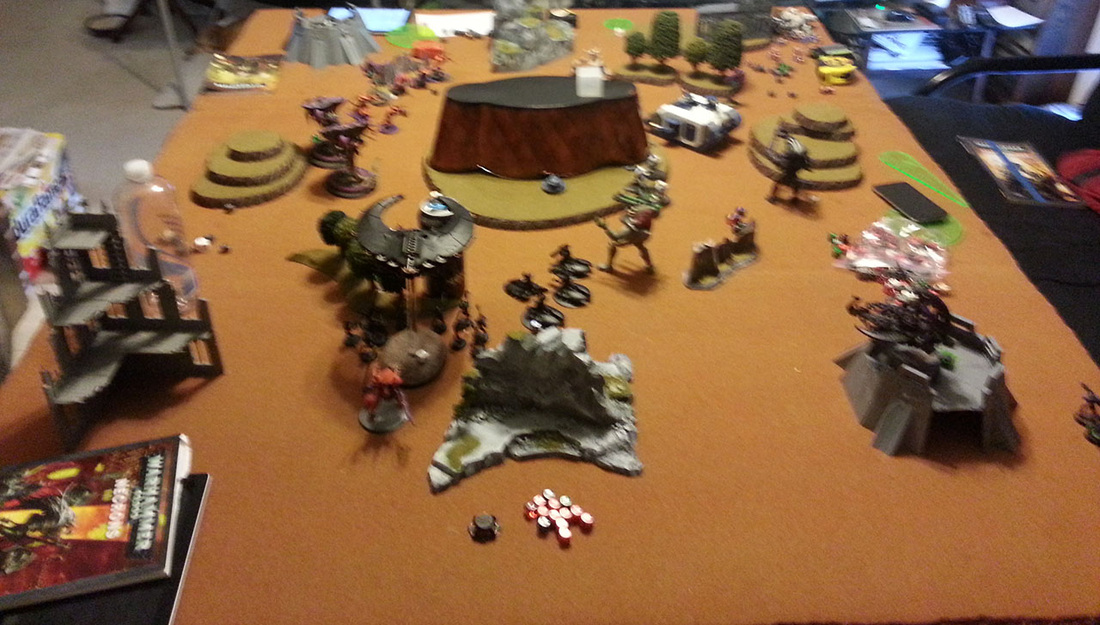
Scythes move up. New scythe drops another immortal squad to shoot the big bugs down. Barges adjust to engage bugs and what marines remain. Un engaged wraiths move to assault the terminators. At this point, there are four TL tesla destructors on the table (so brutal).
Second Night Scythe and Immortals comes in. (dark eldar flyer)
Movement:
Scythes move up. New scythe drops another immortal squad to shoot the big bugs down. Barges adjust to engage bugs and what marines remain. Un engaged wraiths move to assault the terminators. At this point, there are four TL tesla destructors on the table (so brutal).
Shooting:
One unit of immortals on the objective, shoot the remaining tactical marines. They kill all but one, who breaks and runs.
Another group shoots the flyrant, who makes his saves and grounding checks. (last wound holding on!)
The barges shoot at the tyranofexes and put a few wounds on them. Far away night scythe starts shooting at the zoan or warriors. (Can't remember). Puts a wound on them.
Someone also shoots the drop pod and wrecks it.
Assaults:
The wraiths assault into the terminators, killing a few. In turn the terminators kill a few wraiths. Because the wraiths are fearless, they hold.
In the tigirus/lord challenge, tigirus fails his mindshackle, and combined with the lord, takes another wound (1 left). The warriors kill the remaining wraiths, Since the lord/tigirus is in a challenge, the warriors just sit and watch.
Space Marine/Nid Turn 3
Movement:
Lone space marine fleeing regroups and moves towards the tigirus/warrior objective battle.
The hive tyrant swaps to gliding in preparation for assaulting a unit of immortals.
The land raider re positions itself to get some shots off.
One group of warriors moves back towards my objective, another moves up to make sure there is synapse for the big bugs. (Zoans also move up to get into range of lances).
Shooting:
The hive tyrant and big bugs tear into the immortals, wiping out more then 50% of the remaining units.
The zoan and land raider try to pen a barge, just do a few glances. I attempt to shoot at a flyer with the warriors to no effect.
Other group of warriors starts running towards the relic (to pick it up by turn 5)

Assaults:
The wraiths and terminators exchange blows. Another terminator dies, another wraith. Combat is held.
The wraiths and terminators exchange blows. Another terminator dies, another wraith. Combat is held.
Tigirus fails to wound the lord, and the lord finishes him off.
(Slay the warlord)
(Slay the warlord)
The hive tyrant and tyranofex assault two different groups of immortals. Both units of immortals pass their leadership checks, and lose a few members.
Necron Turn 4
Movement:
Scythes fly around to try and get angles.
Immortals, and wraiths locked in combat. Barges shuffle to get shots on the remaining big bug and zoans.
Scythes fly around to try and get angles.
Immortals, and wraiths locked in combat. Barges shuffle to get shots on the remaining big bug and zoans.

Shooting:
The barges put a few wounds on the fex and a zoan. The flyers put some wounds on some warriors. (Not much to shoot)
The barges put a few wounds on the fex and a zoan. The flyers put some wounds on some warriors. (Not much to shoot)
Assaults:
The warriors fail mindshackle and beat each other up. All fail to wound the lord. He kills one. They hold due to fearless.
The terminators kill and wound another wraith.
The hive tyrant kills a bunch of immortals, they past their morale.
The warriors fail mindshackle and beat each other up. All fail to wound the lord. He kills one. They hold due to fearless.
The terminators kill and wound another wraith.
The hive tyrant kills a bunch of immortals, they past their morale.
The fex kills an immortal. They do a wound in return.
Space Marines/Nids Turn 4
Movement:
Zoans move up to try to get better lance shots, and to make sure there is overlapping synapse on the fexes.
Land raider moves to attack the rear of the annihilation barge.
The lone tactical squad member shuffles outside of the lord/warrior fight.
I make sure the one unit of warriors is sitting on the objective, so they'll be able to shoot at the lord if he wins combat.
Shooting:
Warriors are ineffective shooting at the flyer skimming past.
Land raider and zoan do nothing vs the barge (made jinks, or took a single hull point).
I run the fex as it is out of range of it's haywire templates.
I run the warriors so they are btb with the relic.
Assaults:
The warriors fail mindshackle again. A single warrior is left alive with 1 wound remaining.
The terminators and wraith combat is a tie again.
The hive tyrant wipes out the remainder of the immortals it was engaged with.
The fex kills two immortals, and they hold.
Necron Turn 5
Movement:
Flyers make sharp turns to try to stay on the board.
Barges adjust to shoot the quickly advancing fex and the hive tyrant.
Command barge finally wakes up, sweep attacks the land raider and immobilizes it.
Flyers make sharp turns to try to stay on the board.
Barges adjust to shoot the quickly advancing fex and the hive tyrant.
Command barge finally wakes up, sweep attacks the land raider and immobilizes it.
Shooting:
Annihilation barge kills the hive tyrant (slay the warlord #2)
Other barge puts another wound on the fex. (3 left)
Flyer kills the zoanthrope. (That's what I get for ignoring them)
Command barge turbo boosts back onto the objective.
Annihilation barge kills the hive tyrant (slay the warlord #2)
Other barge puts another wound on the fex. (3 left)
Flyer kills the zoanthrope. (That's what I get for ignoring them)
Command barge turbo boosts back onto the objective.
Assaults:
Warriors fail mindshackle again...and kill themselves. Lord consolidates so we can't hold the objective if game ends on turn 5.
Wraiths and Terminator combat Still going on.
Warriors fail mindshackle again...and kill themselves. Lord consolidates so we can't hold the objective if game ends on turn 5.
Wraiths and Terminator combat Still going on.
Space Marine/Nid Turn 5
Fex fails to kill any immortals.
Movement:
Warriors step onto the relic, and pick it up at the end of the phase.
Zoan moves up to lance a barge.
Tactical marine yells at the destroyer lord.
Un engaged tryannofex moves up to assault the barges.
Warriors step onto the relic, and pick it up at the end of the phase.
Zoan moves up to lance a barge.
Tactical marine yells at the destroyer lord.
Un engaged tryannofex moves up to assault the barges.

Shooting:
Warriors and marine shoot the destroyer lord, he shrugs it off.
Land raider blows an annihilation barge up. (heavy support kill)
Warriors now hold the relic.
Zoan attempts to lance a barge and fails.
Warriors and marine shoot the destroyer lord, he shrugs it off.
Land raider blows an annihilation barge up. (heavy support kill)
Warriors now hold the relic.
Zoan attempts to lance a barge and fails.
Assaults:
The fex charges into the barge and explodes it with smash attacks. (heavy support kill)
The fex charges into the barge and explodes it with smash attacks. (heavy support kill)
The terminators kill the remaining two wraiths and consolidate towards the objective.
The other fex kills all but a single immortal. They make their leadership check.
The other fex kills all but a single immortal. They make their leadership check.
The game ends!
Final Scores: (BAO Scoring)
Primary: Big Guns Never Tire
Space Marines/Nids (4 pts)
(We had 1 objective, Necrons had 1 objective. Went to heavy support kills, of which we killed two 2-0)
Secondary: The Relic
Space Marines/Nids (3 pts)
Tertiary:
Necrons: Slay the warlord, Slay the warlord, Linebreaker (3)
Space Marines/Nids: First Blood, Linebreaker (2)