Painting Ork Deff Dreads
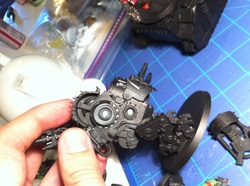
The first thing to know about ork walkers...is they have awesome ball and socket joints that are extremely easy to magnetize. Just a simple 1/8 x 1/16 magnet can fit in the sockets, allowing you to pose the arms and swap weapons out to your hearts content.
But Hester, why would I want to magnetize my model if I am never planning on changing my weapon configuration? Well that is easy my loyal invisible readers! Transportation! By magnetizing the arms, wings, and other bits of a model that stick out, you can make it much easier to transport, and greatly reduce the chance of damaging it.
Additionally magnetizing a model will greatly increase it's resale value, as ebay buyers will know they won't have to try to hack your model apart to change whatever editions best weapon config for it is.
The Deff dread comes with 2x DCCW standard, with an option for a variety of weapons on the lower sockets. Magnetizing the top ones just provides for better ease of transport, and cool poses.
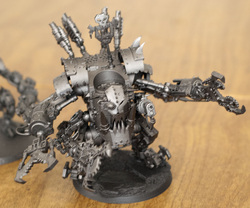
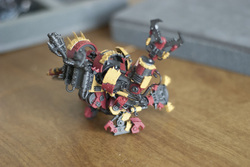
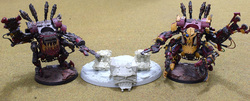
This is the second dread. Already magnetized. You'll notice a grey/black sheen on the model. When painting ork walkers, I usually start with a chaos black primer, then do a 50/50 spray of boltgun/chaos black to get a dark metallic. I find this helps pop the colors a bit more, and also provides a greater depth of metallics on the overall model.
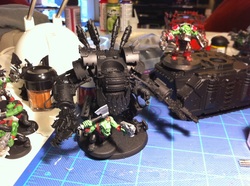
If you've seen my other posts, you'll be surprised at the orks in this photo. This photo is a bit old, and shows the old method I used in painting orks. (pre-washes). Needless to say, I've been slowly stripping the entire army to redo them all...so many boyz.
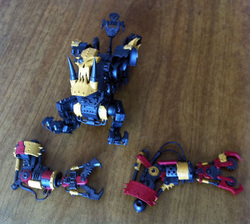
The other nice thing about magnetizing your models...it is much easier to paint them! Being able to seperate the arms from the main torso gives you much better brush access!
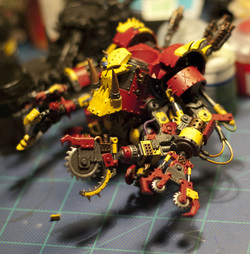
Here I'm starting to put down base colors. Ivan darksun for the yellows, merchite red for the...you guessed it, reds.
Here I'm starting to put down base colors. Ivan darksun for the yellows, merchite red for the...you guessed it, reds.
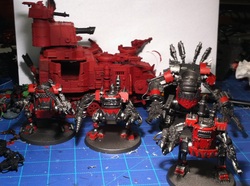
The other dread with some of his killa kan buddies. I did a lot of these in a huge batch, as I was a big fan of the kan wall in 5th edition. It's not very competitive in 6th, but still fun to play with a massive amount of walkers.
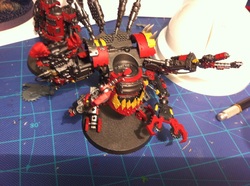
I could never make up my mind about whether i wanted to play evil sunz orks, or bad moonz orks. I decided that I would paint the models halfway between the two ork clans, as if leadership of the clan swaps back and forth between rival warbosses, and they force the orks to constantly repaint.
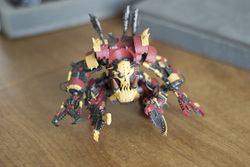
More base coat work, showing one of the possible arm configurations. For his tusks, I put a base of cathan brown on
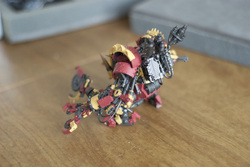
Metallics start getting tin bitz, bronze, and boltgun at this point.
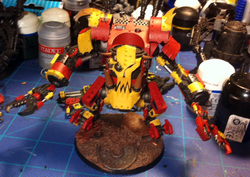
The other dread prewash. He's showing off the dragonforge base I painted in another article!
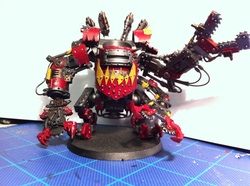
You'll notice the colors are extremely bright. I overly highlight and brighten the colors (red gore/blood red), and whites on the yellows, before I wash them. It makes them look a bit ronald mcdonald, but the wash has an amazing effect once it hits.
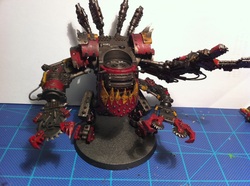
At this point the models get a heavy application of devlan mud wash. It completely dulls the highlights and pulls the colors together better, giving it a grimy look.
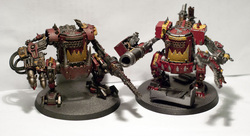
These two killa kan's illustrate the effect quite well. Same colors used in both. One on the left has had the wash applied. One on the right is pre-wash.
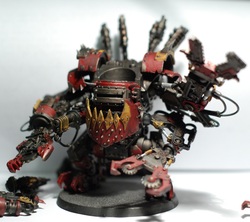
Finished except for his base!
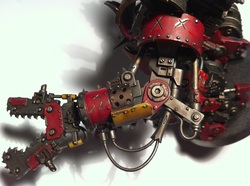
The detail is subtle, but there.
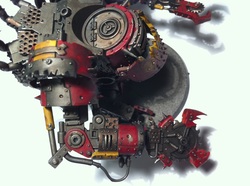
After the wash, I go back and put scratches/chips on the model with bolt gun and chainmail.
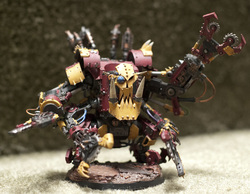
The other dread post-wash. On the later models, I dab the wash off the yellows, so they stand out a bit more. I'll probably eventually go back and pull out the yellows on the older dread...but for now I'm satisfied.
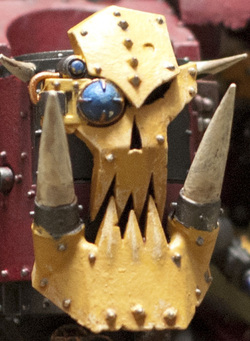
Close up of the head. I hit all the rivets with some bolt gun...it is quite time consuming!
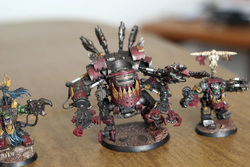
He's finally on his fancy base! Overtime I have been working on replacing all the 40mm and 60mm bases with resin bases. Not only do they look fantastic, but they help weigh down the models and hold them in place.
A little upcoming hint at the next dread being built. It's a bit bigger then these two :). Thanks for reading!