That is it for this week! Hope you all are having a good hobby time! I'll see you soon and thanks for visiting!
|
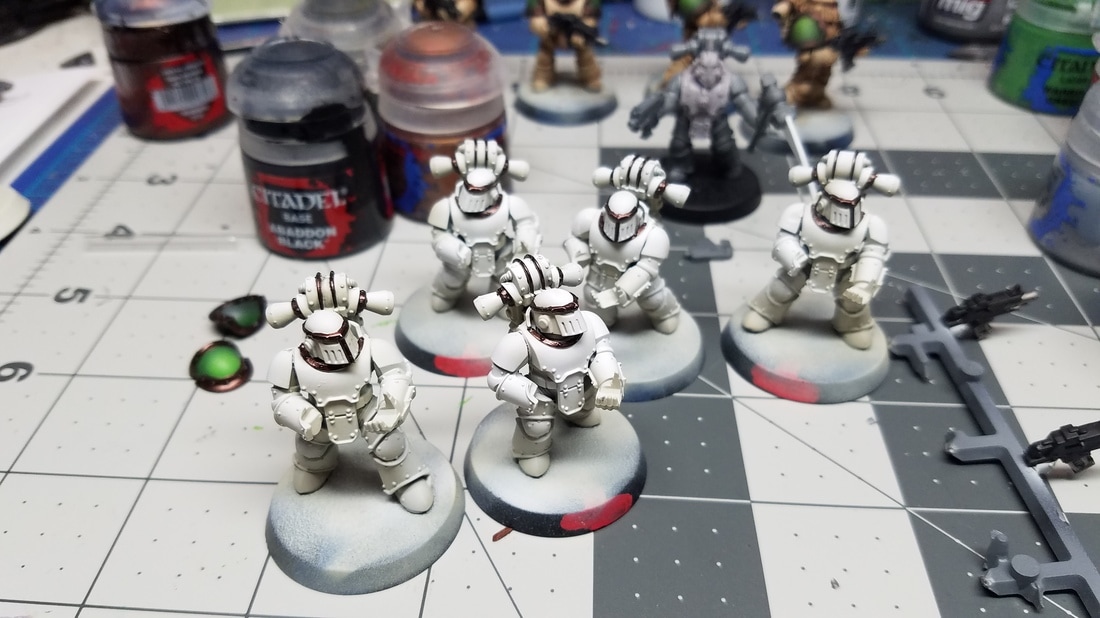
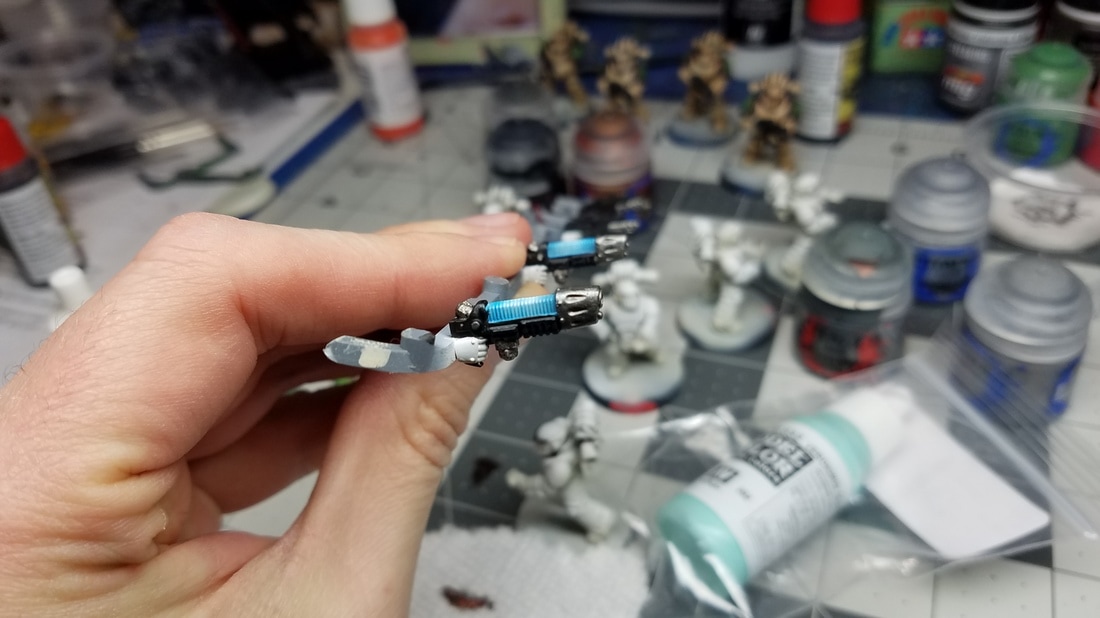
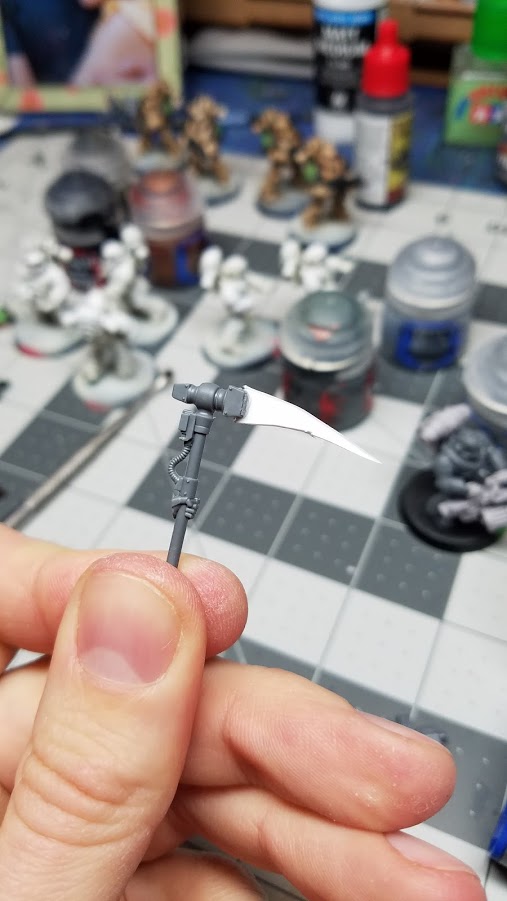
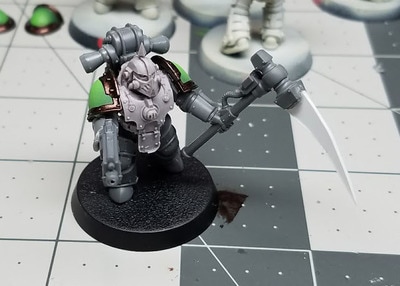
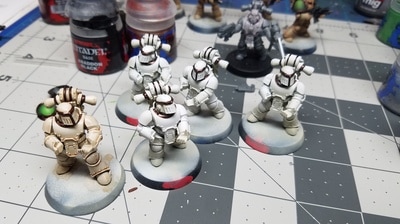
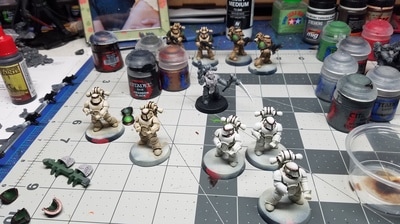
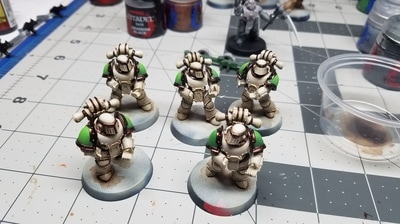
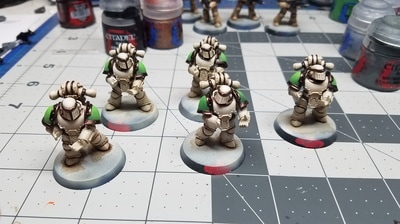
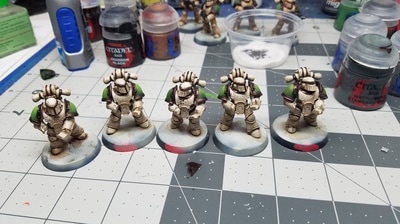
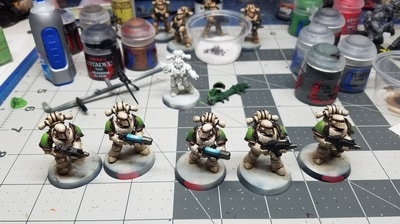
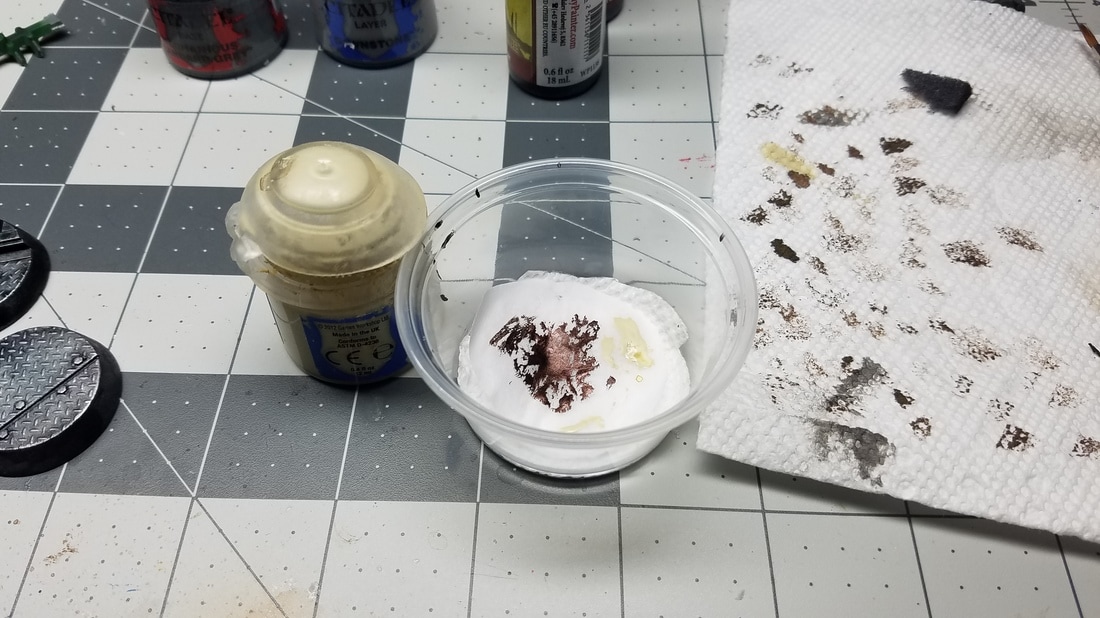
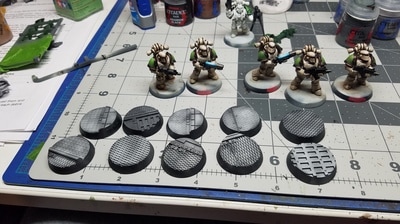
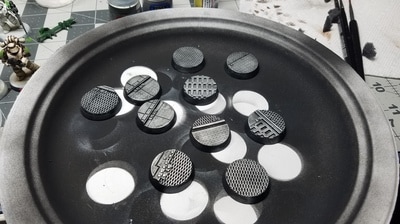
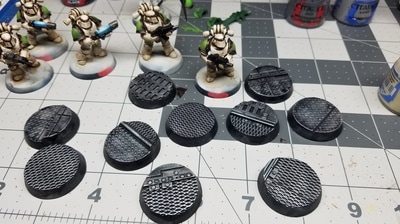
Welcome back friends! This week brings us to continued work on the death guard. I got some of my ebay orders in, so was able to get started on the champions as well (my FW bits are at adepticon for pickup!) So I finished the metallics on the guns, pads, and models. This takes the longest period of time, as I have to brace my brush to have some measure of control, so I stay within the lines. Because the white/cream is shaded, its difficult to cover up mistakes with paint. They look white in the photo, but there is subtle shading going on that pops up at the enamel level. I went with traditional plasma for these guys, as this is a gaming army, and I always like my opponents to know the config of a squads weapons at a glance. This was so crazy fun and easy with the airbrush. That's just some spraying + blue wash. So crazy simple. My power scythe order is awaiting pickup at adepticon (next to my transfers and spartan), so I decided to actually try some plasticard to make one out of the thunderhammer in the kit. Came out half decent! Proportion is a bit off (shaft should be longer), but hey, still looks the part. I might try extending the shaft some to help balance it later. The champions and HQ's in the army all use the FW deathguard bits to help them stand out. Here is a shot of an early mockup, followed by his primed, blurry, and shifted arms. Still might adjust the scythe arm. Really like the bolter pose though. Sorry I forgot to take a better photo. Thought I was going to get him at least washed last night! Going through the process. This takes a lot longer with five at a time. I think that is going to be my max for batch painting. As with before, first they get the metallic trim (warlock bronze). Then I water down Army painter soft tone, and wash the entire model, keeping it in the recesses, and using it to tint the white/cream. Then I glue the pauldrons on. Then I wash the pauldrons. Then I chip the armor. (You can really see the pauldrons transform the second the wash hits them, image 4 vs 5). The step after this (I need a good hour or so to do, so didn't get to it), is enamels both on the armor, and enamels on the pauldrons. Then its just final highlights and a varnish! I'm hoping the next update will have the entire squad, plus the champion done! Special thanks to Kujo Painting from twitter who got me back into using a wet palette. I started making these little mini palettes, mainly for the single color stages of these models, to help keep the paint from drying out. Works magnificently! This photo kinda of gives away the next section. Bases! So the twitter community decided it would be fun to bring kill team figures to adepticon. That way we could play some kill team pickup games in the evening if not too much was going on. It turns out that the 30k and 40k kill team point costs is exactly the same for death guard. It's 10 guys with a champ and 2 plasma dudes. Pretty much the same points in both armies. So I decided to just do some bases up for them, so I could transport them safely. I had these dragonforge techdeck bases from Jeff's kickstarter, so decided to use them. Drilled a hole in the bottom of each and placed a magnet to lock into the tablewar case for transport. What you are seeing here is the base coats, varnish (yes todd, I am actually varnishing at multiple points now, thanks :) ), and washes. The next step will be weathering and powders to grit them all up. Then should be deathguard appropriate. That is it for this week! Hope you all are having a good hobby time! I'll see you soon and thanks for visiting!
Comments
|
Categories
All
Archives
August 2019
|


 RSS Feed


