Welcome back everybody! Another big update for you all. There pretty much hasn't been a single day I haven't been painting since last we spoke. Continuously updating on twitter @3dgreg, and trying to get this army to a decent standard before Nova! Lets see, where did we leave off! The bigger dreads! 
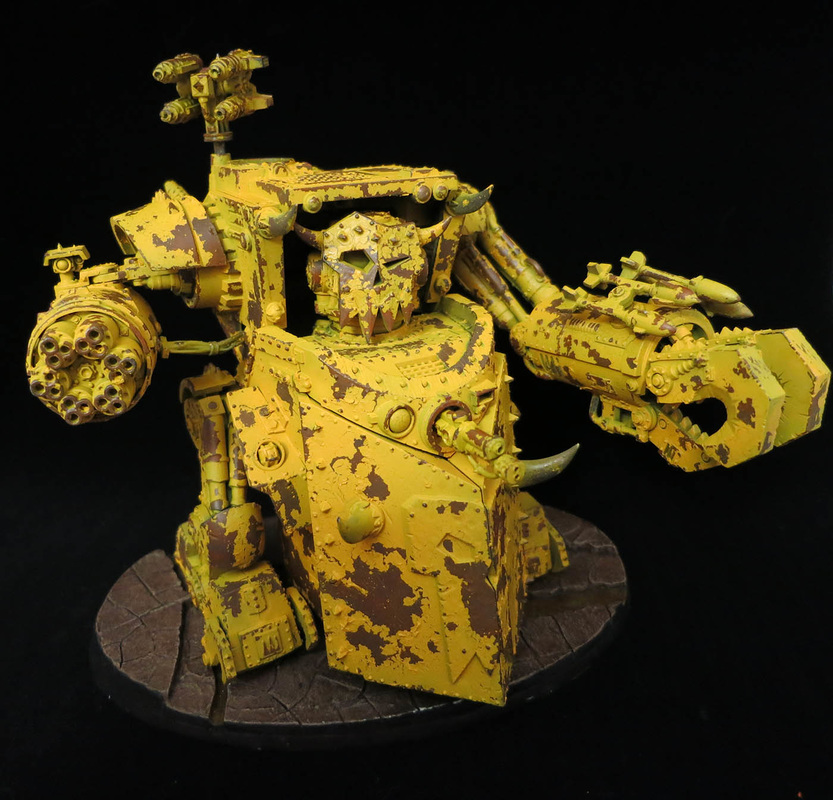
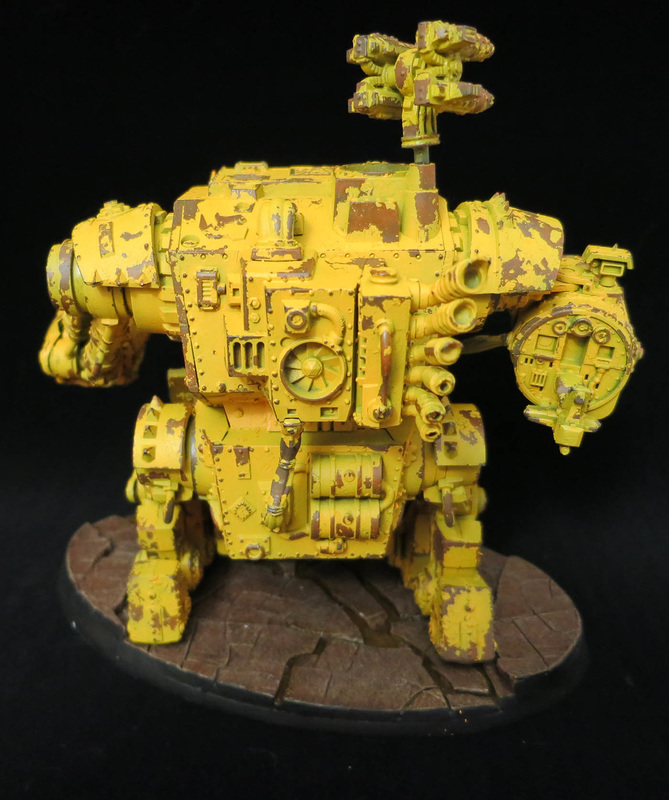
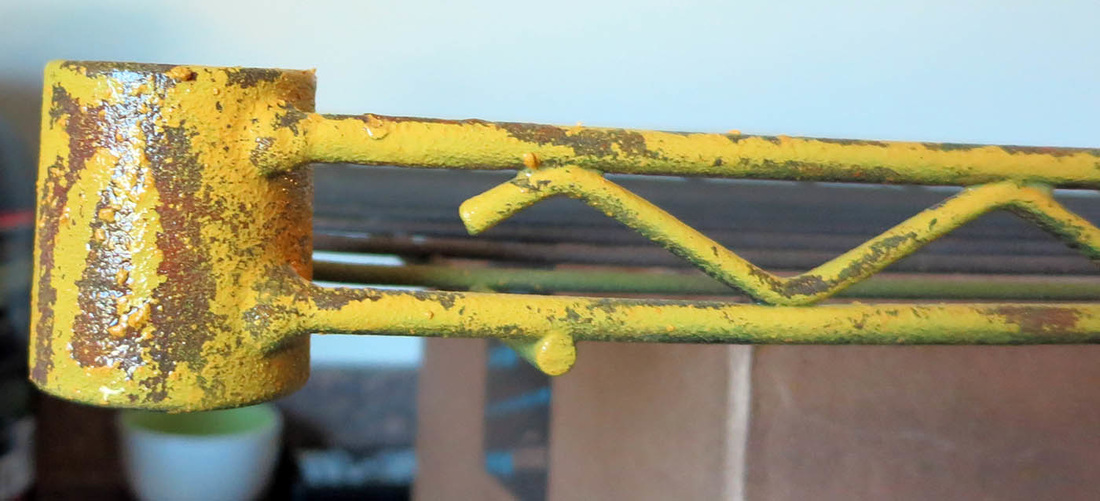
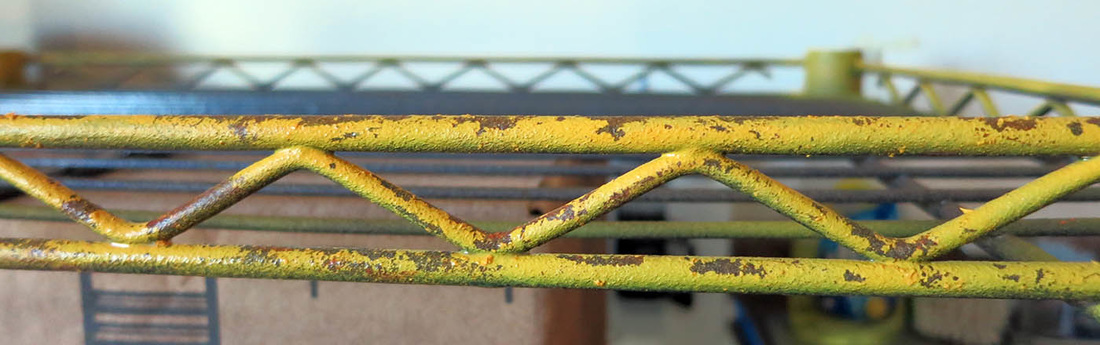
When I first started chipping the big guys, I Was very disappointed. I think it was because I was seeing patterns which didn't actually exist. When you spend so much time chipping, you tend to become hyper focused on a particular area, and can tend to get a wee upset when it doesn't chip the way you wanted. After a good week of doing all the dreads, I'm much happier with how they look now. The one that that is particularly exiting about the chipping process, is how the under layers vary the chip tones, so you get a lot of interest on the model.
Comments
Hold onto your hats ladies and gentlemen, it's a big hobby update this week. I finished one display shelf, and started work on the second, painted up a dakkajet, gorkanaut, and mega dread with the chipping method, experimented with enamels, and even started on some lootas and mega nobz! So lets jump right into it shall we? After I finished rusting up the display shelf, I felt it blended too much into display...and wasn't eye catching at all...hmm I need to test this chipping method...so lets bad moon it up! This immediately makes the shelf extremely eye catching, and really drives in the fact that the cart is also my display! You are probably wondering...wow greg. How does this even work? Well here you go! A video of the magic! (warning, I say shit...er crap I mean)
Hey Guys! Welcome back! It's been a hectic and busy week for me. Been spending all my free time spraying and painting orks, and working on my display board/shelf. My idea for a display board was two parts.
1) It should be part of a cart (stealing sincain40k's idea), so that it is easy to cart my models around in the hotel 2) It should be similar to the bases in my army Hey Guys! Finally got around to getting the gretchin photos up so those who aren't video happy can take a look at the process. I am pretty pleased at the result of the video though, got a ton of feedback, and lots of views. Definitely going to do a "how to use powders wrong" video next and see how everyone likes that one :) So we started off on these guys by cleaning up all the excess sprue, cleaning mould lines, and doing a two part airbrush primer. Part one was a grey primer, part two was a white primer. The white primer was used from above sparingly, and on all skin surfaces. The primer I'm using for this is Badgers Stynylrez black/grey/white, as recommended by Zab. You can sometimes get away with not thinning it, unless you're a grot and fishhooked your airbrush needle...then you have to thin it a little.
Note: When I talk about washes/glazes, I an interchanging the terms. A wash is generally used to shade, and a glaze is used to tint. I use them both for similar purposes. (I'll wash and glaze at the same time) |
Categories
All
Archives
January 2025
|