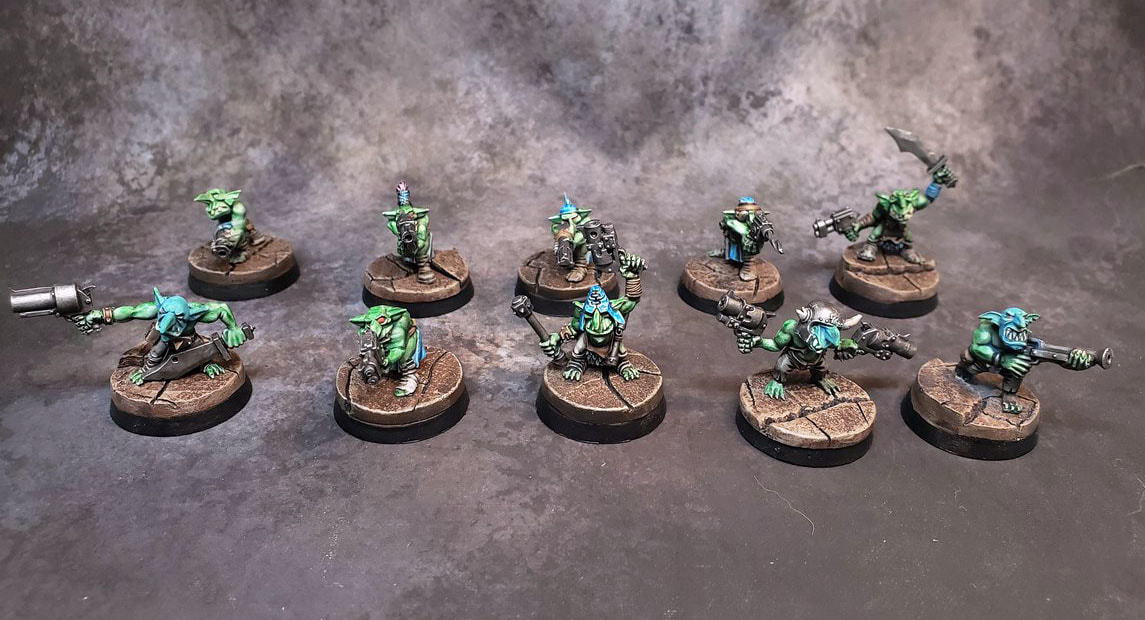
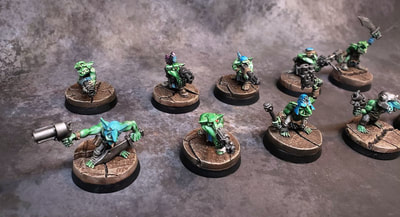
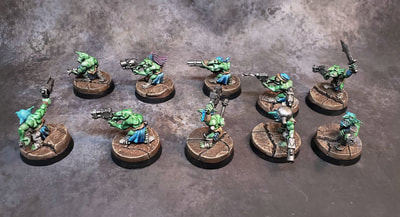
Note: These gretchin do not have a pass of chipping or secondary eye highlights...as they are trying to match the other groups of gretchin, which I was really lazy with. Plus they don't last more then about 30 seconds on the table anyway! :)
|
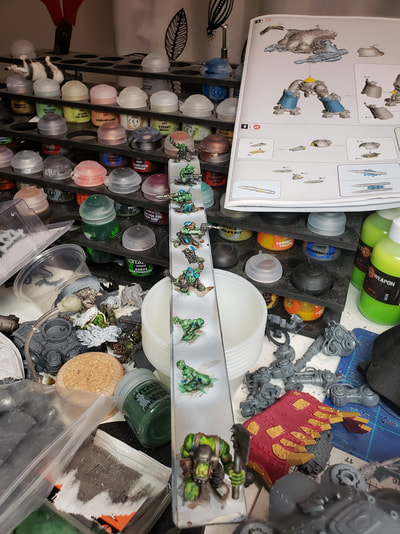
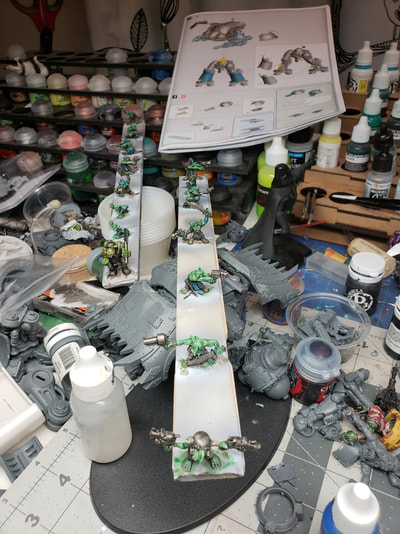
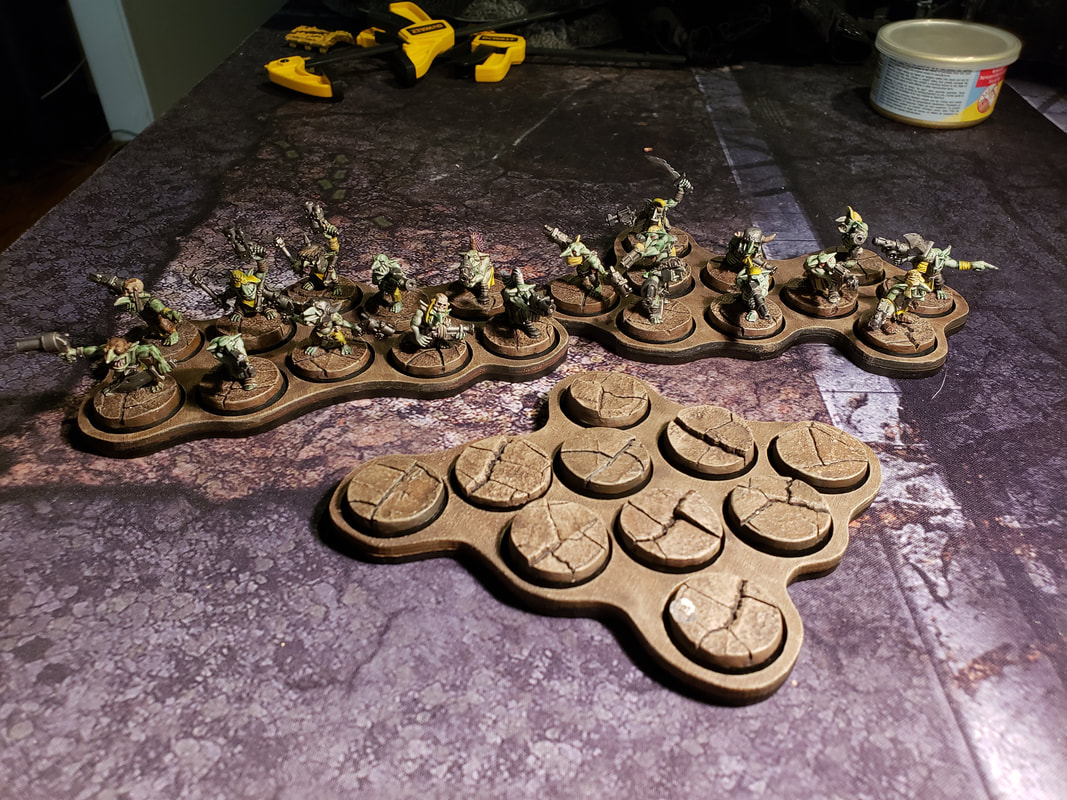
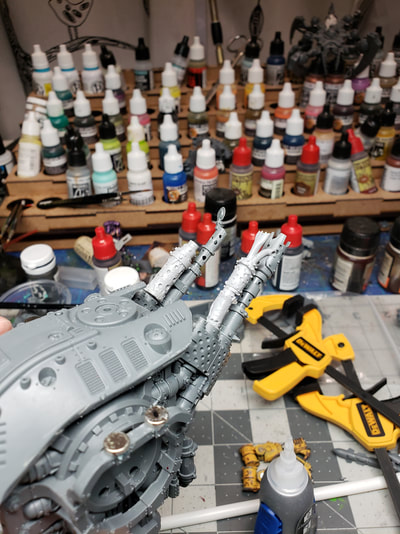
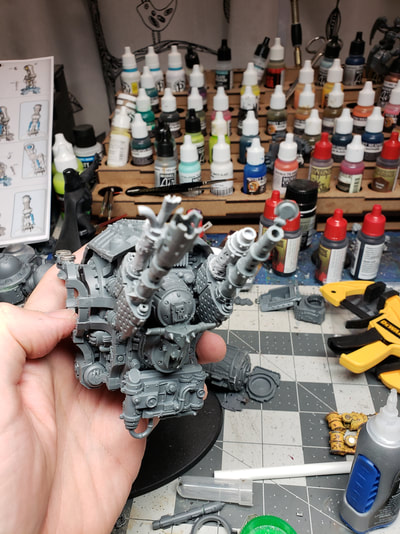
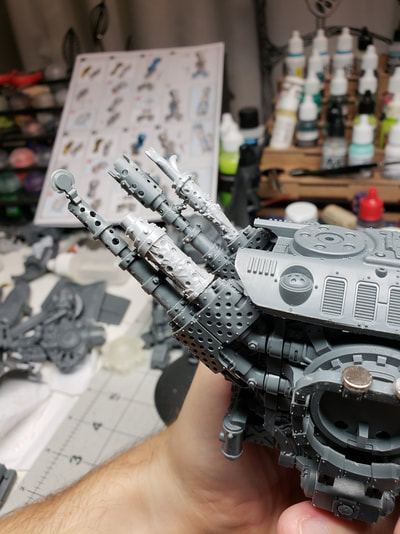
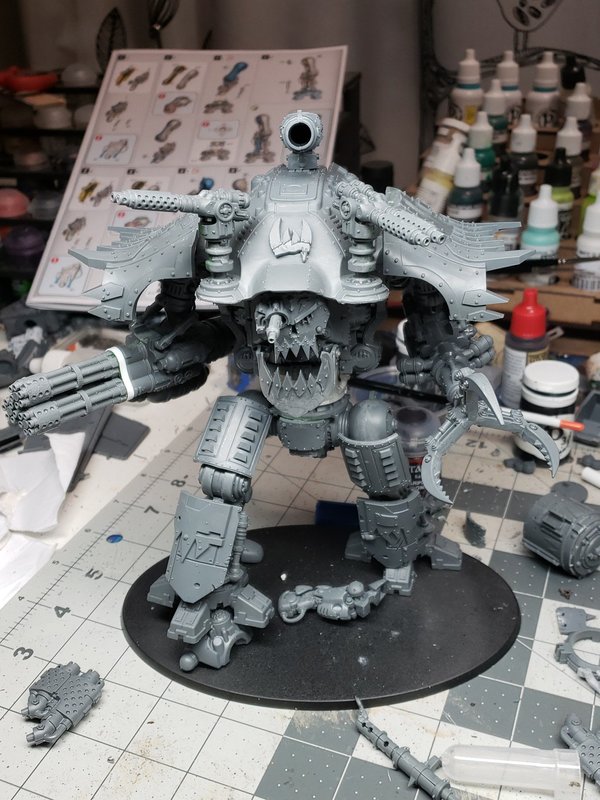
Hey everyone! Had a productive weekend. Was able to finish my last unit of grots, bringing my total to 30. (so I can run 3x10 for 6 CP). I got little movement trays for them as well, so setup and use of them should be pretty simple and quick on the table top. (everyone knows I hate moving infantry models...give me giant bases!) These gretchin were painted nearly the same as the rest of the batches, with a few differences. Instead of putting yellow on the tabard, (for badmoonz), I used Secret Weapon Wash Blue for a single pass for the tabards and hats. The wash is extremely pigmented and very bright, and worked wonderfully, realy popping the blue. Then as luck would have it...guess what pigment is used in their blue wash? The same pigment in their blue weathering powder! The blue and cross hatched faces are all down with the SW Blue powder. Came out really great and I'm happy with the effect. Note: These gretchin do not have a pass of chipping or secondary eye highlights...as they are trying to match the other groups of gretchin, which I was really lazy with. Plus they don't last more then about 30 seconds on the table anyway! :) I painted these grots on sticks as well. Hoping to speed up my painting, as I'd be paying way less attention to the underneath parts. It was a bit awkward, but I worked through it. Maybe 5 a stick would be a better arrangement (painted 15 total models here). Shot of the finished MDF trays. Very hotly contested topic (I had no idea). I mainly just didn't want to worry about plopping 30 models on and off the table in handfuls! If I have time, will try and repaint one group of badmoonz as goff's. We'll see though. Might be easy to just buy 20 more grots and do 10 goffs and another 10 bad moonz...haha (cries a little). Worst part about the gretchin is how long it takes to clean them. It is miserable work. On the death skulls knight, figured out the rear exhaust! I had been waiting and waiting for some more lord of skulls exhaust bits to come into stock on ebay...but someone snagged them. So I just went through my bins of stuff, and hey! Look at this! Once again breaking up the standard profile of the knights! Also did the final posing of the legs. Might change out those top armor plates and go with the same ones I have on the other knights. (Boring, but I like the other style better I think). There will also be a set of additional plates from the battle wagon in the mid section, where there is a torso extender (shhh don't tell GW). I also cut some plasticard and made a little band around the gun arm, to cover up my crappy greenstuff work! Next to do. The ammo drum for the gun arm (nasty cut I gotta do + greenstuff). Gotta fit 4 missiles and flame throwers as well. I nixed the shoulder turrets. I just didn't like the way they looked, and they broke up that wicked cool profile. (This photo doesn't have the exhaust on yet, as I figured it out at the last minute after taking the stance photo). I might bend the toes a bit on the front, we shall see.
Comments
|
Categories
All
Archives
August 2019
|


 RSS Feed


