Another Wonderful Guest Blogger Post From Honda! Enjoy Guys! -G
The way is shut.
It was made by those who are Dead.
And the Dead keep it.
The way is shut.
It was made by those who are Dead.
And the Dead keep it.
The way is shut.
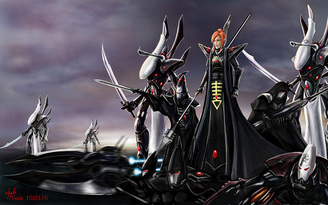
Dunharrow... Iyanden...sure that works. I think I'm going to memorize that quote so I can recite it in my games when I bring out the Dead Men Walking.
Besides, if I keep my face slack and let my eyes roll back while I'm quoting this, I might freak someone out.
Advantage: Iyanden
Ok this week's focus is on some Wraithblades. I love how they look as models, and I have to add that the Wraithguard/Wraitblade are amazing models, to the point where they almost have too much detail.
The good news is that most of the extra features are optional from a modeling perspective, so you can still produce individual looking figures (important to me) and add on the detail you want.
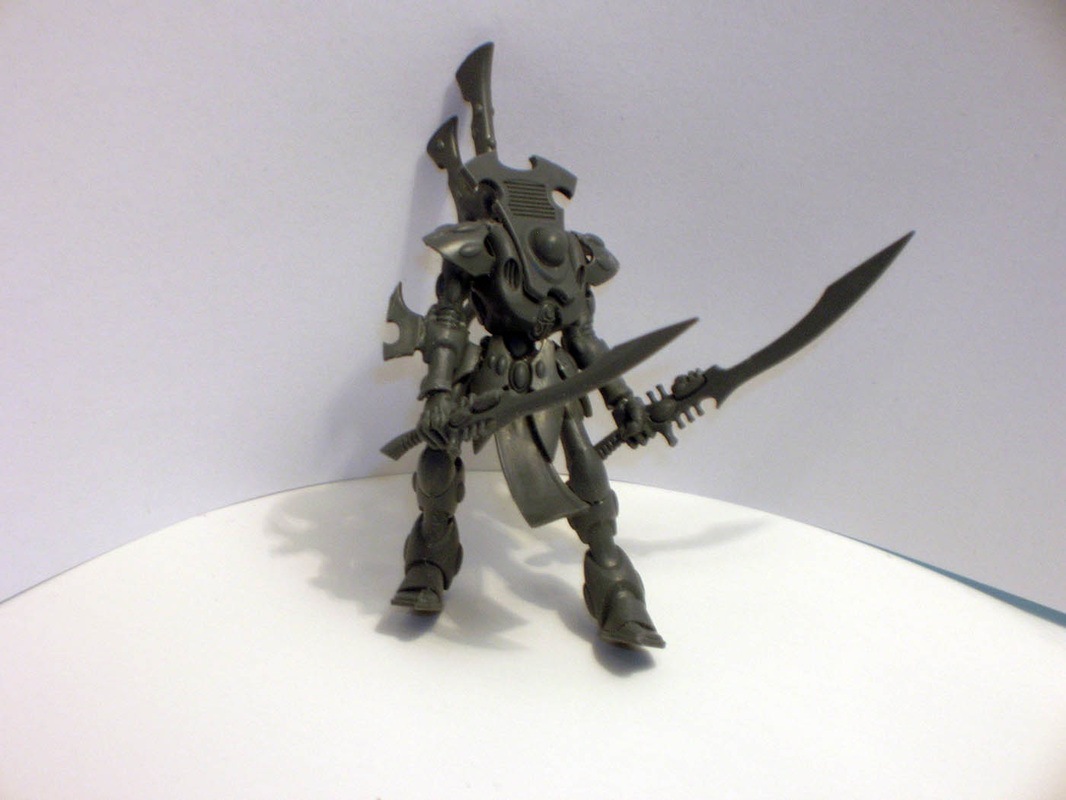
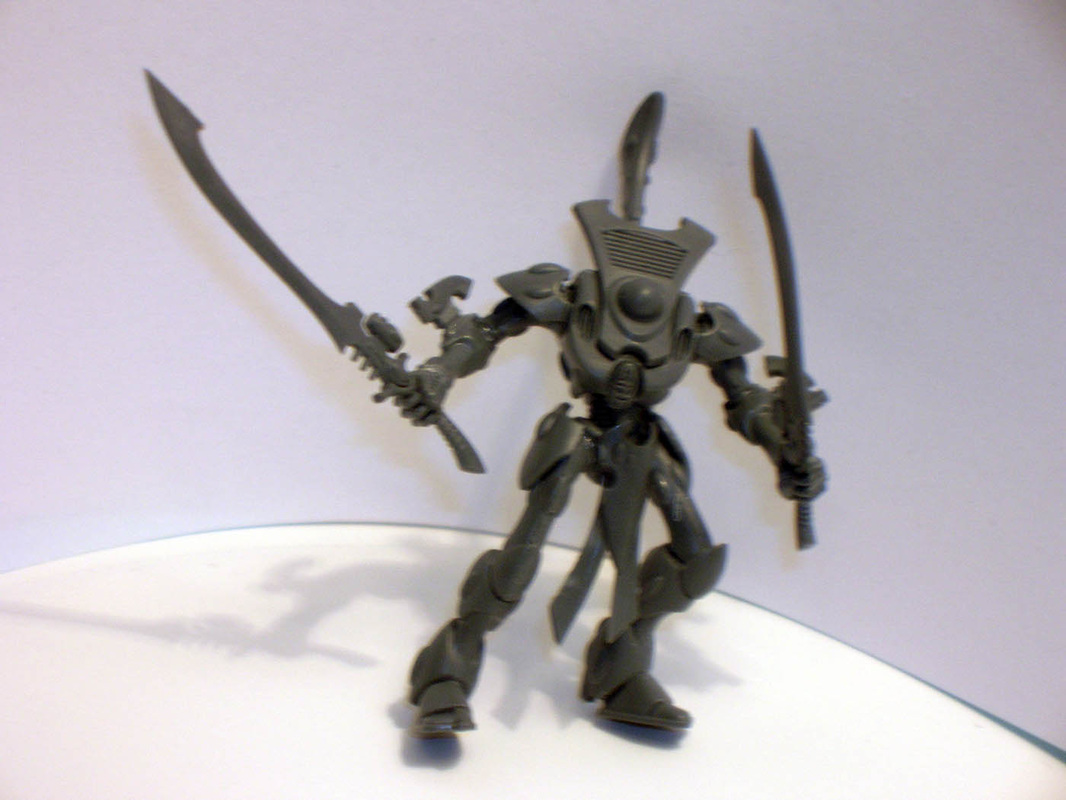
"Come at me bro!"

There are two others, but they're shy and won't stand up for a pose.
Also I am mounting them and the Wraithlords on their bases in preparation for some painting action. Now that we're heading into the fall, we'll be getting into better airbrushing weather, so I'm looking forward to that.
Actually, since Greg is caught up following his baser instincts, I thought I would share some basing tips.
In general, I prefer to spend as little money as I can on all the support items for hobbying, whilst still assuring a quality that won't compromise the end result. So, I'm always looking at cheaper alternatives for things like basing, carrying cases, and whatnot.
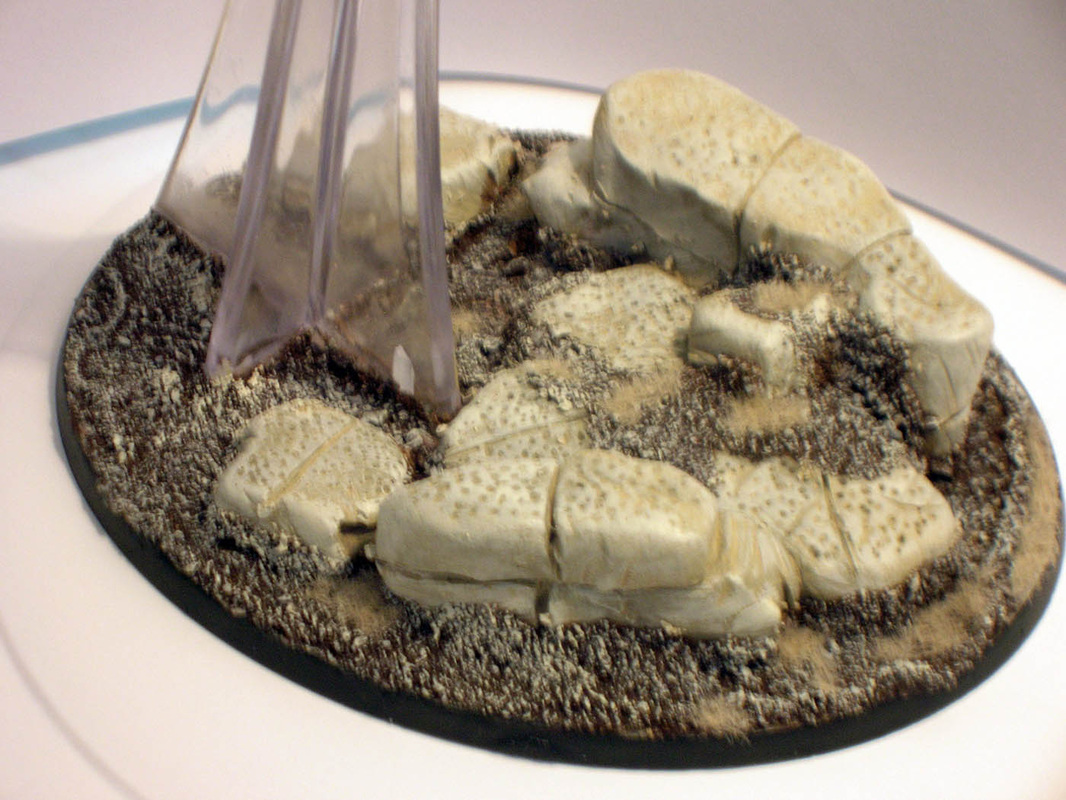
A material I've been having a lot of fun with for basing is air dried clay. It's pretty cheap (~$15 USD) and allows you to build out a lot of different styles of bases, just by letting your inner child loose.
For example, here's a flying base with ruins on it.
For example, here's a flying base with ruins on it.
Of late, and the way I'll be modeling the Iyanden, is a weathered stone effect. By the time I get topainting them, I suspect that I'll end up with a dark basalt colored rock (Yay, Geology degree) to accent the lighter colored figures.
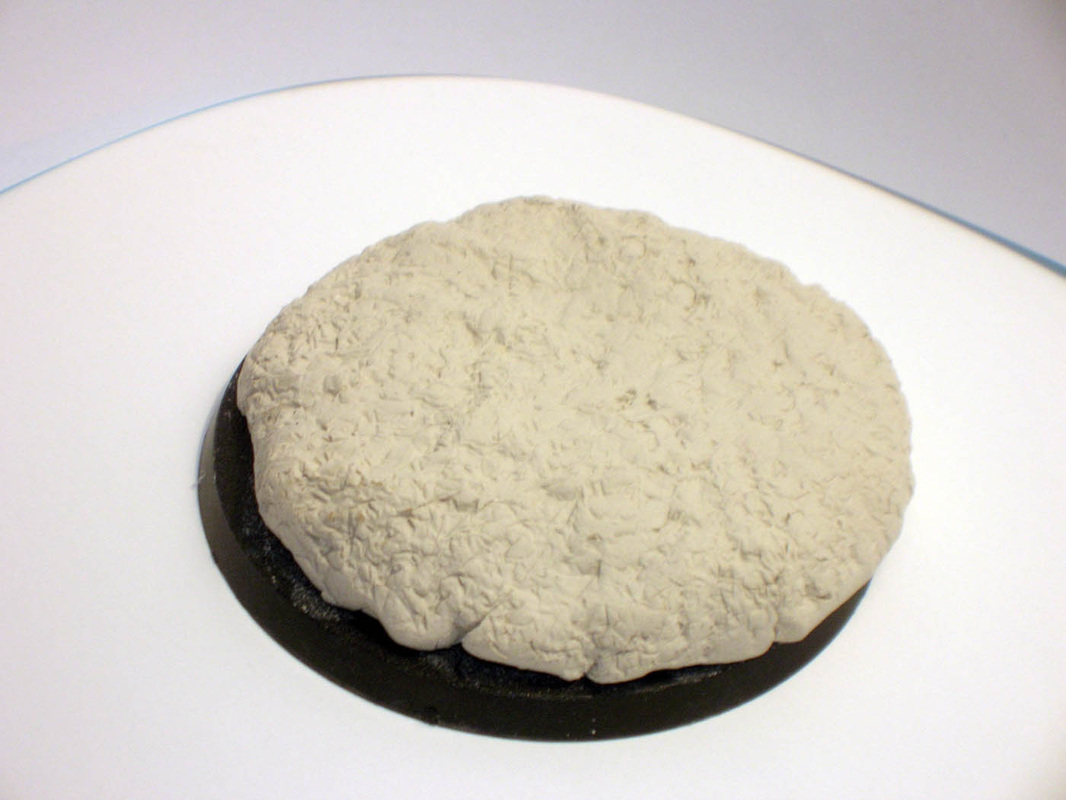
I built these bases with the following steps:
1. Optional: I often times drill holes in my plastic bases to give the clay something to hold on to.
2. Pinch off a piece of clay approximately the size of the tip of your thumb.
3. Work it into a shape that you are happy with that fits on to a base. Options are circular, wedge, basically anything that sort of looks like a rock to you.
4. Press it down hard into the base, assuming you used the optional step. Step 1 is recommended for larger bases.
5. Now the fun part, adding texture. From your kitchen, get a piece of aluminum foil and crinkle up into a ball (approximately 1.5 inches in diameter). You'll notice that there's an interesting pattern of ridges and whatnot on the surface. You are now going to imprint that surface texture into your clay.
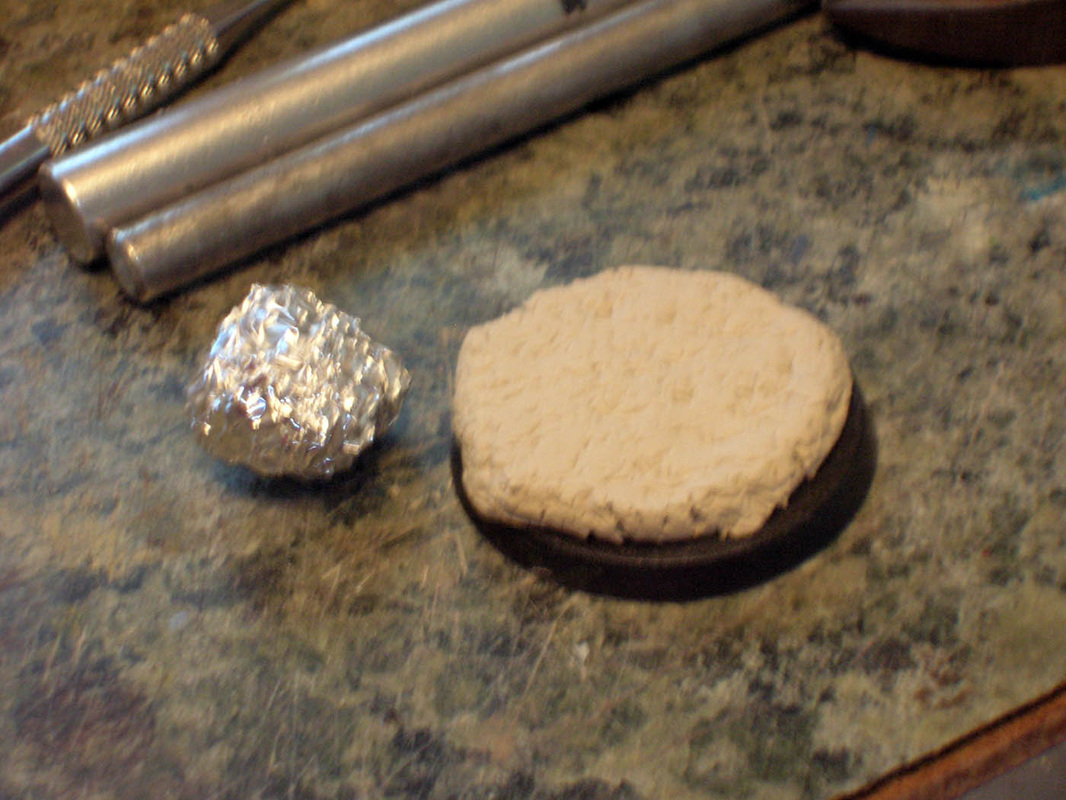
6. Begin pressing the foil ball into the clay material and see some magnificent texture appear before your very eyes. Note, you really can't mess this part up. If you don't like how this is going, smooth out the clay and start over again. Make sure that every surface has texture on it.
7. Set the base aside and let it dry. I let mine sit for at least 24 hours before touching them again. Also, make sure that you wash your hands afterwards as there will be a residue on them. It doesn't taste very good and don't ask me how I know that.

8. Once your bases have dried, you'll probably notice something odd about them. They shrunk. That's Ok, the clay is designed to work that way. You'll probably also notice that despite your best efforts, the bases are not attached to bases or will pop off easily. No worries, just get some decent craft glue and glue them back onto your bases and let them dry a few minutes.
9. Now your bases are ready to be given some (and in Greg's case, not so tender) attention.
10. There are a couple of different options now. You can go ahead and paint up your bases and finish them off, attaching your figures later or, as I often do, attach the figures pre-painting.
Now, there's a couple of things that should be mentioned at this point. Just gluing figures on the bases with a super glue, will in most cases be Ok for display purposes. But if you are going to game with your little works of art, I highly recommend "Bracing For Impact" (BFI).
What does BFI mean? Well quite simply, acknowledge that while you're having fun, stuff happens.
Someone accidentally knocks your figure over. Your figure gets placed on a precarious piece of terrain, unicorns swoop in and try to run off with your newly painted HQ.
Accept that those kinds of things are going to happen. Assuming that, then understand that just gluing your figures onto bases is probably going to set you up for heartbreak later on. So take one more extra step and reinforce the join.
Now you can do this step before painting or after, it doesn't really matter, though sometimes you may have to touch up things if you take the post-painting option.
In any case, drill through the bottom of the feet of your figures and at least one spot on the base. The clay is very good at handling this, so you shouldn't worry about hurting your masterpiece of stone.
I should also mention that the air dried clay I use is polymer based, if I am remembering correctly.
Anyway, drill holes in both parts, about the thickness of a paper clip.
Why?
Paper clips are cheap.
Clip a small rod from your paper clip and then glue it to your figure and your base, i.e. stick the rod into the hole, put some glue on the base and assemble. I suppose if you wanted to, you could glue one end of the rod into one part, let that dry, and then do the other, but I don't really think that's necessary.
Once that's done, then you can have the confidence that your guys/gals are going to hang around a little longer and you won't have to be concerned about every little tip or bump.
That makes it easier to have fun, which is why we do this.
Ok, I think that's it for now, until next time.
The way is shut.


 RSS Feed