"It is worse than we thought."
The Shas'O turned off his holographic data analysis interface and rotated his command console to face the analytics Shas'ui, "Explain."
"While our preparations for Phase 2 were in progress, we've observed that the military capabilities of the Gue'la insurgent organization have increased dramatically. These new capabilities on top of a previously unrecognized ability to manage the C3 aspects of an organization without using any of the existing infrastructure has us quite puzzled.
They have no communication equipment, no presence on any of the planetary nets, and as far as we can determine, no command structure. It appears that various force packages just show up and execute an action, only to melt away once that activity has concluded. If it were not for the attendant vox activity on behalf of the planetary defense forces, we would have no idea that the systematic deconstruction of the Gue'la infrastructure was taking place. We are currently unable to link cause and effect to arrive at observed outcomes and from there predicted behavior.
At a macro level, there are force variables influencing our simulations and data analysis not taken into account, which significantly reduces our ability predict outcomes. Thankfully, this only occurs when this insurgent organization participates, although we are unable to determine if and when these events are determined.
What is more troubling is that there is no logical reason for this to have occurred. Our simulation capability protocols did not surface this potential scenario until we started sampling potential outcomes down to the 87th percentile. We did not think that our threat matrices should be compromised with the sampling of these lower tier possibilities and that has impacted our predictive outputs."
"And yet, here we are", replied the Shas'O.
Gar and I got together to kick off a round of battles between the various factions, whose purpose is intended to advance the story line.
With that said, we opted for a game on Black Friday at one of our favorite gaming locations, Fat Ogre's.
Now if you read last week's post, you'll know that I was faced with some difficult choices.
If not, here's the link so you can get caught up. Go ahead and skim through the details, I'll wait till you get back.
Ok, now that we're back, let's get into the details.
My forces looked like this:
My forces looked like this:
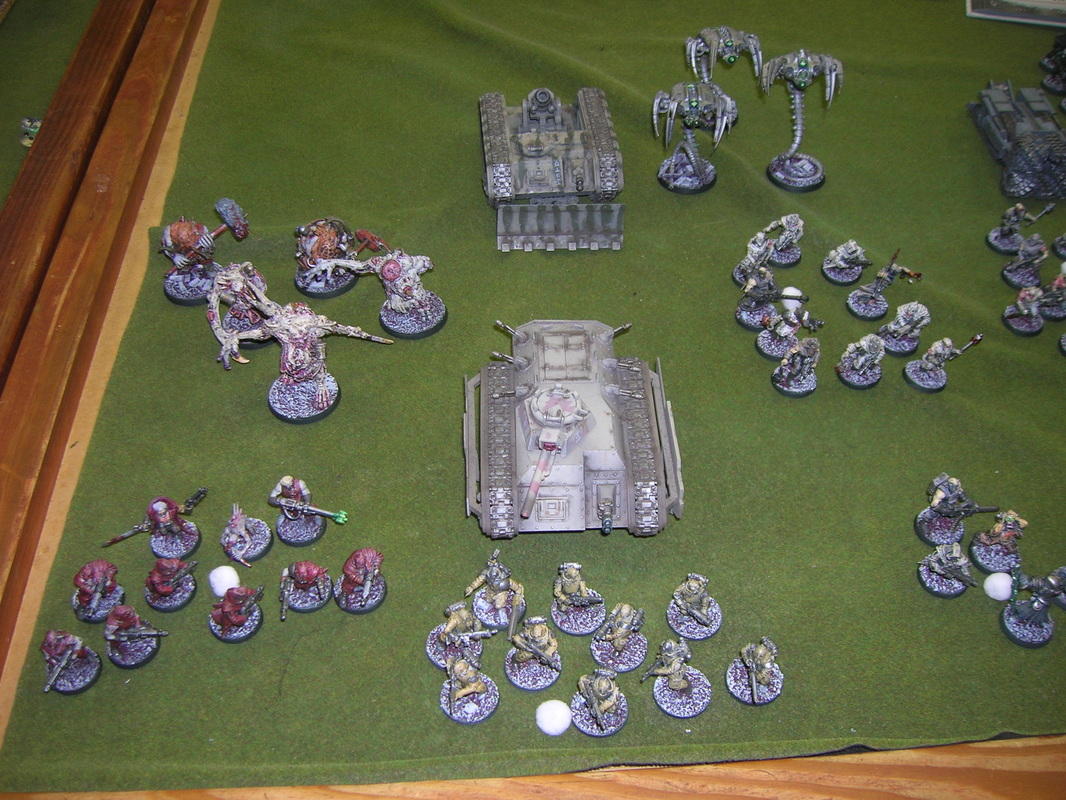
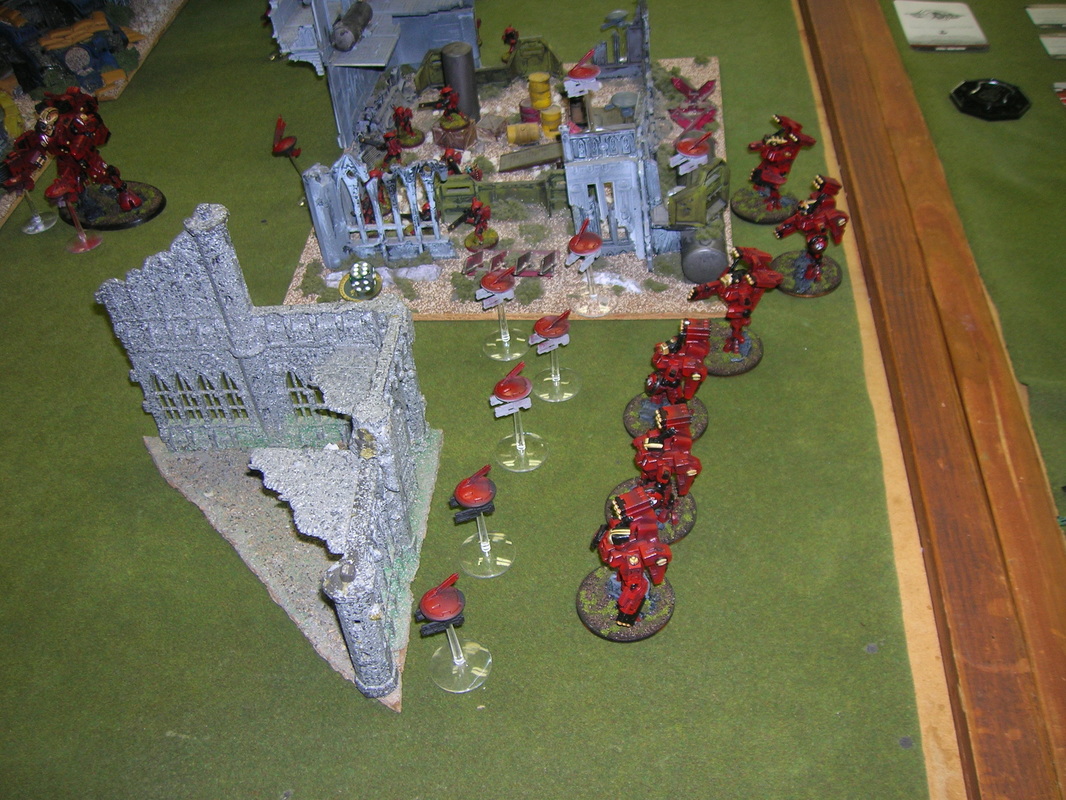
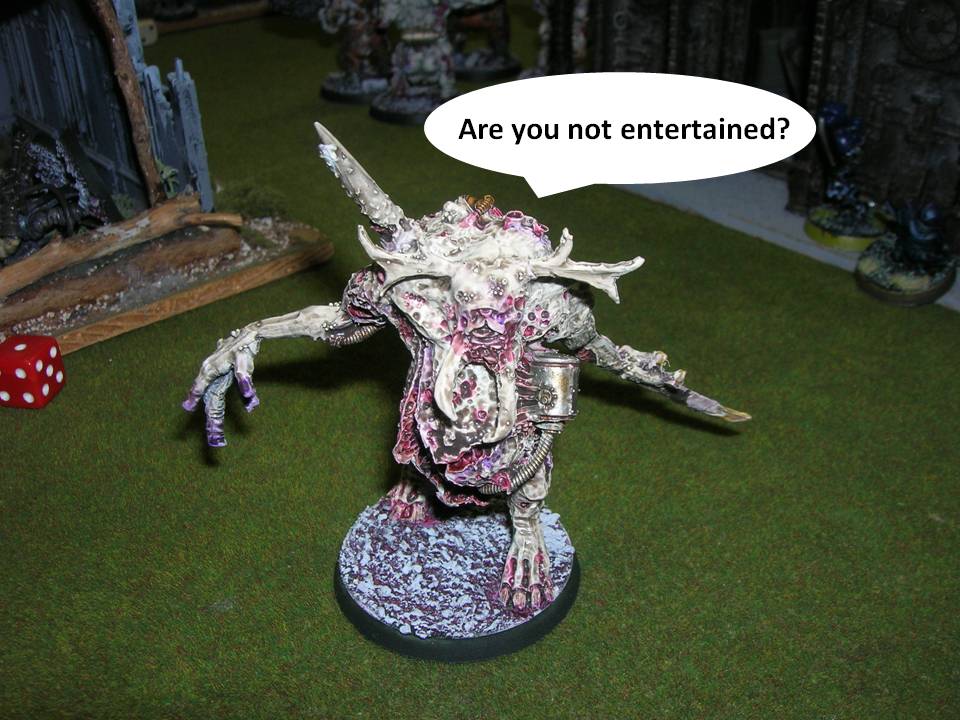
Not bad, lots of bodies, a little armor, a little artillery, a lot of bed sheets. No Necron troops to influence my capabilities. I wanted to play straight up Cultists and their IG allies. The Wraiths shown actually represented heavy weapon teams wielding auto-cannons, but they did provide a visual Necron tie to the Children of the Dragon.
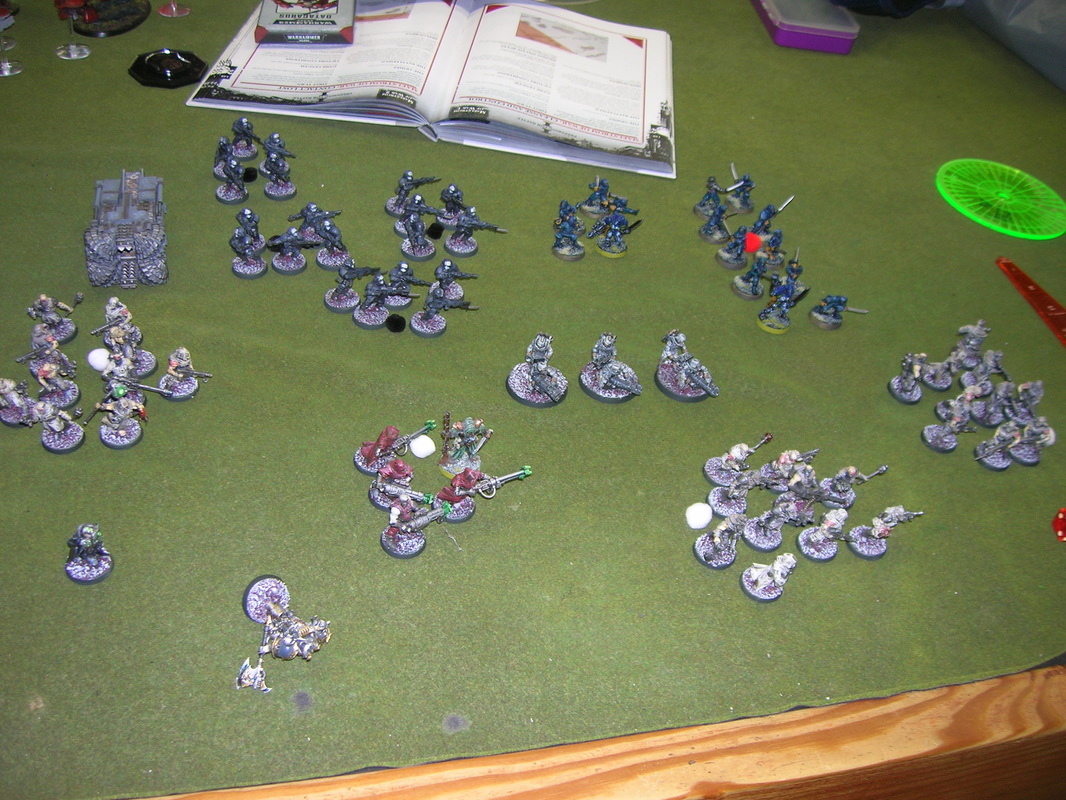
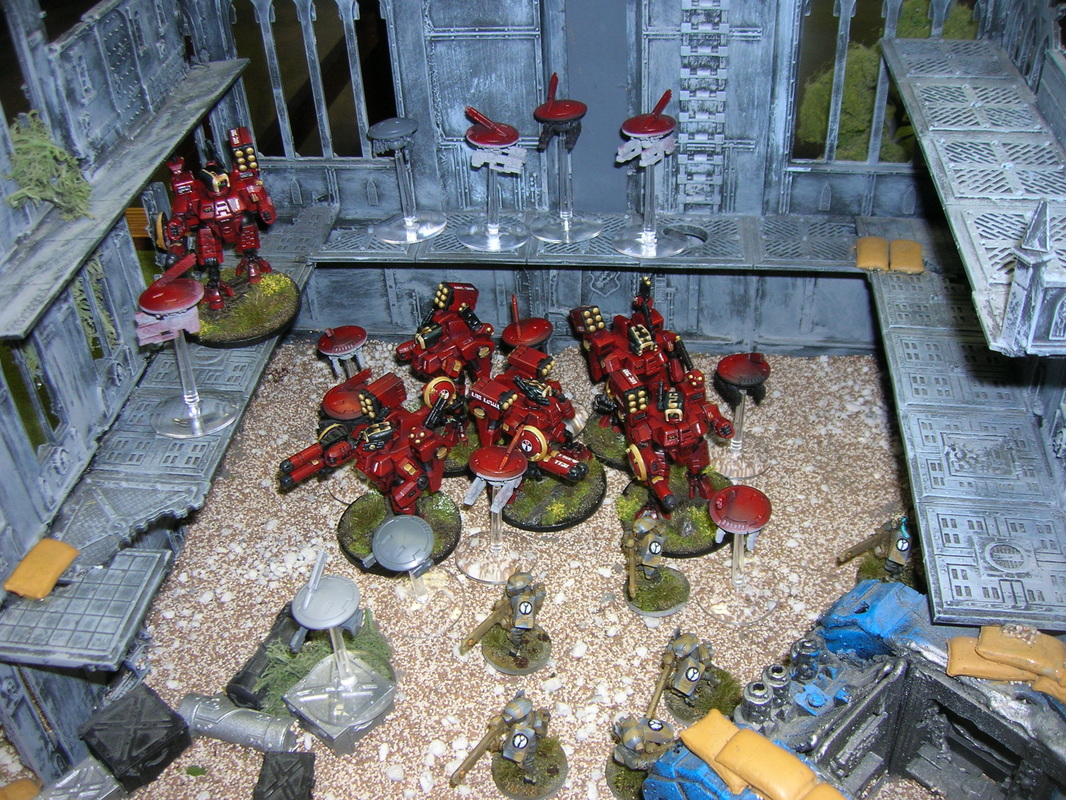
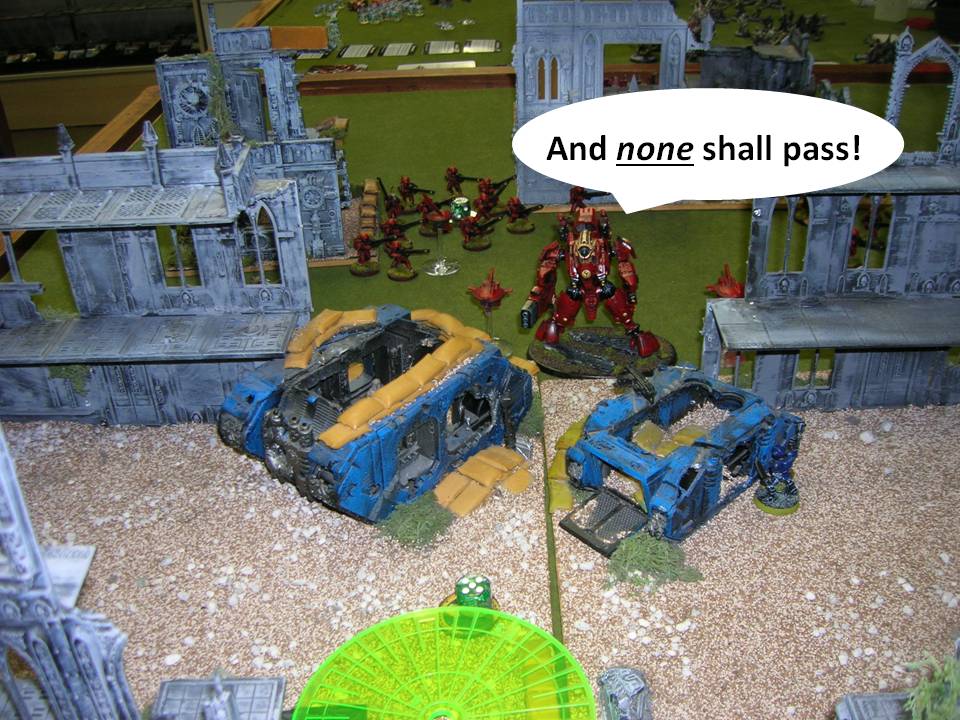
Unfortunately, Gar showed up with this kind of stuff:
Unfortunately, Gar showed up with this kind of stuff:

In fact he had a Ghostkeel with two stealth drones, two units of six Crisis suits and drones, with the usual odd Tau naming conventions (e.g. Death Rainbows, Salt in your Wounds), as well as a unit of Pathfinders, and two or three units of Firewarriors.
So altogether, a very mobile hard hitting force.
From a scenario perspective, we decided to shake things up a little, so we rolled for deployment and got the diagonal option, then we deployed six objectives and went full Maelstrom. Amongst our group, I don't recall us ever playing Maelstrom missions before, so this looked to be pretty interesting.
We're not a line 'em up and roll dice kind of group, preferring scenarios and Apoc, but somehow we just never got into this aspect of 7th edition. I'm glad that we did, now that 8th edition is just around the corner, I want to at least have a check in that box. So what we decided to do is draw a card(s) until till the number of cards in hand equaled the Turn we were in. So, Turn 1, one card. Turn 4, a total of four cards.
Now that we're past that let's get into the fish, er meat of the battle. Also, I'm going to group the turns into Early/Mid/Late phase as this was a very intense battle and exactly when things took place is a little blurry. I know they happened, but I want to focus on events and how that shaped the game.
Early Game
The Tau went first. I tried to steal, but just missed it (rolled a 5). Gar had put all of his suits in Reserve to maximize his flexibility in regards to what I was going to do. I also had a fair amount of forces in reserve, like my Engineers and artillery.
Unfortunately, Gar got his Ghostkeel and one unit of suits in Turn 2 and I got nothing. There was a large ruined building in the middle of the table that was going to dominate how the rest of the forces were going to fight, so I started pushing units to get there.
My onboard artillery (Griffon, Mortars) seemed more interested in generating lots of noise vs. having an effect. So nothing of significance accomplished there. Gar also killed my Chimera (getting 1st Blood), which put a crimp on my mobility. By the end of Turn 2, all of my Reserves remained off table and Turn 3 was looking pretty grim.
At this stage, the VPs were on the order of 3-0 Tau.
Mid Game
The Tau got their other unit of suits on and placed them in the large ruins where they could have a significant influence on my units pushing into his space. To that effect, before I could start to take hold of that feature, one of my "key" annoyance units for Gar, the Plague Ogryns, got shot into little bits of slime. Le sigh.
However, to counter balance that loss, the Hades breaching drill came on and although it wields a pretty nasty melta weapon, it "maybe" killed two guys between its deep strike template and the melta gun. Not good. I was expecting more effectiveness and disruption, which perhaps was an indication of how desperate things were becoming.
Gar wisely skipped off the dance floor away from the Hades and started peppering my units with missiles and other unpleasant munitions. I finally got all my artillery on, but it seemed more interested in shaking up the brick and mortar establishments lining the avenue.
However, all was not lost. In turn Four, all my Engineer (Krieg) units came on with their gas grenades and demo charges. Between three well placed demos and a charge from a unit of bed sheets and two engineers, one entire unit of Gar's Death Rainbows was eliminated.
VPs were something like 3-3 or 4-3 Tau. Very close game all of a sudden.
End Game
With the elimination of the unit of suits, suddenly the board opened up a bit for the Cultists and Gar found that I suddenly had more "targets" than he had bullets/ions/photons/missiles. So a big rush from the Cultist started, the goal to keep pressing the Tau, preventing them from choosing optimal firing positions.
It was amusing to both of us how truly pathetic the Tau are when it comes to hand-to-hand. This led the Cultist to push themselves into situations every chance they could, because even a unit of 2-3 bed sheets could engage a Tau unit and have a chance at defeating them..."if" they could survive all the firepower on the way in. This led to several humorous situations where I'd just charge something of his just to see if I could get there. If I did, a lot of times, it didn't end well for the Tau.
As we got into Turn 6 the VP points were pretty tight. The Tau were maybe one or two points ahead and there were plenty of opportunities to close the gap. So I kept pressing him and he kept shooting at me.
Once Gar even assaulted me with the remnants of his Pathfinders against a remnant Engineer unit. I eagerly rubbed my hands together thinking "Ok wise guy, here's where I get you", but against all expectations, the Pathfinders actually beat the Engineers, causing the last one to break, and run down the field to Momma. Pretty hilarious.
We totaled up the VPs and the Tau pulled out an 8-7 victory over the Cultists.
We totaled up the VPs and the Tau pulled out an 8-7 victory over the Cultists.
Epilogue
Well, that was quite the hairy game and very intense in a good way. Although the Cultists did not prevail, they were not dominated by the Tau firepower and again demonstrated that if they can get into hand-to-hand, they can cause significant harm to the Tau. I guess all those flapping sheets are really distracting.
The challenge for the Cultists now, is in how to deal with an escalating level of force from the Tau. Gar has another Ghostkeel, Riptides, Broadsides, and like 18 more Crisis suits (literally)...and he still has plenty of Kroot, Fire warriors and Stealth suits...and don't even get me started on his vehicles. At some point Gar will be able to field Apoc level forces, which will help us next year.
For my part, I need to get more familiar with my forces. There are things that I should have done, but in not having played with this mix before, I neglected to take advantage of some of their capabilites.
Also, assuming that we play Maelstrom battles again, I need to get out of my Apoc mindset. In Apoc, holding objectives is a good thing. In Maelstrom, holding the "right" objectives is a good thing. There were times when I was holding an objective assuming that I would eventually draw that card. However, the reality of Maelstrom is that you can't really predict what objectives will be drawn.
So I need to play that a lot better as that caused me to keep forces back that should have been moving up the table. Since I didn't really clue into that until Turn 3, I really did limit myself unnecessarily. Live and learn.
Anyway, it was a great game and I look forward to unleashing the new Cult capabilities on Jefe and Mo.
Cheers,


 RSS Feed