Welcome my friends to a most joyous day! I finally have power back to my compressor and paint booth in the garage, and can resume priming and spraying!
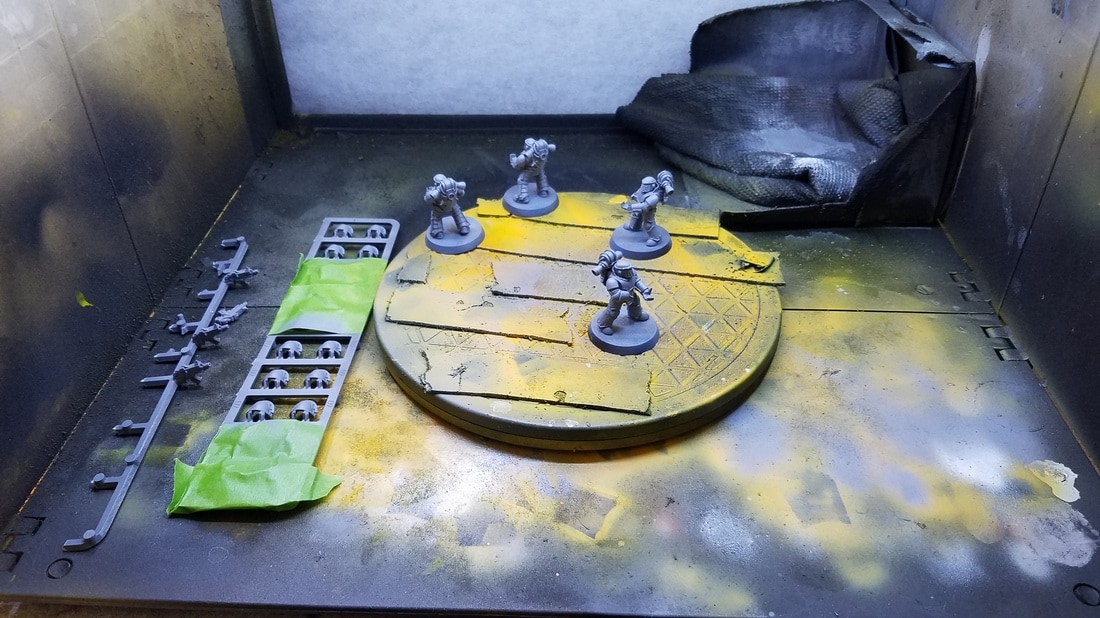
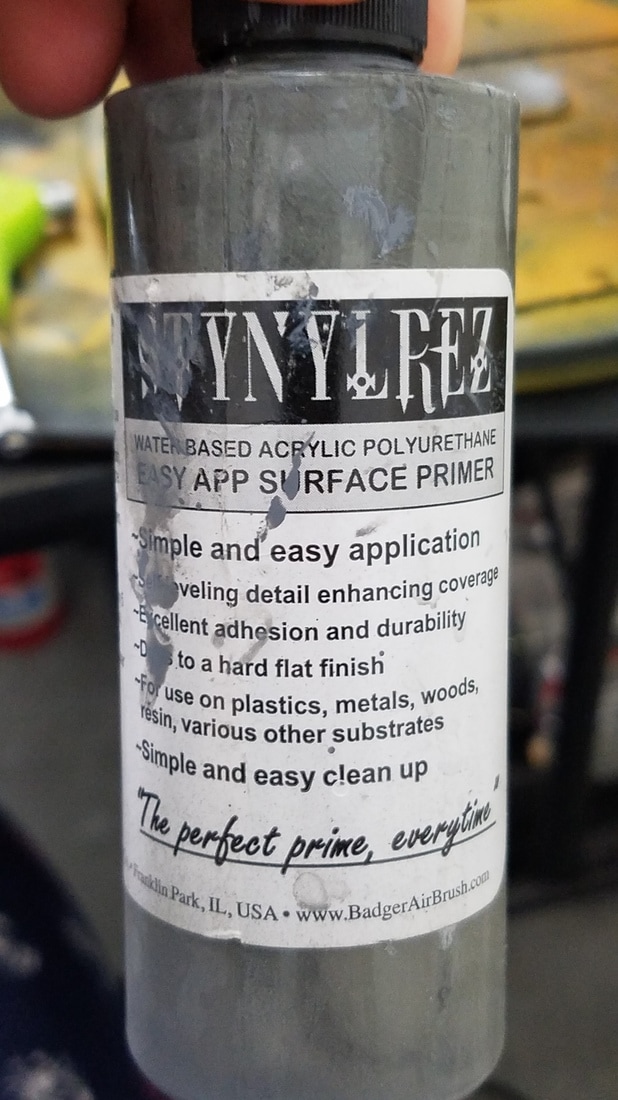
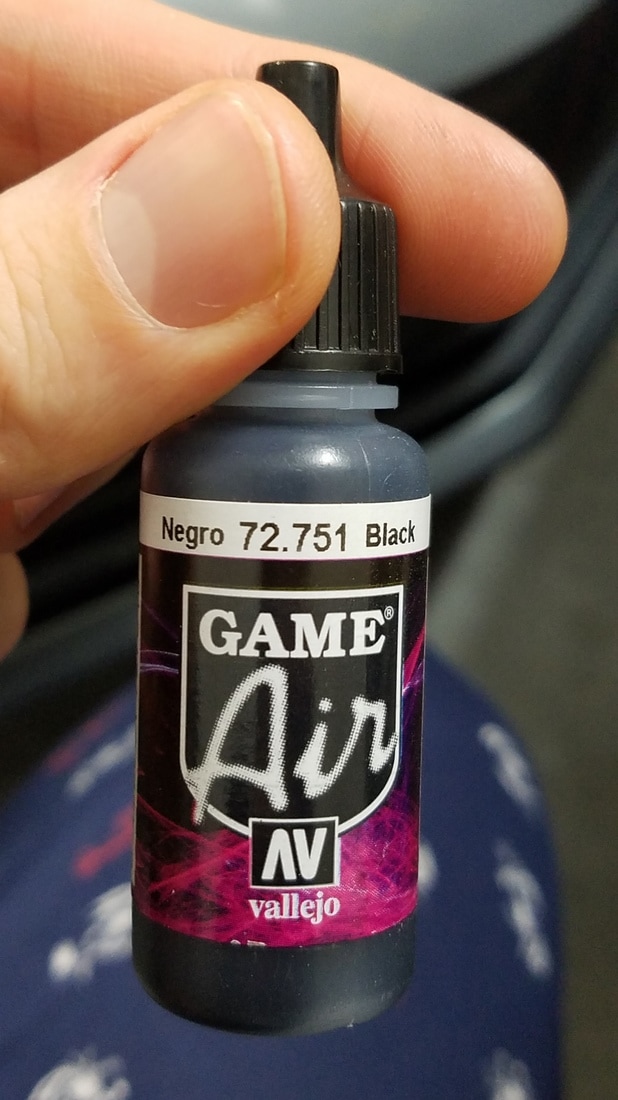
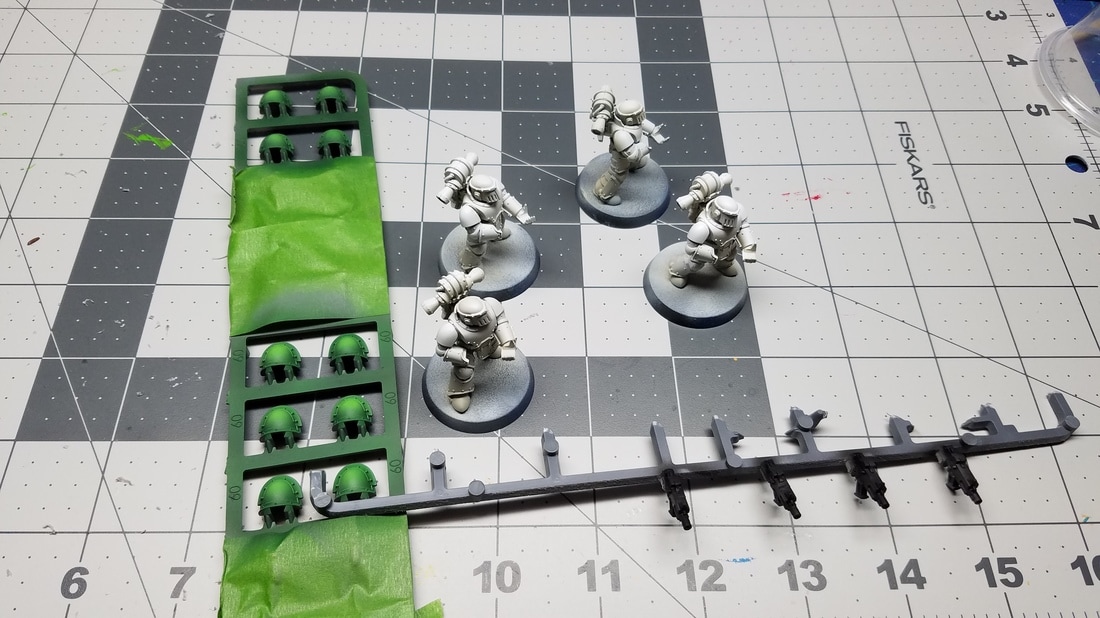
To start with, I picked four units from a squad to serve as a test bed. Trying to figure out what techniques will work best for painting their cream/green colors. (haven't tried this before). I kept the shoulders on the sprue because they are beautifully set up for spraying (I taped the ones that were facing the other direction). And also glued the bolters to a sprue for some fine tuned spraying! Then I primed everything grey, which is pretty annoying (because its hard to know what you primed), but works really well for everything.
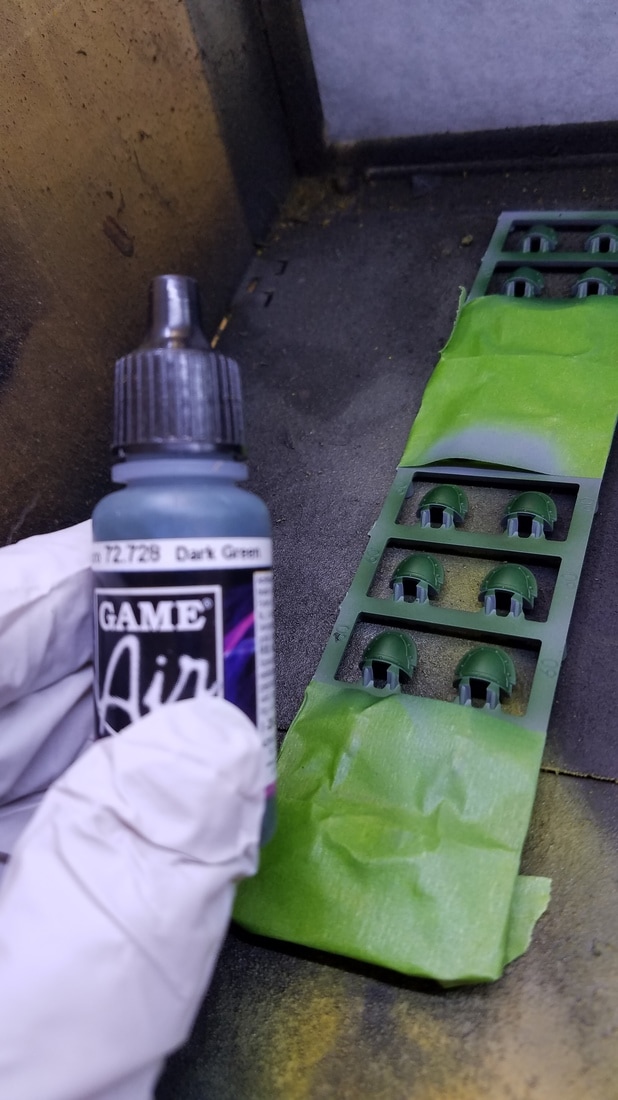
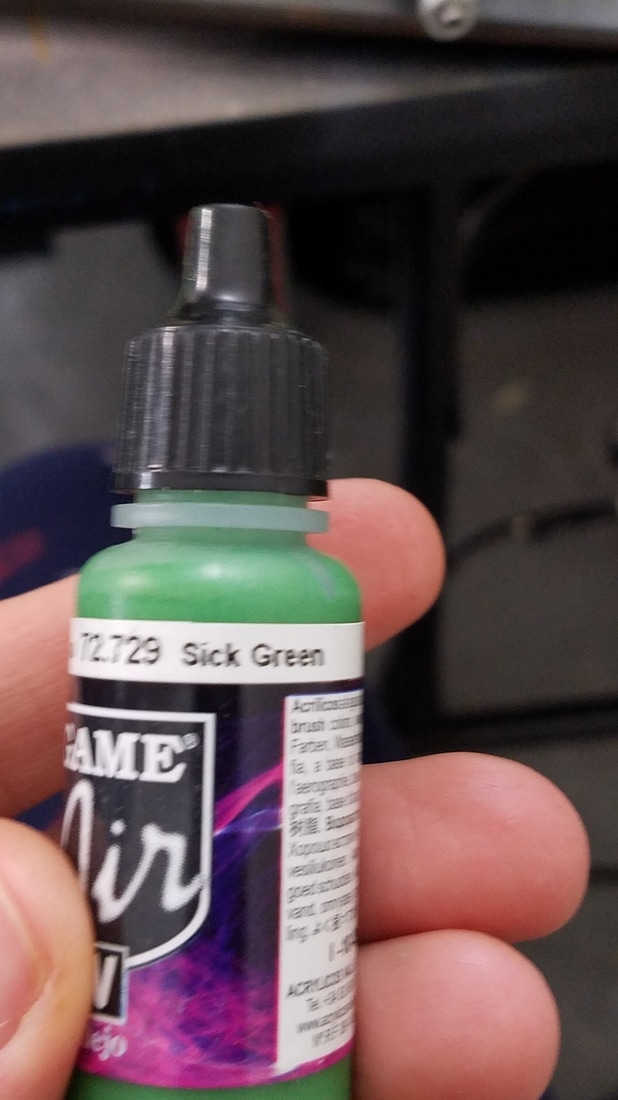
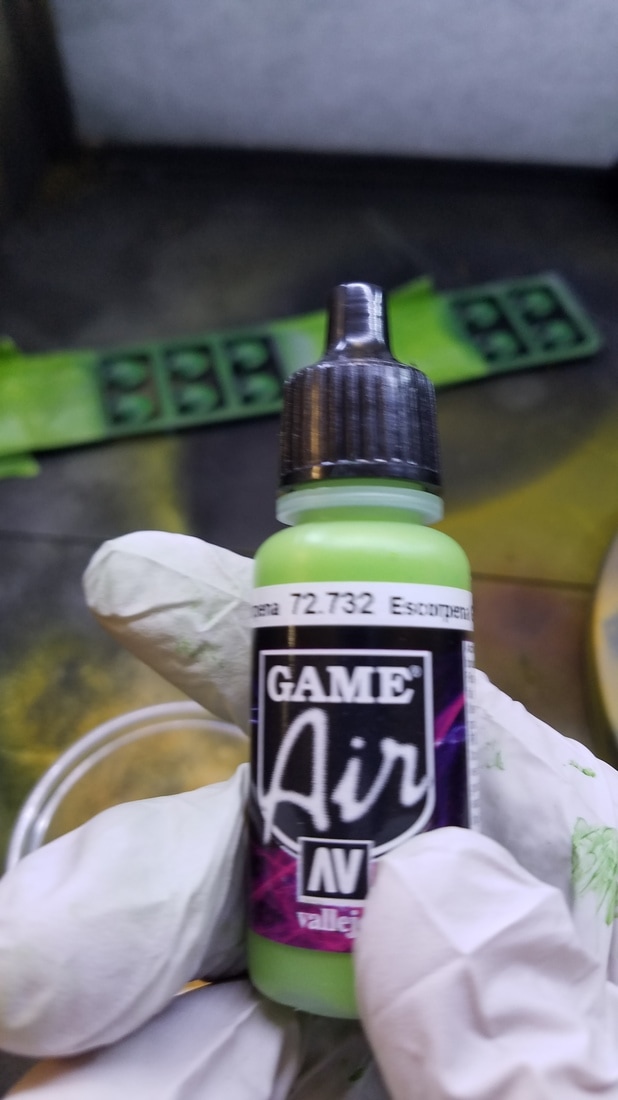
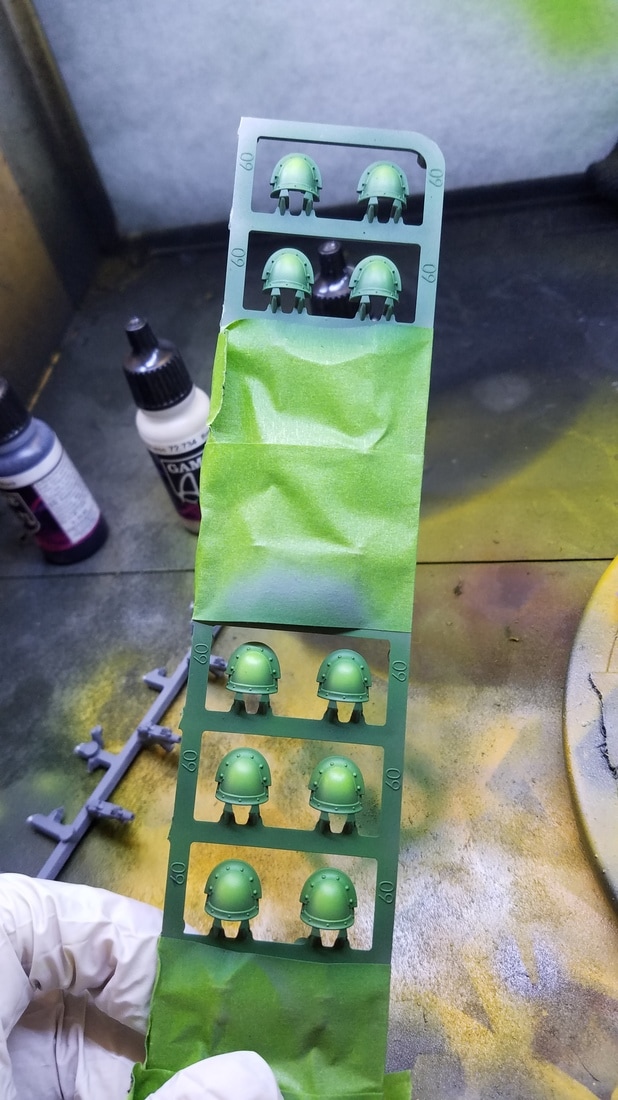
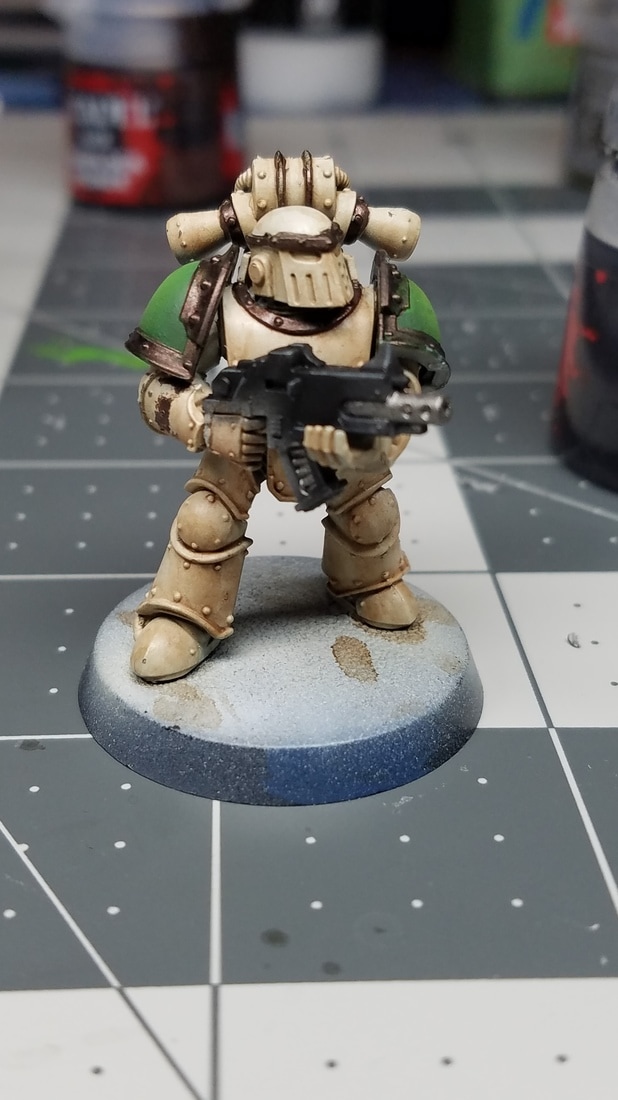
For the shoulder pads, I wanted the final highlight pretty bright, so that I could chip it up without reducing the impact of the color. I went with a base of vallejo air dark green, then sick green, then escorpena. They came out nice and bright.
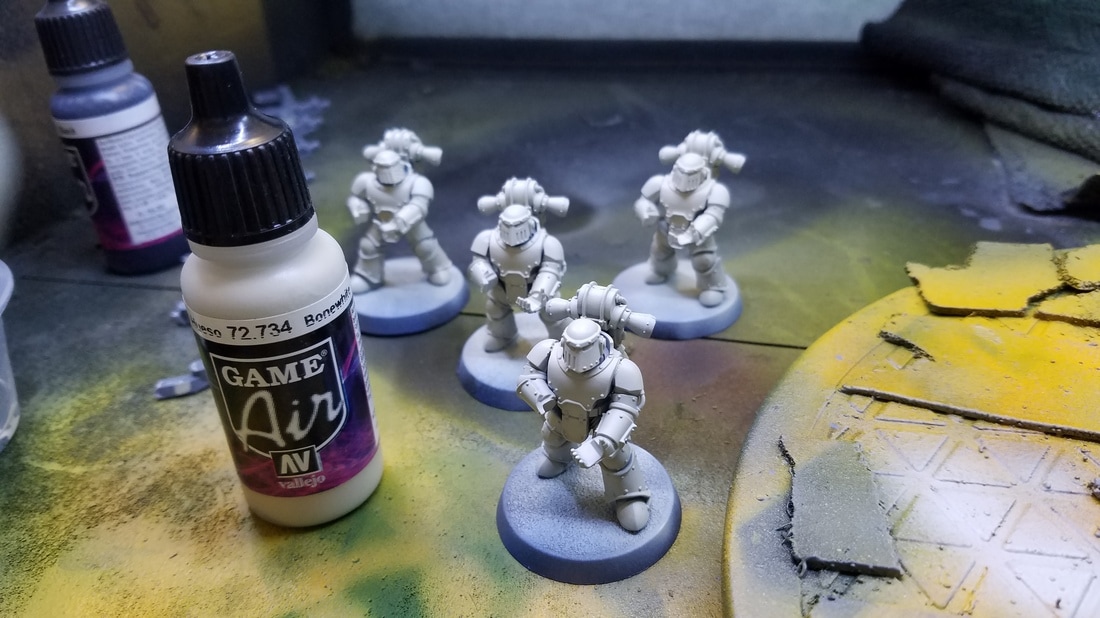
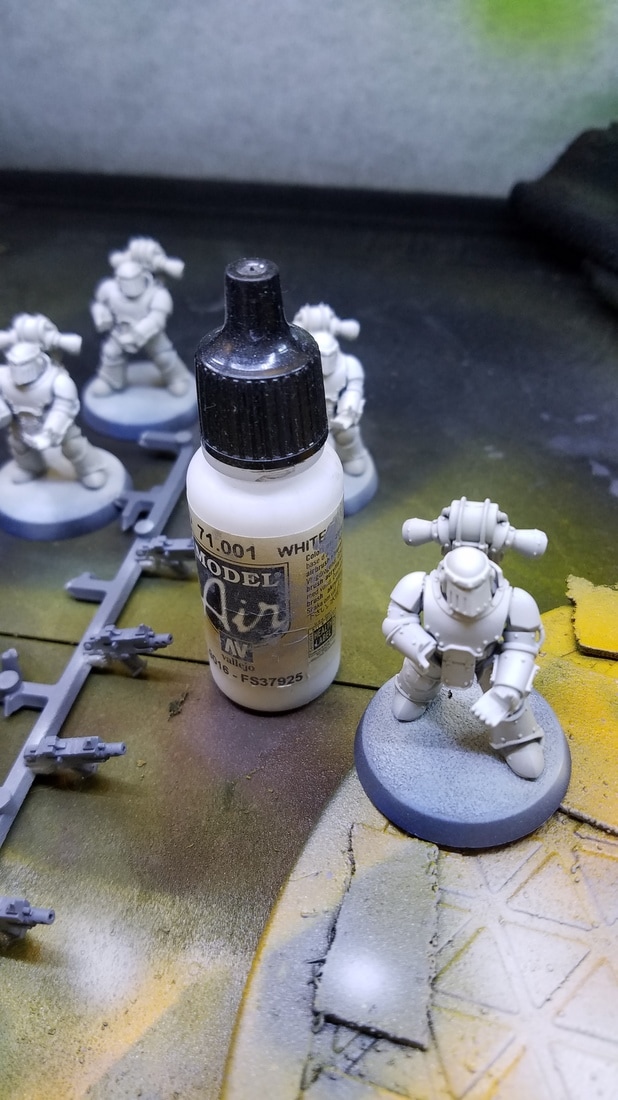
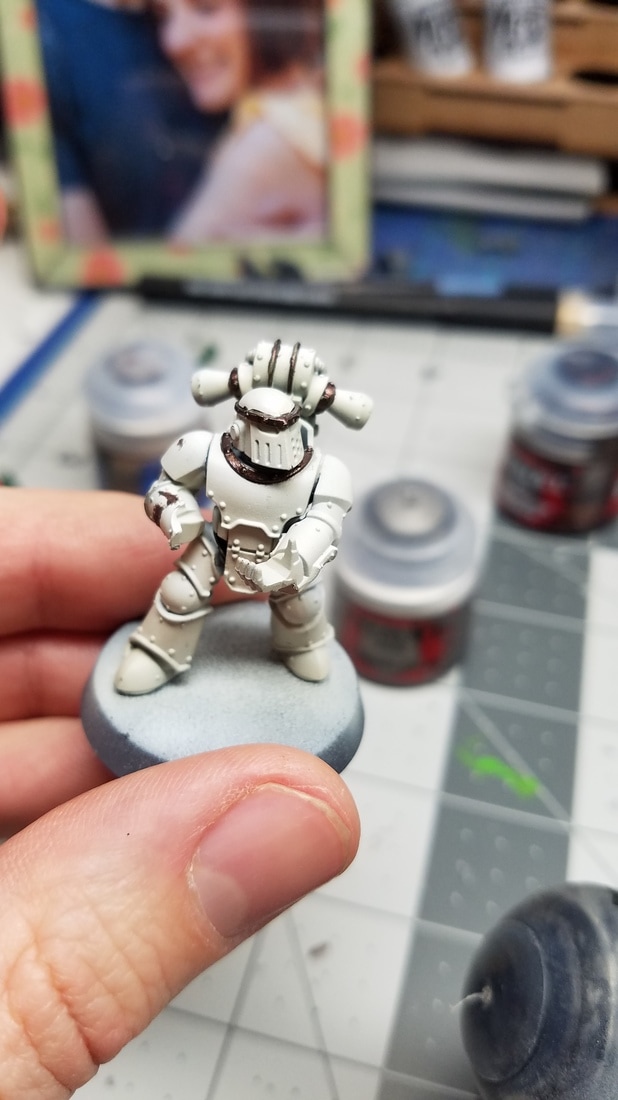
For the armor, I did a full coat of bonewhite (vallejo air), followed by zenithal of white on the raised portions of the armor. I am thinking maybe I should have a third color in there. If anyone has a suggestion for a more brown white (something like bonewhite but more brown), please leave a suggestion!
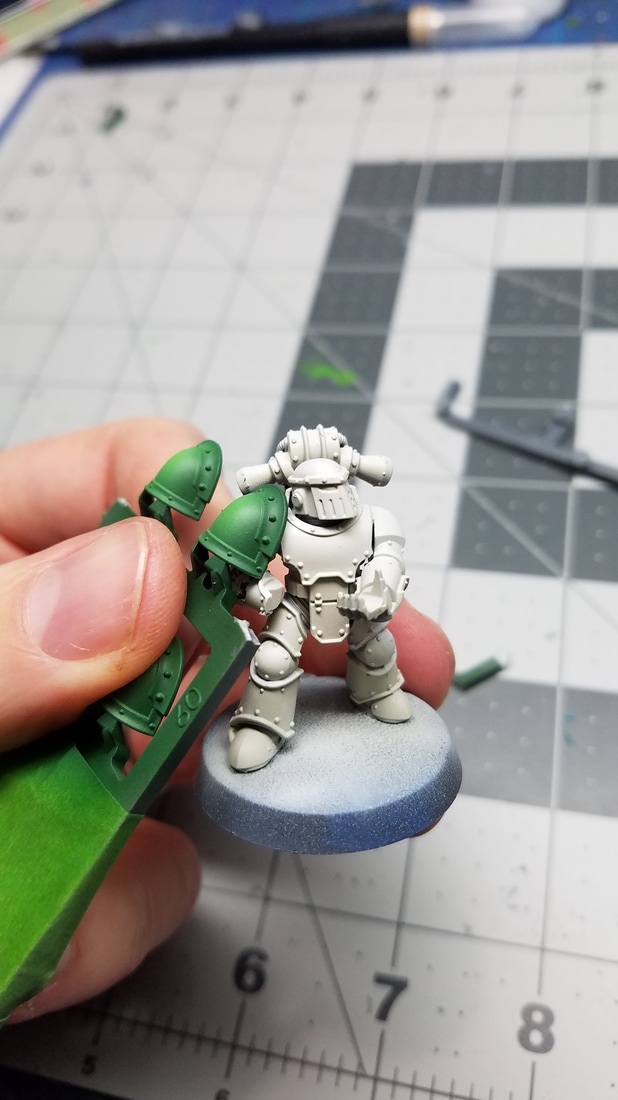
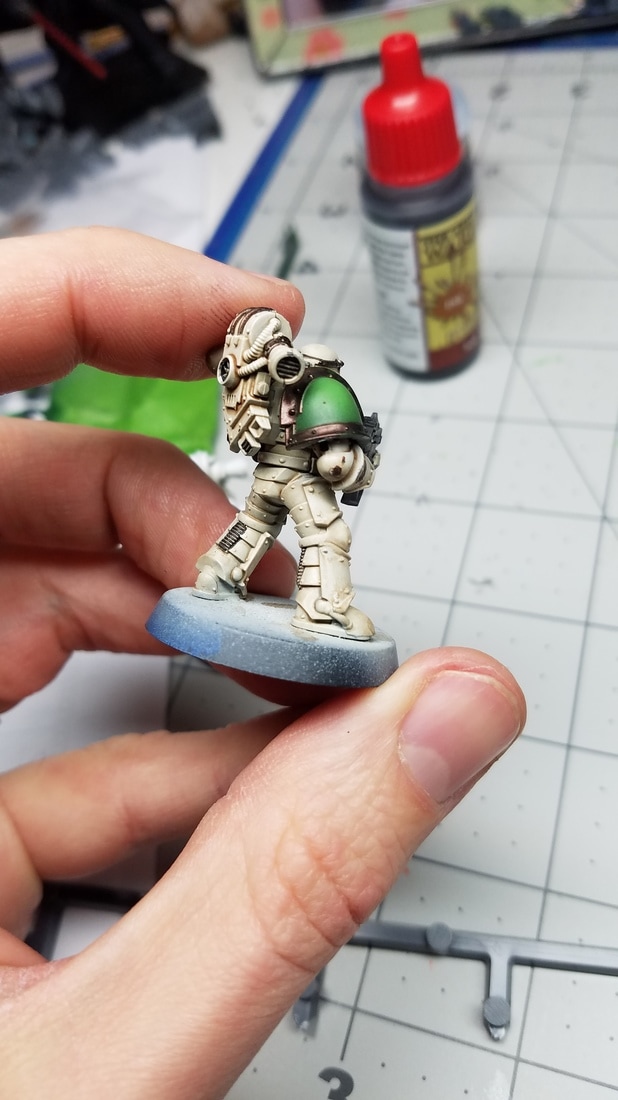
Checking out the shoulder pad vs the armor color. Immediately chipped the paint doing this. OOPS. Adding a varnish step after base coats next time. (need to follow the Todd method!)
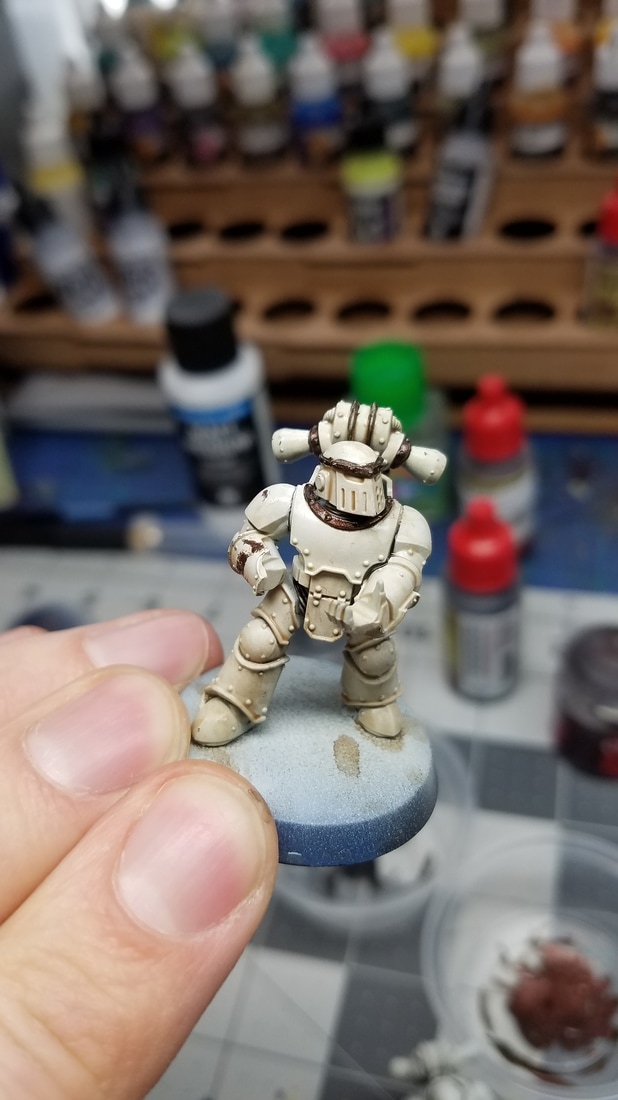
Threw down some warlock bronze, and then a thinned (with water) sepia wash with army painter soft tone. While I was washing it, I had a wet second brush that I used to keep the sepia from sitting on the flat surfaces.
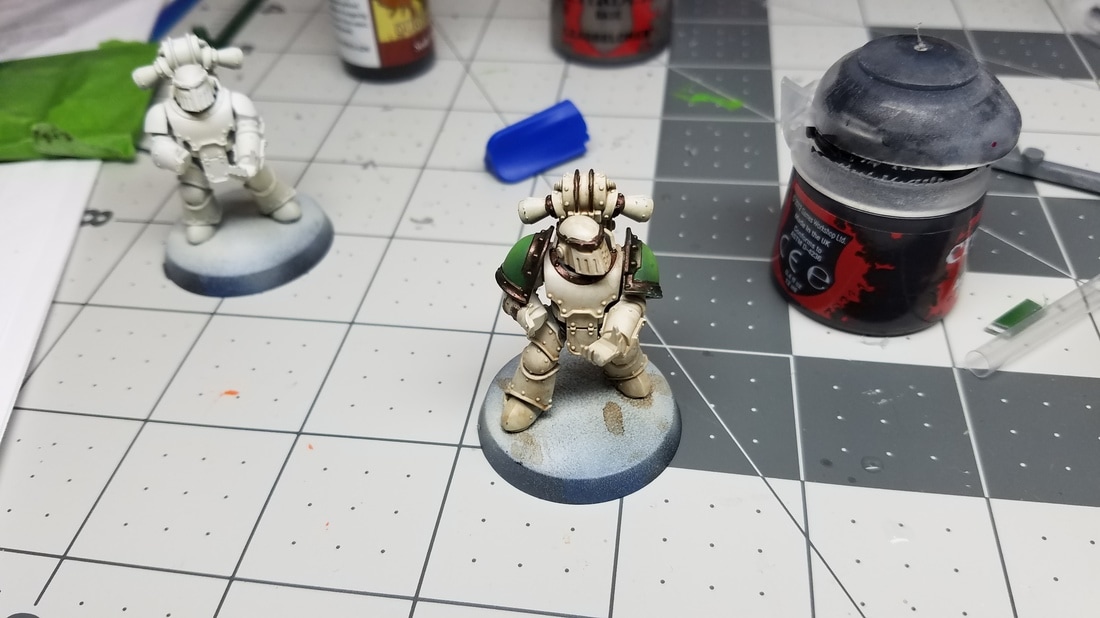
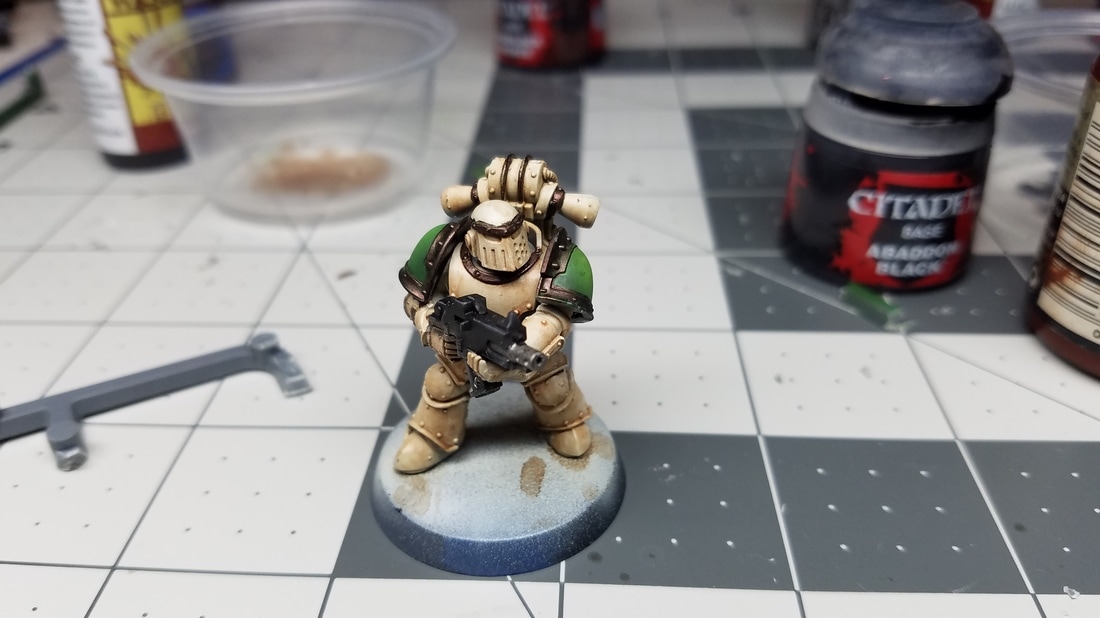
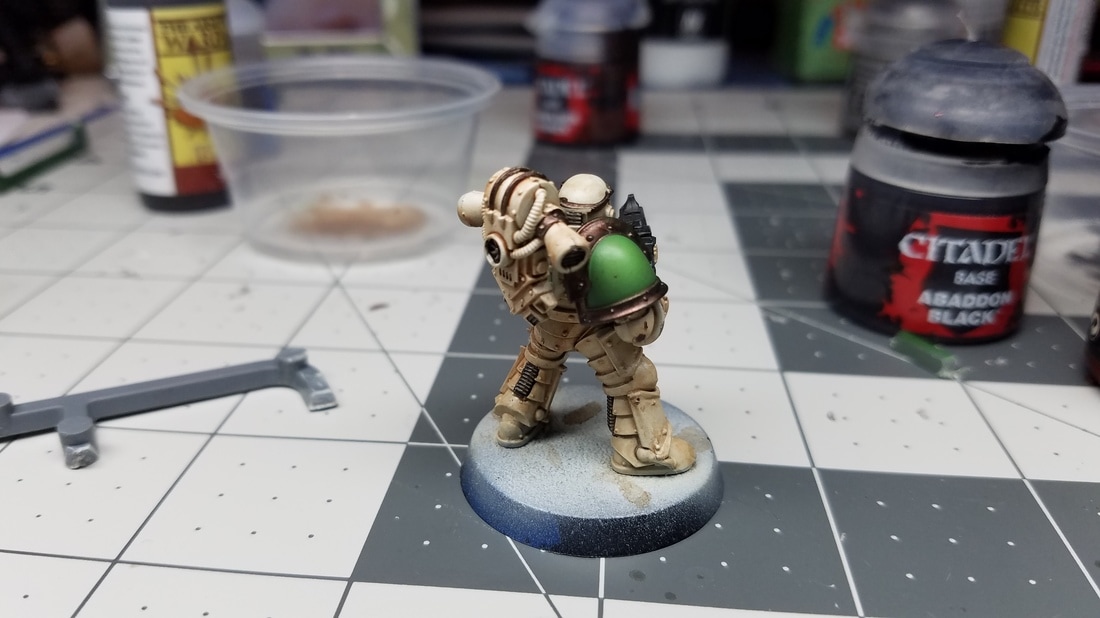
There we go! Once I got the pauldrons on, finally started looking like a death guard.
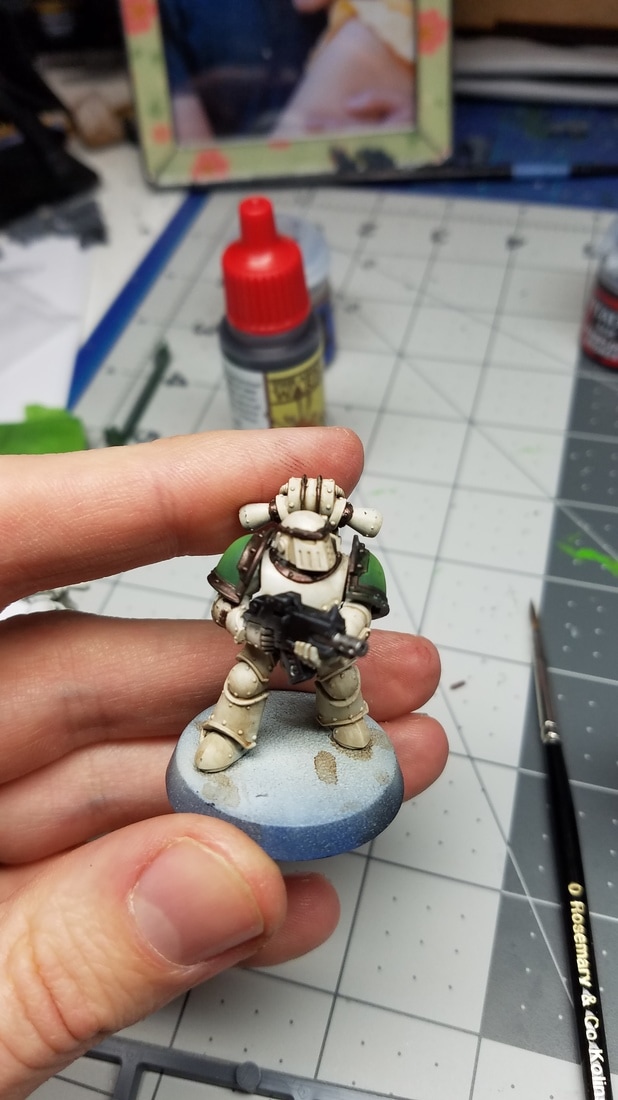
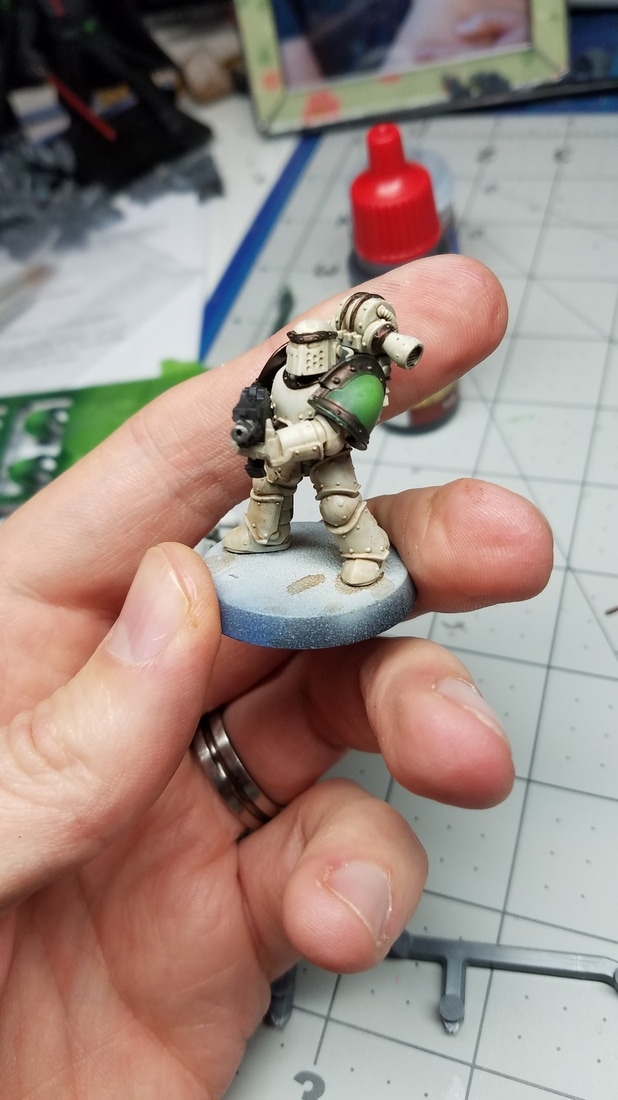
Threw the bolter on. Not looking too shabby! Bit of cleanup to do. This is a test scheme after all! (I was trying to paint both the hand and the bolter using only the airbrush). I may have learned a new technique by accident. The cream color chipped where I tried and test fit the pauldron. I decided to throw some typhus corrossion on there. It looked ok. After the sepia wash, it looked amazing. Turned out the wash pooled around the edge of the typhus, and turned it slightly orange, making a really nice transition to the darker browns. Going to try chipping the model prior to the washes on the next test.
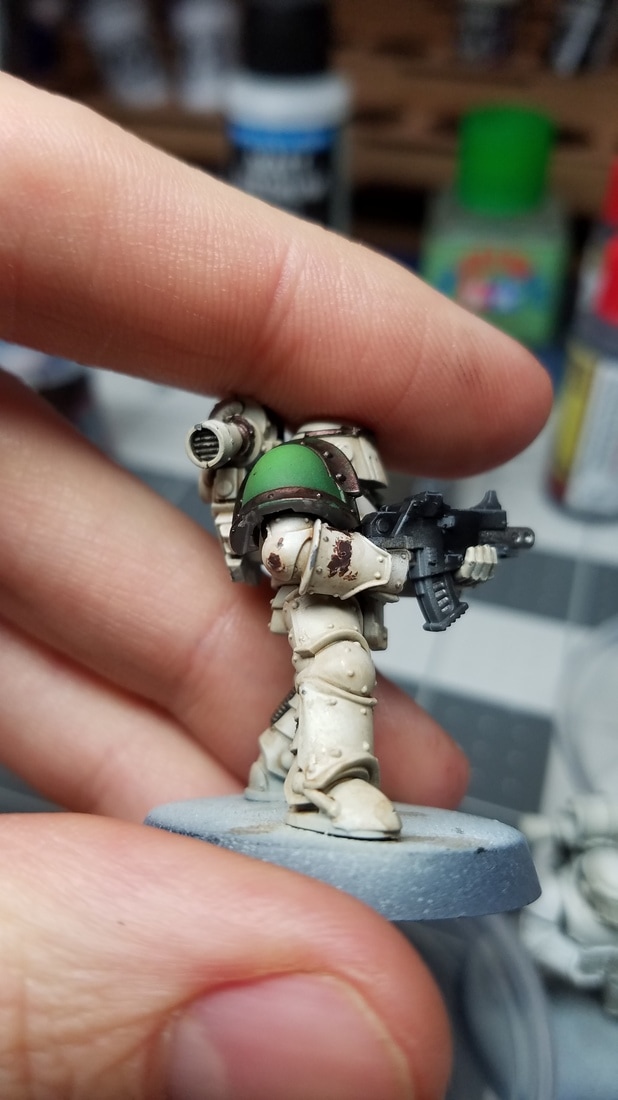
After the sepia wash, I still wasn't happy with the look. Definitely looks death guard at this point...but needed a bit more definition and griminess.
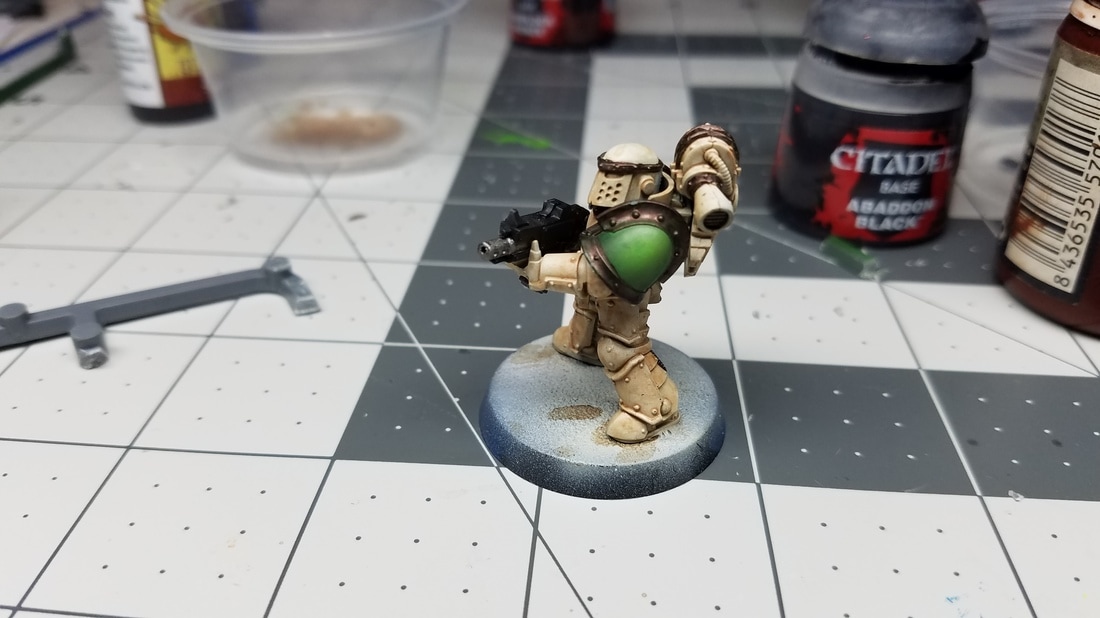
Time for some enamel wash! Now we are talking. Finally starting to look gritty. Next I'll be chipping and highlighting, then a few details. The next mini I'm going to attempt a soft tone dip/matte dip combo, see how that works out!
That's it for this week! Should have another battle report for you all on Monday as well! Thanks for visiting!


 RSS Feed