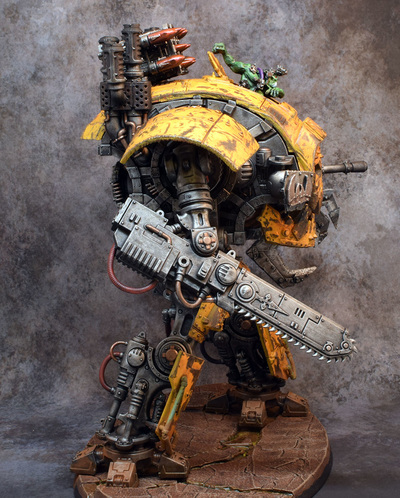
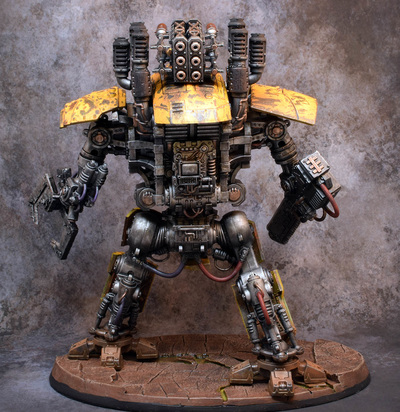
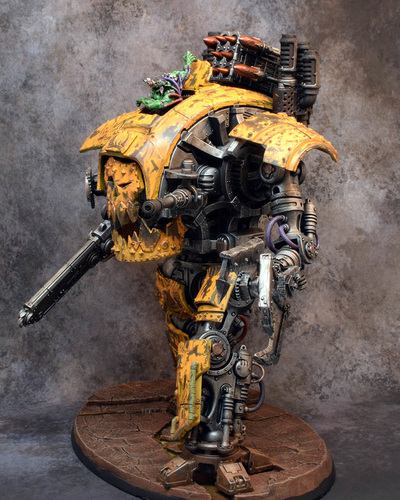
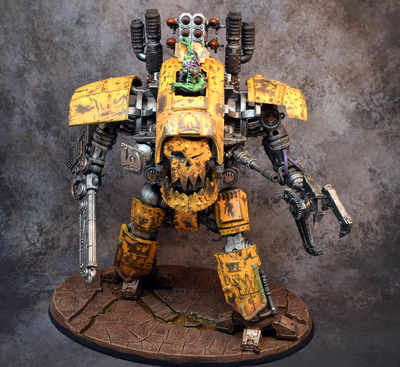
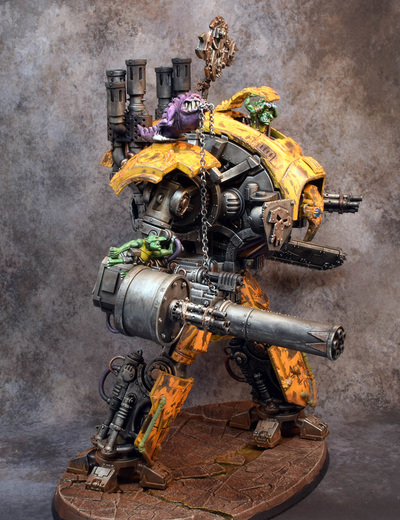
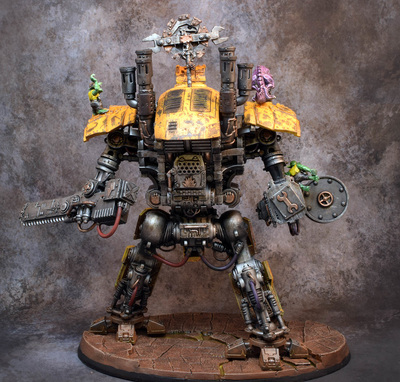
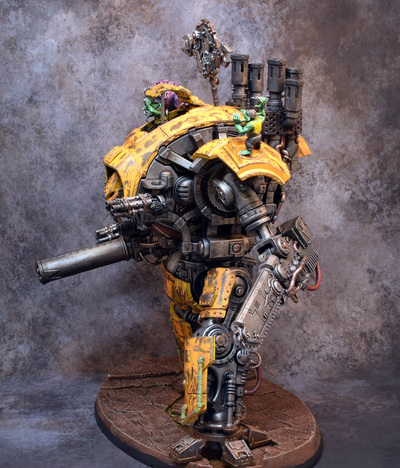
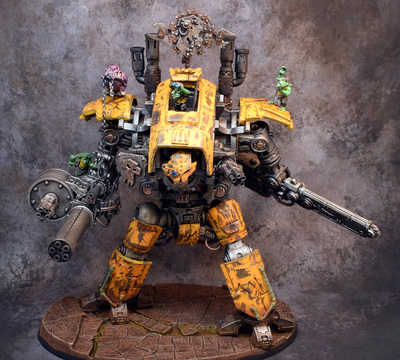
It was quite a labor to get these knights painted up. I hope you all enjoy them! They'll be at Nova from Thurs to Sunday krumping things up! Please stop by and say Hi!
|
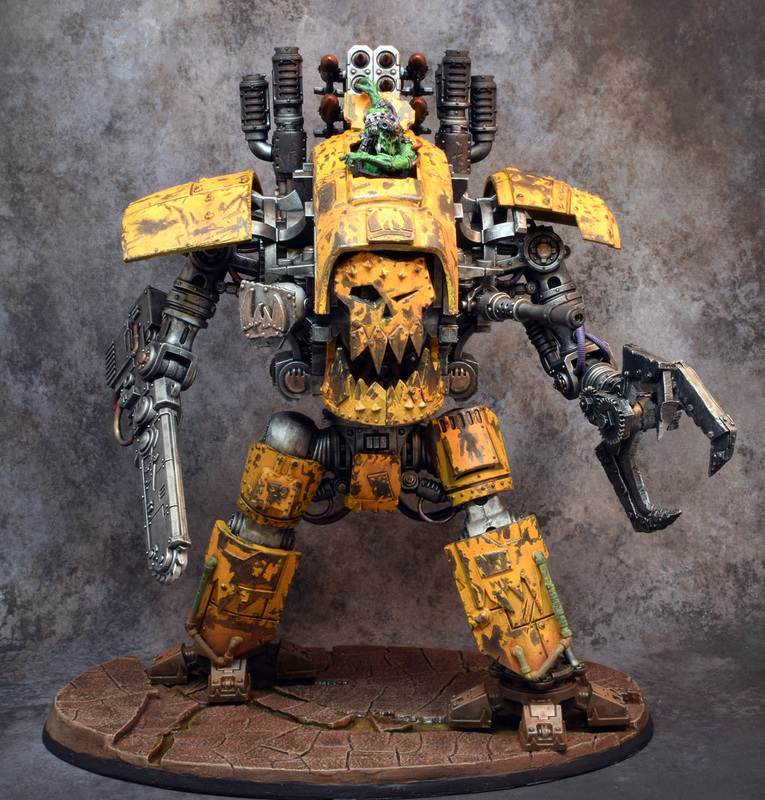
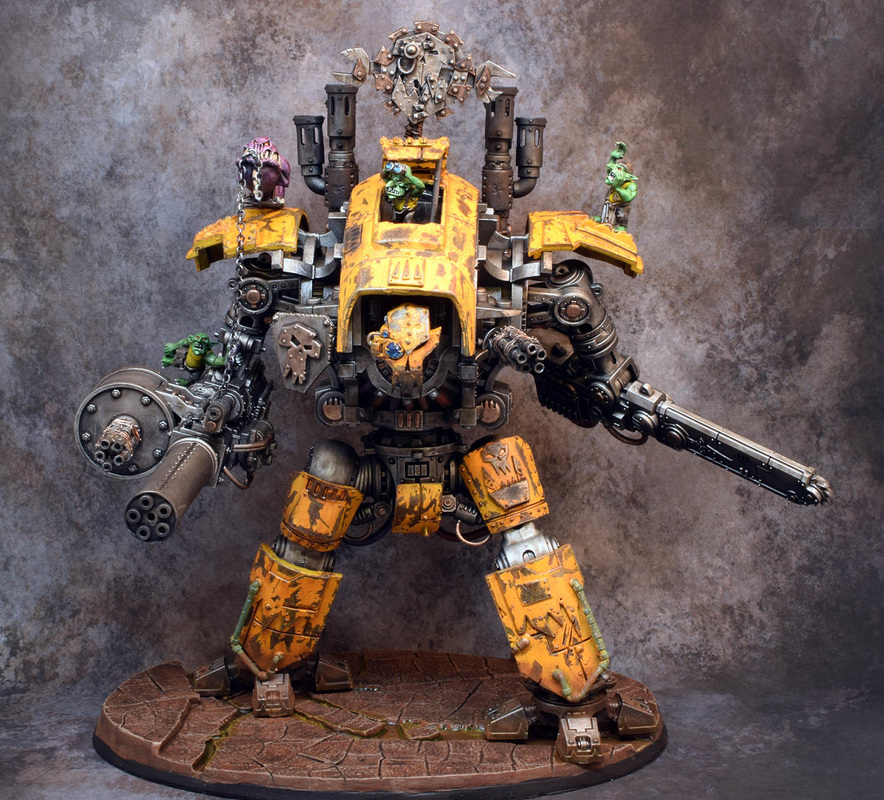
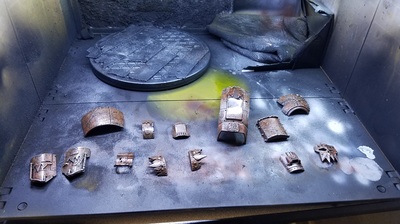
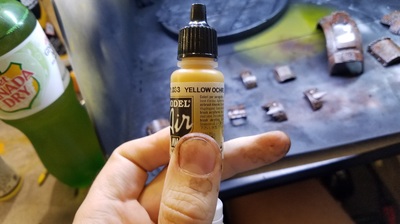
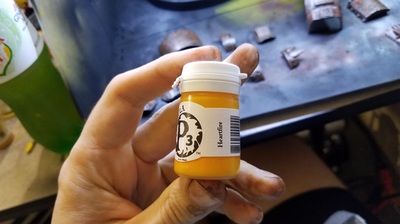
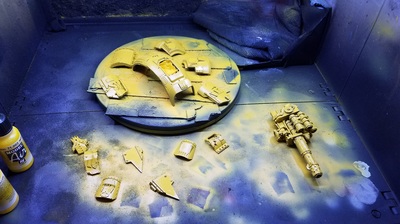
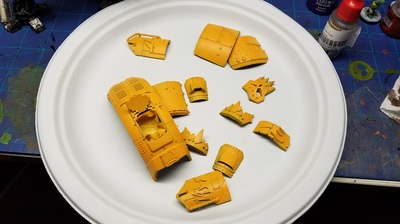
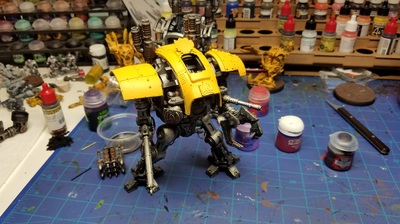
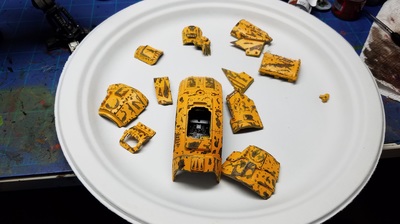
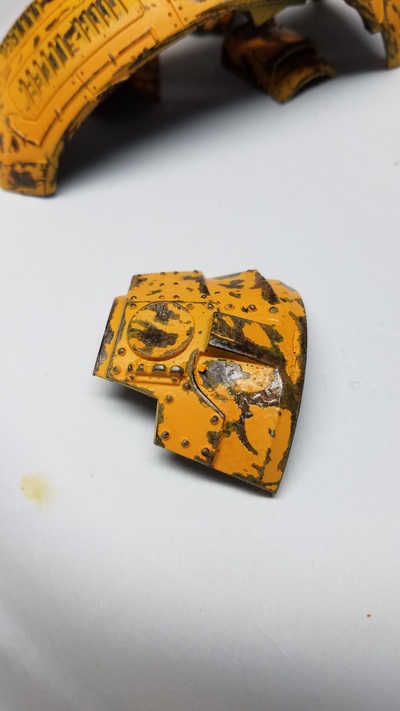
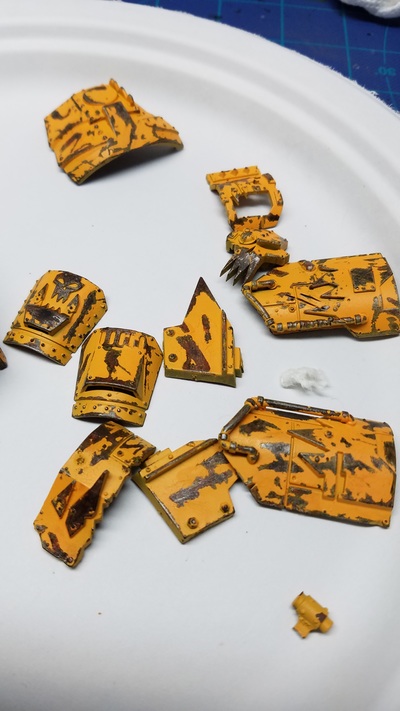
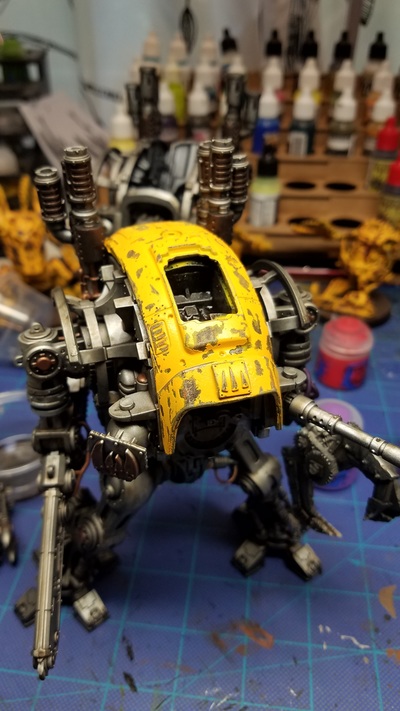
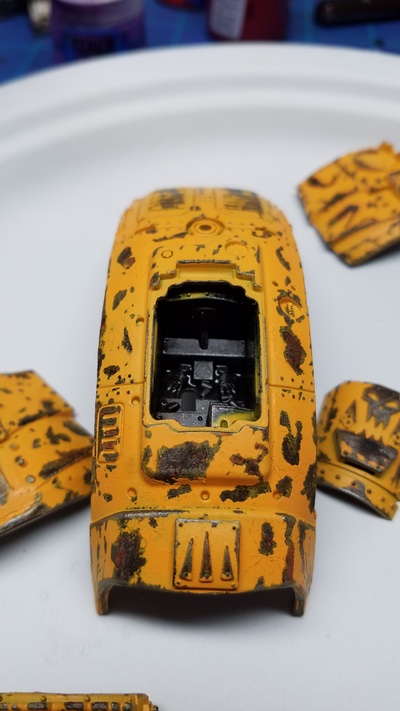
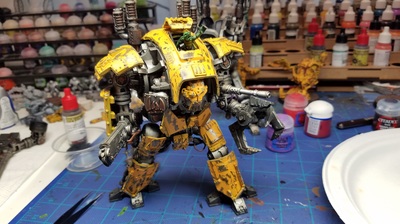
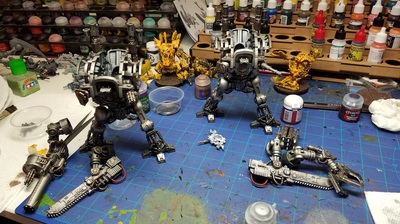
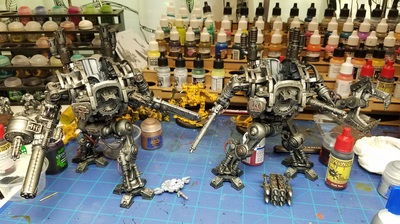
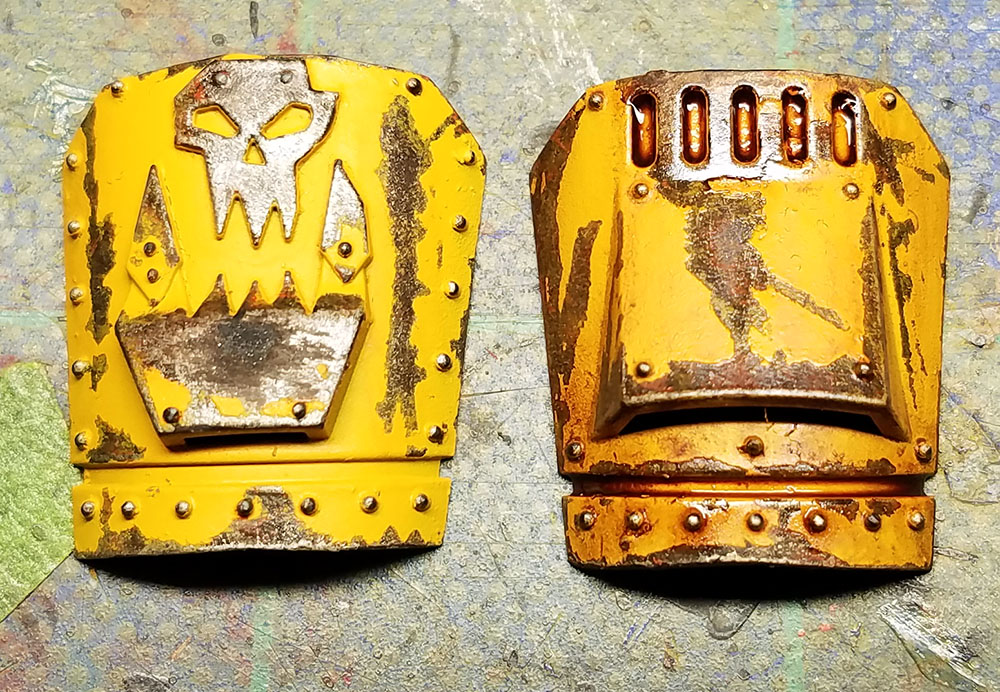
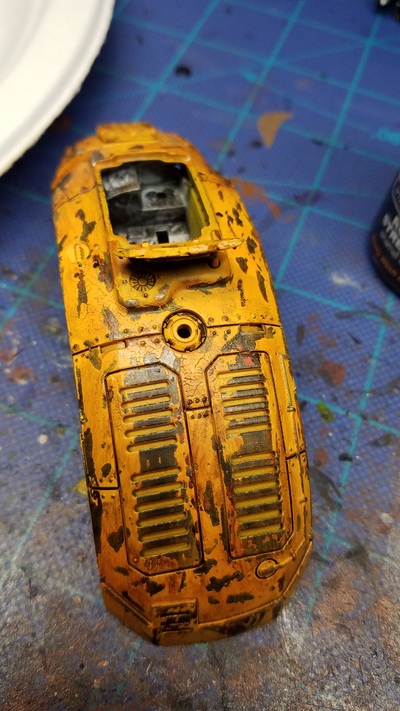
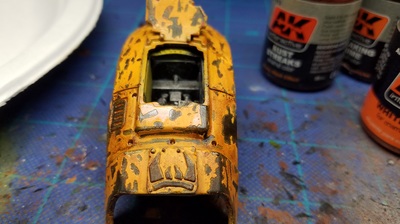
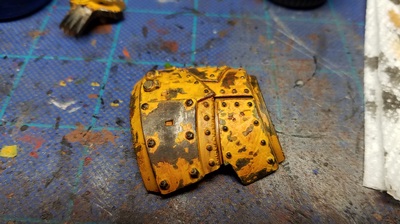
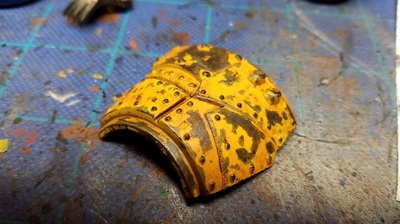
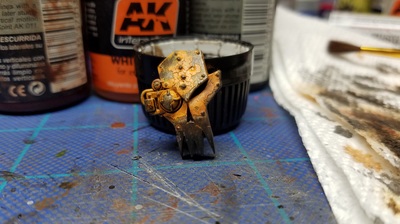
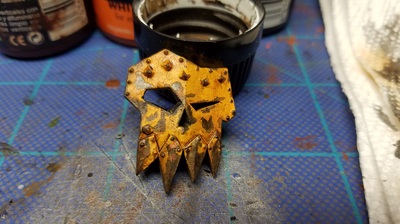
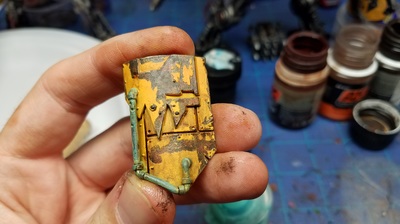
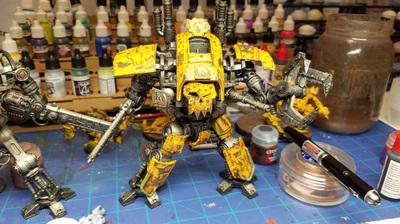
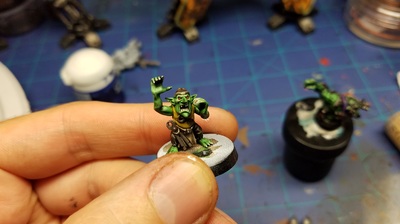
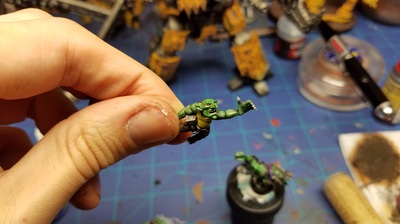
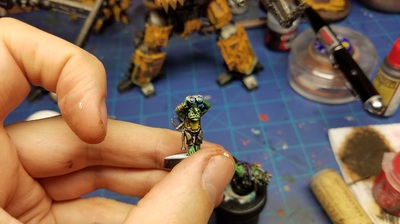
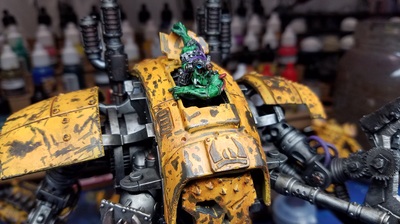
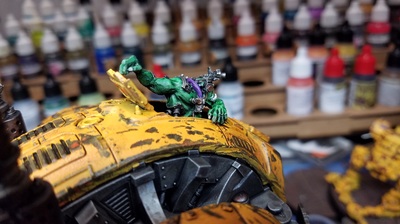
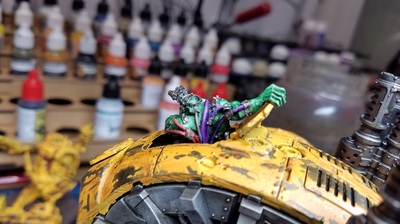
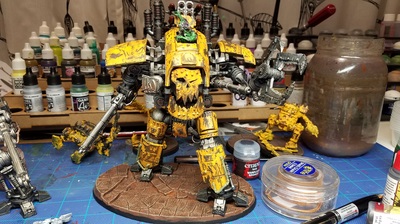
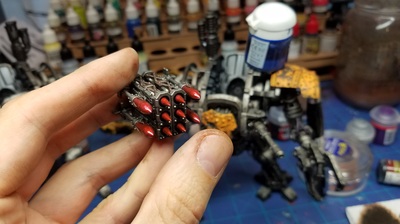
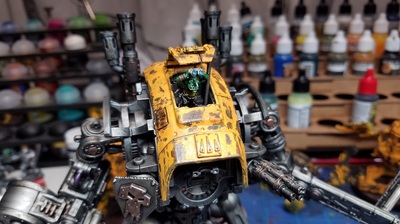
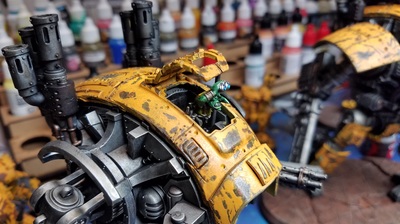
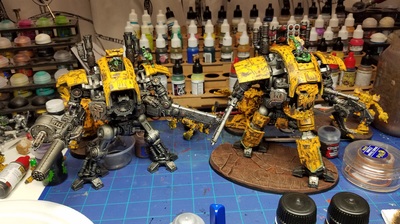
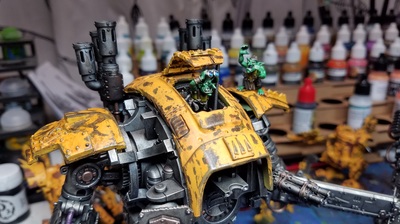
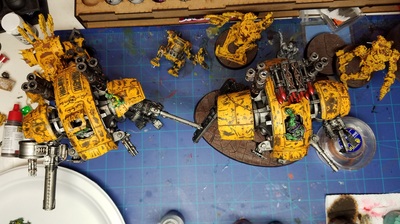
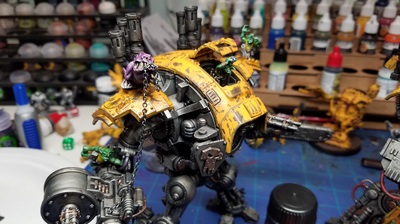
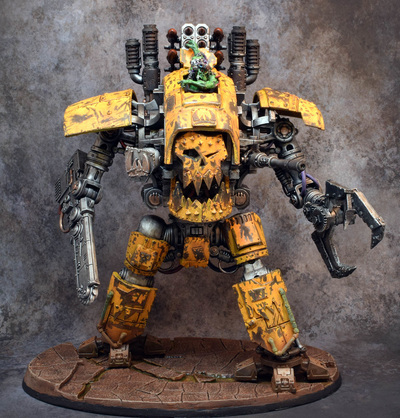
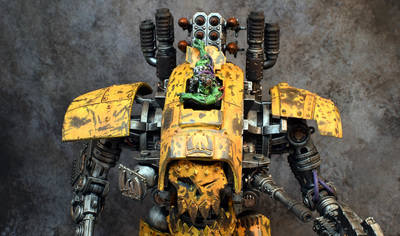
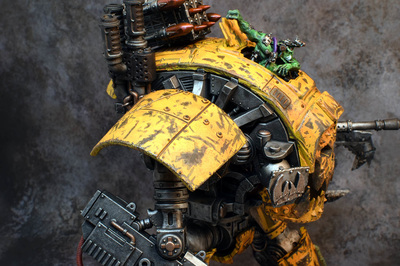
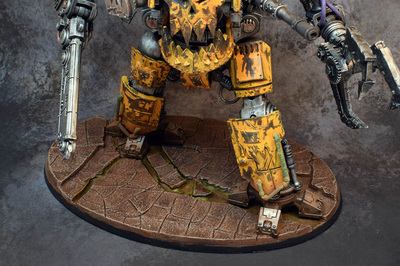
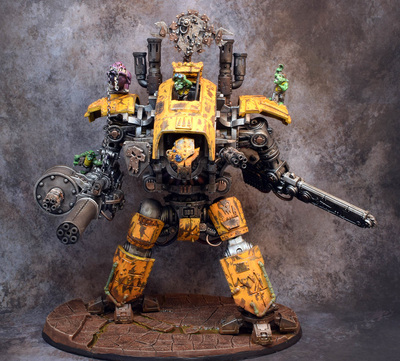
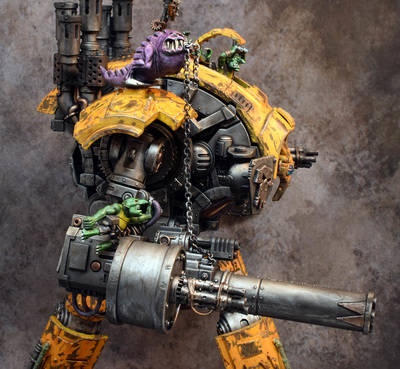
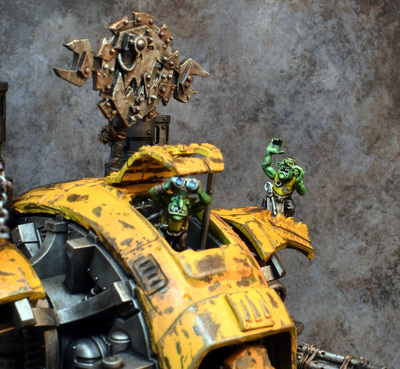
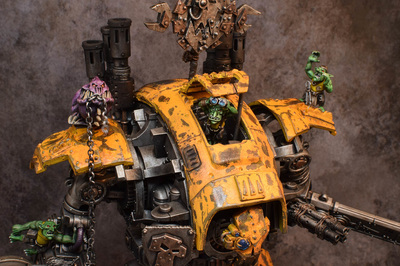
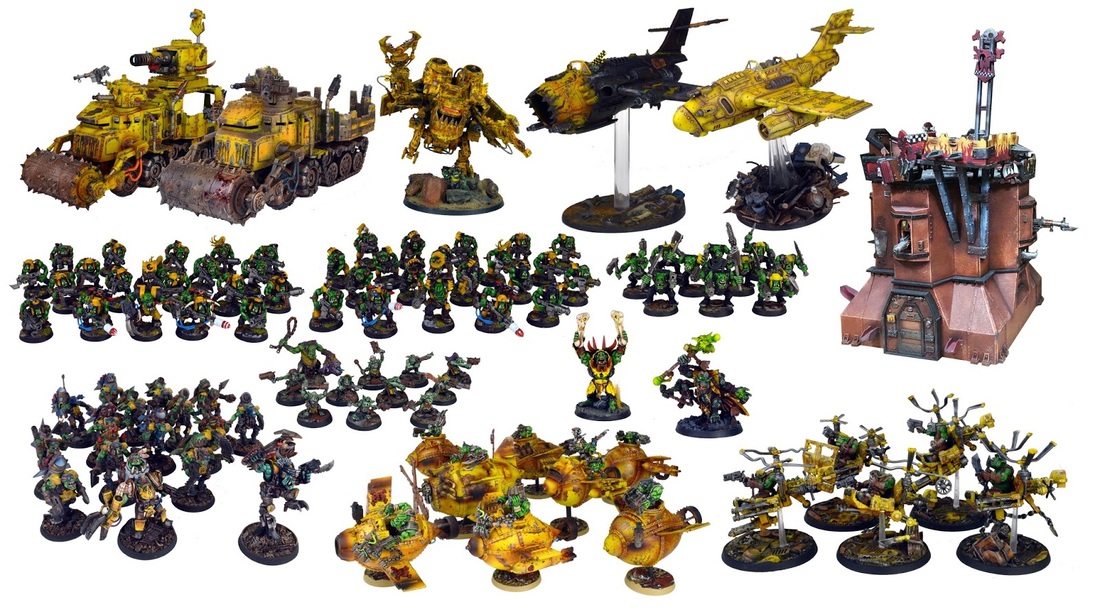
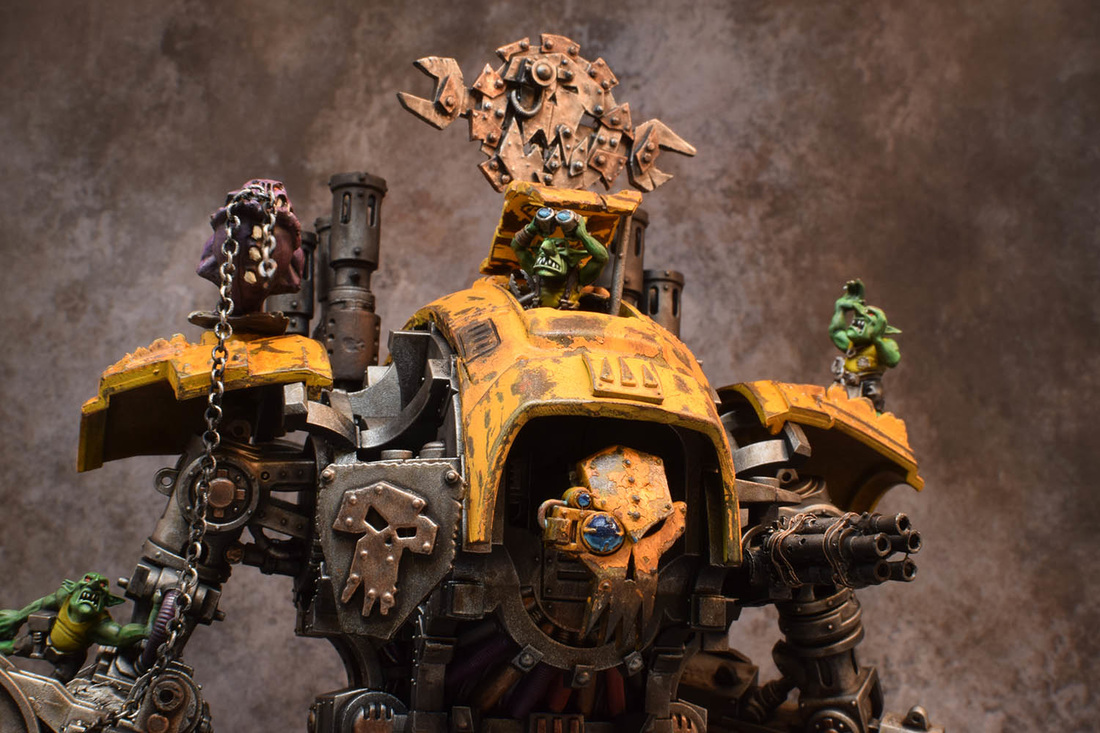
Welcome one and all! After 30+ hours of painting, I have finished the Mork and Gork knights. One based off a close combat renegade knight, piloted by an Ork, and one covered in guns, piloting by a crew of grots and their squig. Hope you like them! I'll start off first with the finished pieces, like imgur and reddit do! But before I show you the rest of the finished shots, lets jump into all the painting I did in my non stop fest. (I'm still painting, but that is another story. You'd think after months of work, I wouldn't need to paint so much at the end!) So left you all last at the pre-chipping phase. Everything was sealed with an acrylic gloss sealer (which will be important later!), then I sprayed a coat of yellow ochre down (just the tops, leaving the nice chipped look for underneath the armor plates), then finished up with p3 heartfire, thinned with vallejo airbrush medium. The ochre is a very mustard yellow, but covers really well (especially compared to medium yellow UG!). Heartfire has a bit of orange in it, and as you layer it, changes tone, allowing you to have a bit of fun modulation with the panels. Did a quick test fit, and was pleased, so went to the chipping phase!!! On to the chipping phase! One of my favorite, but most nerve wracking parts. Did the chipping fluid work right? Did I just completely hose my model? I think I need to start using more chipping coats, as it seemed to be really hard to chip the model. Reverting to tooth brushes, fingernails, and tooth picks to get the layer off. Eventually I did, and was caught with a second issue. One of the yellow layers did not dissolve. Giving this very "light" chip, that wasnt' giving me the contrast I wanted. (you can see this best in the 4th image). To fix this, I took 91% alcohol, and basically dissolved the yellow layer by hand, on every...single...chip. (there ya go thor!). It worked, and also let me blend the chips into the sounding paint, which gives them a really great effect up close. (Note: DO NOT TRY THIS WITHOUT AN ACRYLIC VARNISH UNDERNEATH) Next up were the final coats of highlight and wash on the knights. I highlighted the copper, brass, and tin across the model, then washed both with dark tone (first wash was strong tone). Finally giving me the dark used metal look I was going for. (it took half a bottle of each wash total!) Next up is enamels. (Also a great look at the depth of each chip). On the left is pre enamel, on the right is drying enamels. The enamels I use are actually the streaking enamels from AK...but I use them as washes more then streaking. I found using them as a base wash, then going back with the streak bits gave me little bits of grit tthat would catch on the edges of chips and cracks in the paint, giving them much needed contrast. The yellow really comes to life when the enamels hit them! A variety of shots as I work through the armor plates, one at a time. The enamels also work great at filling the panel lines...something that was sorely missed on the rest of the army dreads! Next up was working on the crew, then finally starting to glue on armor plates!. All the plates went on really nicely, except for the left shoulder (right as you look at it) on the gork dread. That probably has 1/4 a bottle of super glue holding it in place, and took a good two hours to set. For the missile launcher, I just had an idea to try the new gw gemstone paint...and it made awesome quick rokkits. I updated the rest of the army with the "red rokkits" (hehe) so it was easy for the opponent to see what everything was armed with. After finishing the Gork knight, it took almost an entire other day to finish the Morky Grot knight. Getting the crew to work just right on there was a lot of trial and error, as I wanted it to be fun, and a bit silly. I might eventually had some more, but i had a "no more adding" date the previous week...as I kept adding thing and it was adding incredible amounts of work to the knights. As a last minute thing, I also went back over both knights with soot powders, and dirt powders to make them seem slightly more integrated into the base. You can see a bit of dirt on the bottom shin shields soot around most of the gun barrels and vents. I really had fun with this knight. Took ideas from the comments and applied it on him (the chain worked out AWESOME). I had one more grot I was going to add carrying some ammo for the gun trying to climb up the knight, but it must of been some crap recast, as when I tried to strip him, he melted into goo!!! It's ok though, I'm going to order a forgeworld grot crew kit, and paint them up for something else in the future! It was quite a labor to get these knights painted up. I hope you all enjoy them! They'll be at Nova from Thurs to Sunday krumping things up! Please stop by and say Hi! Reminder! Nova Raffle is still on! Please buy tickets so the ummies don't win. We want the orks to be #1 across the board!!!! TEEF 4 PAINBOYZ! Thanks for visiting! I'll do a quick update on Wednesday with the full assembled army! Have a great week everyone!
Comments
|
Categories
All
Archives
August 2019
|

 RSS Feed


